
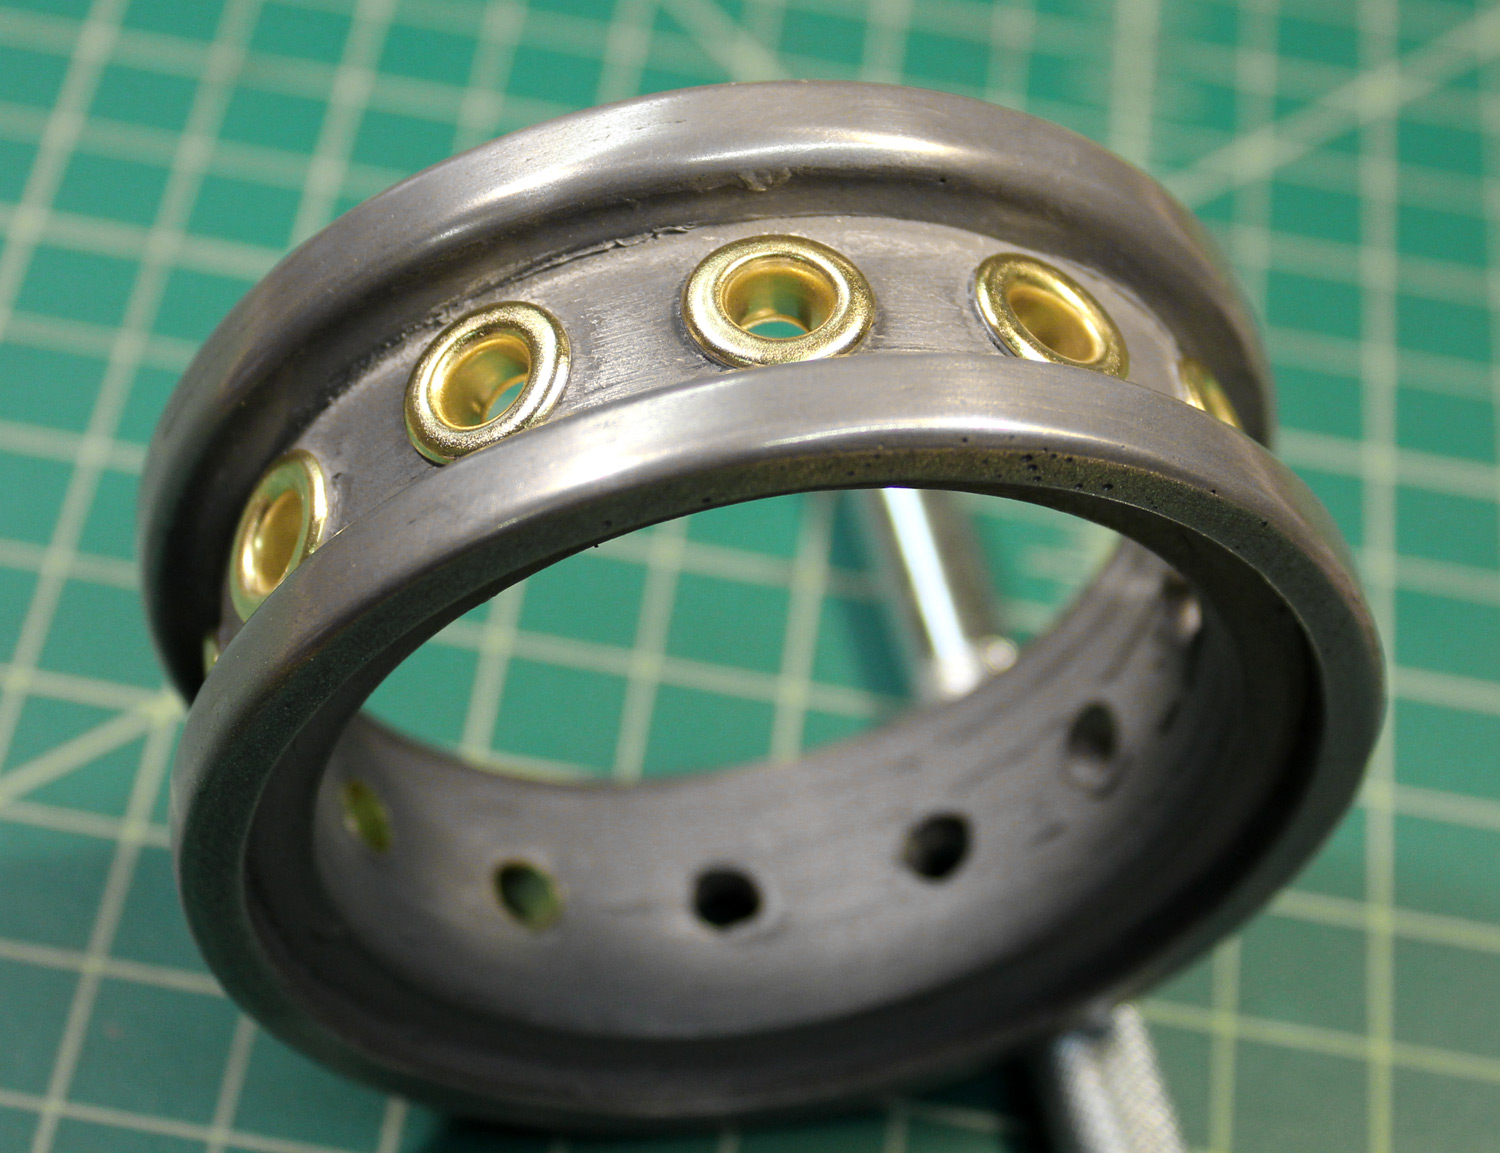
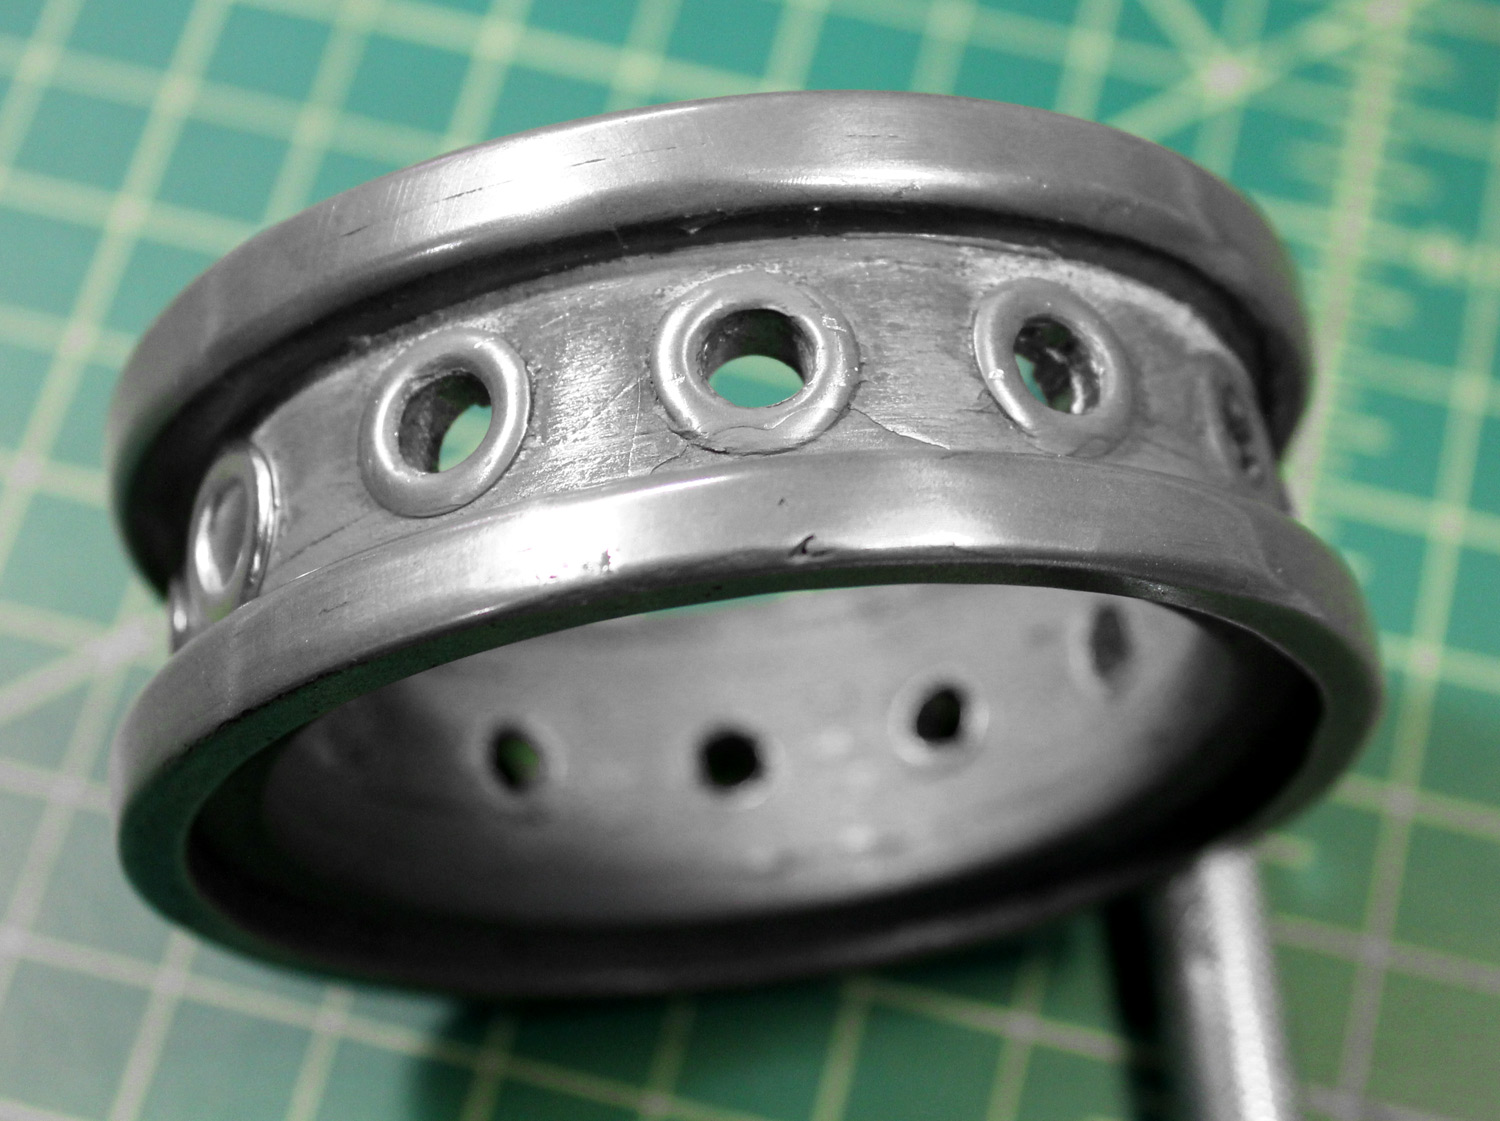
After finishing the mold (of the Infiltrator respirator canister middle section) I cast it in cold cast aluminum. I sanded down the surface to reveal the atomized aluminum powder, using increasingly finer sandpaper. The final step, after finishing it with 0000 steel wool, was to polish it with a power buffer and rubbing compound to make it shine.
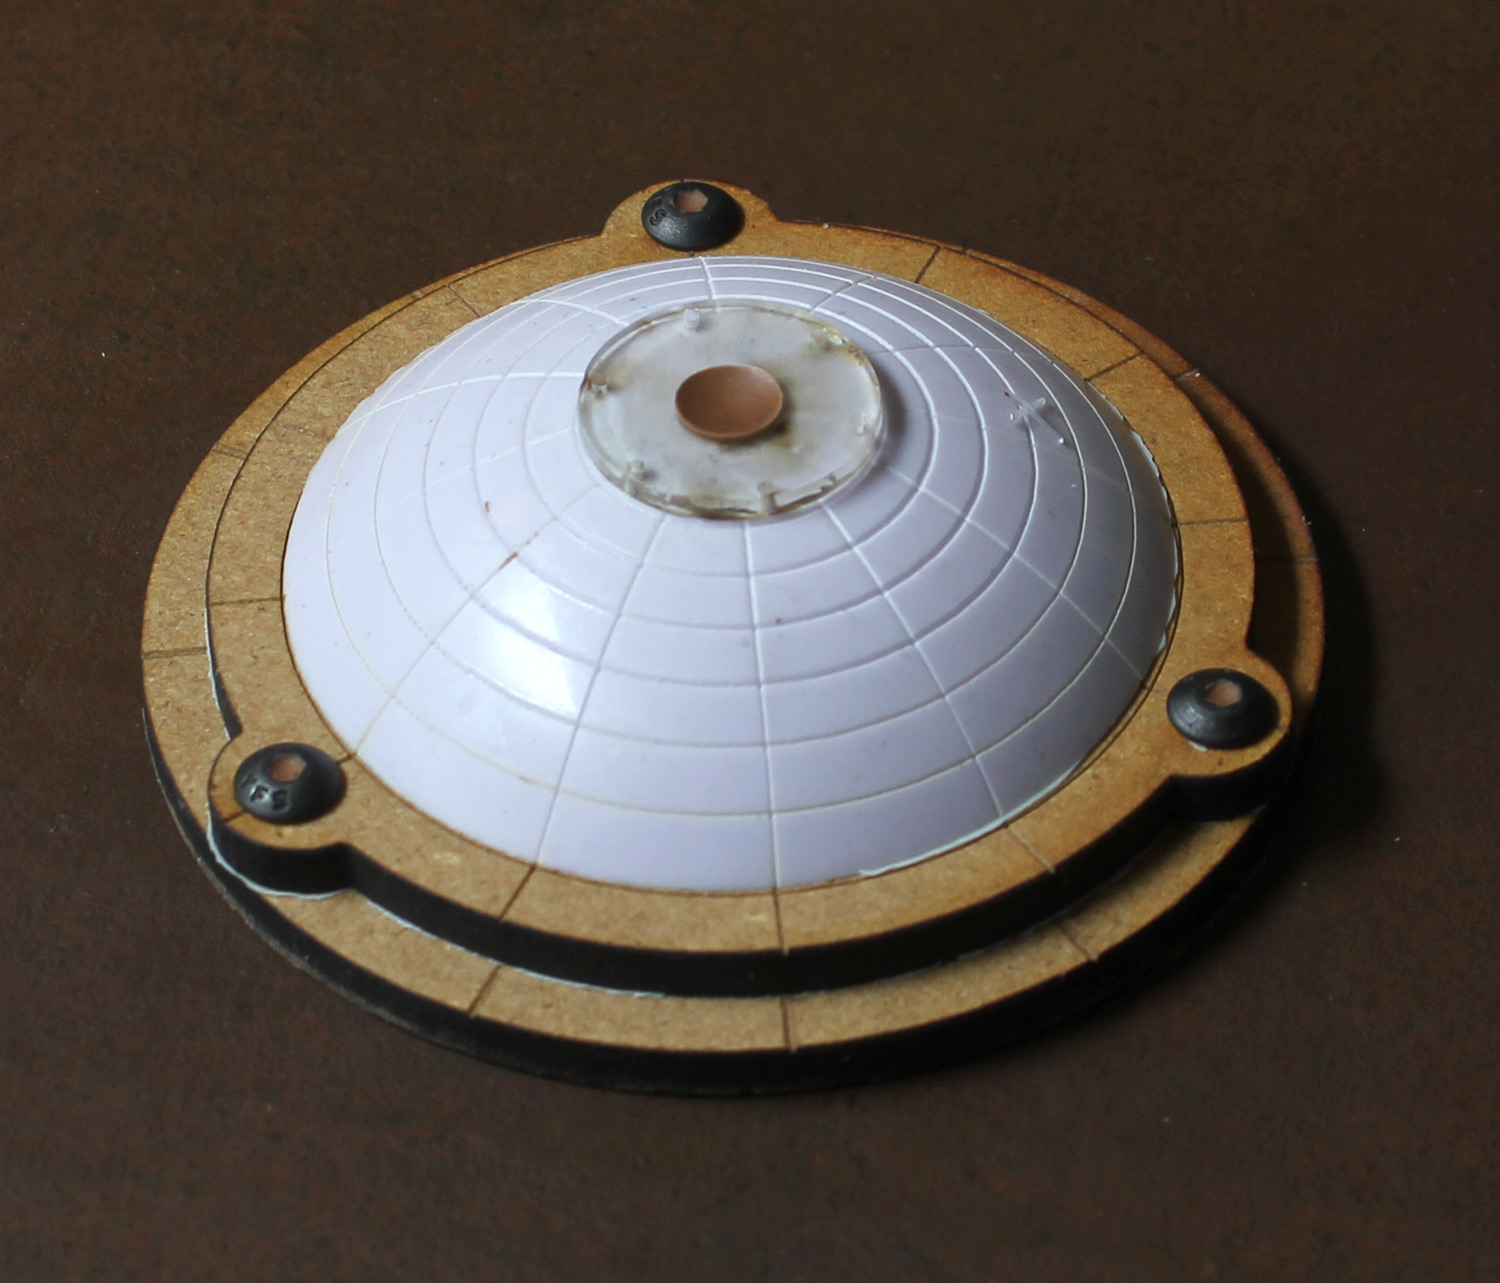
Next up was to make the vacuum formed top and bottom. I made various attempts that either didn't work out or I didn't like. I finally came up with this model, made of two layers of fiberboard, a resin casting, an acrylic sheet "washer" on top, and three machine screws. I tried vacuum forming right over it, but it lacked the detail that I wanted.
The .06" thick black styrene sheet took about three minutes of heating to soften enough for it to sag dramatically downward. I turned off the heater and turned on the vacuum. The pliable styrene immediately was sucked down into the mold, and captured all the detail. Next I cut trimmed of the excess plastic so that it would fit into the casting.
Although I hadn't planned on it, I discovered that after drilling out the portals with a ¼" drill bit, the brass grommets fit right into the holes, giving the whole piece a nice "dual metal" look.
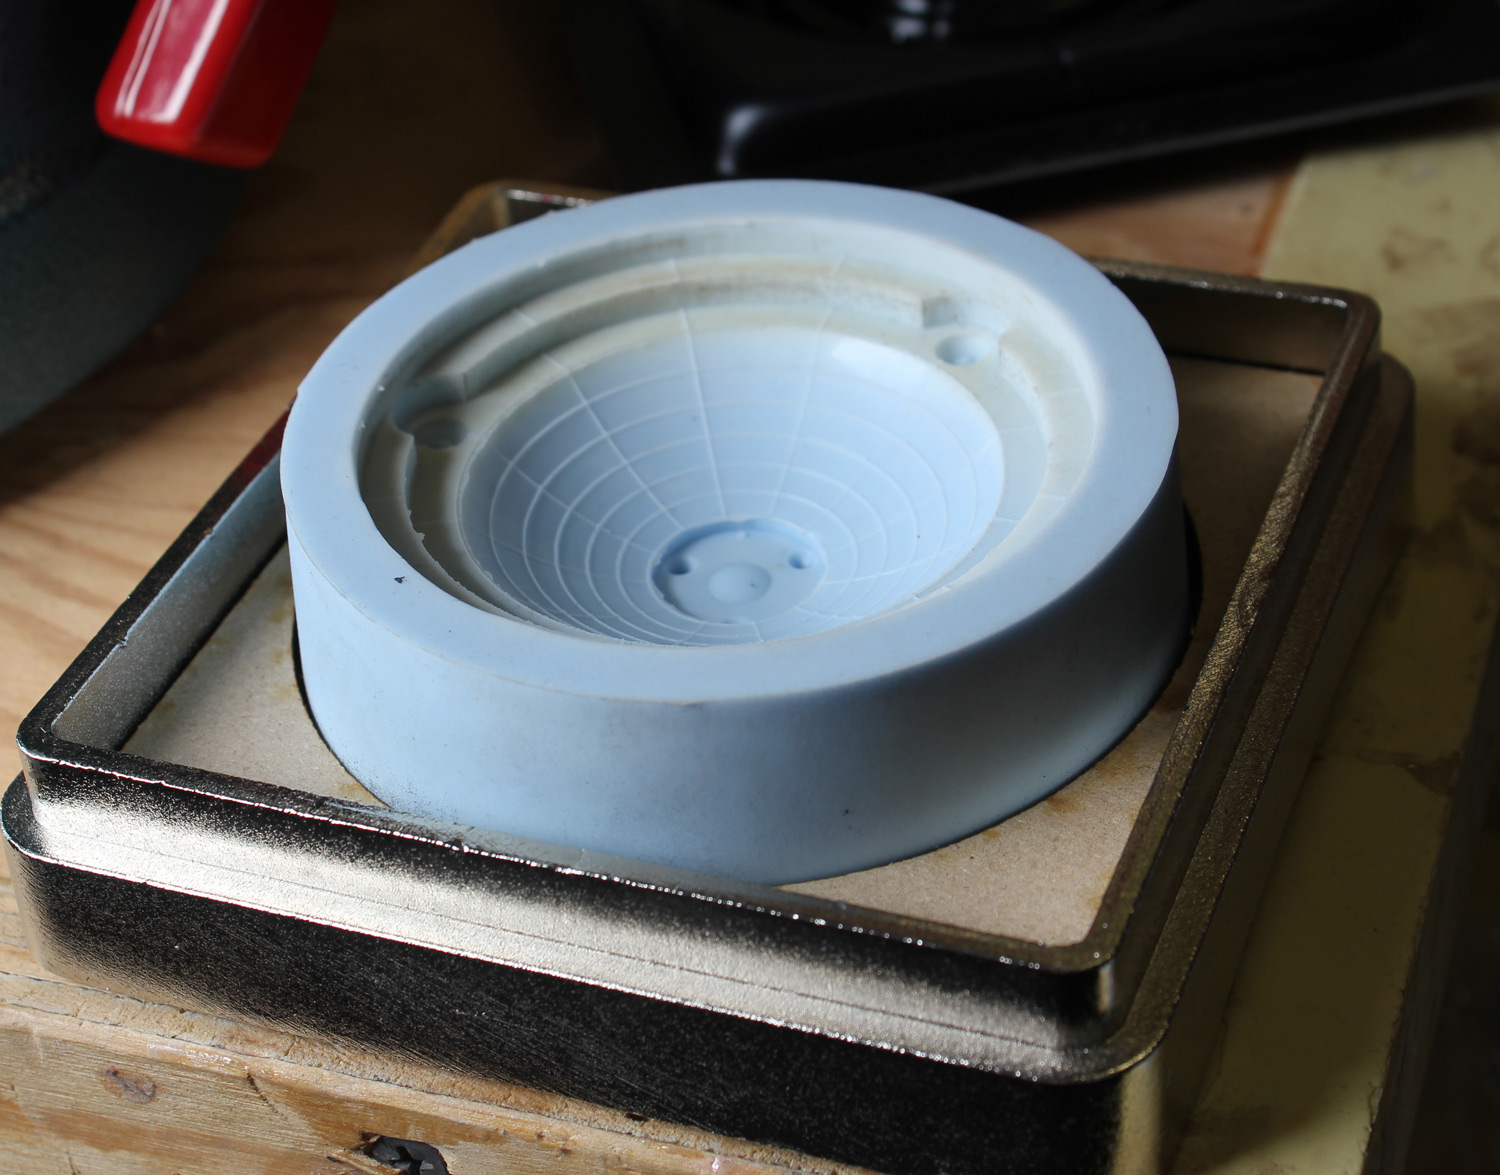
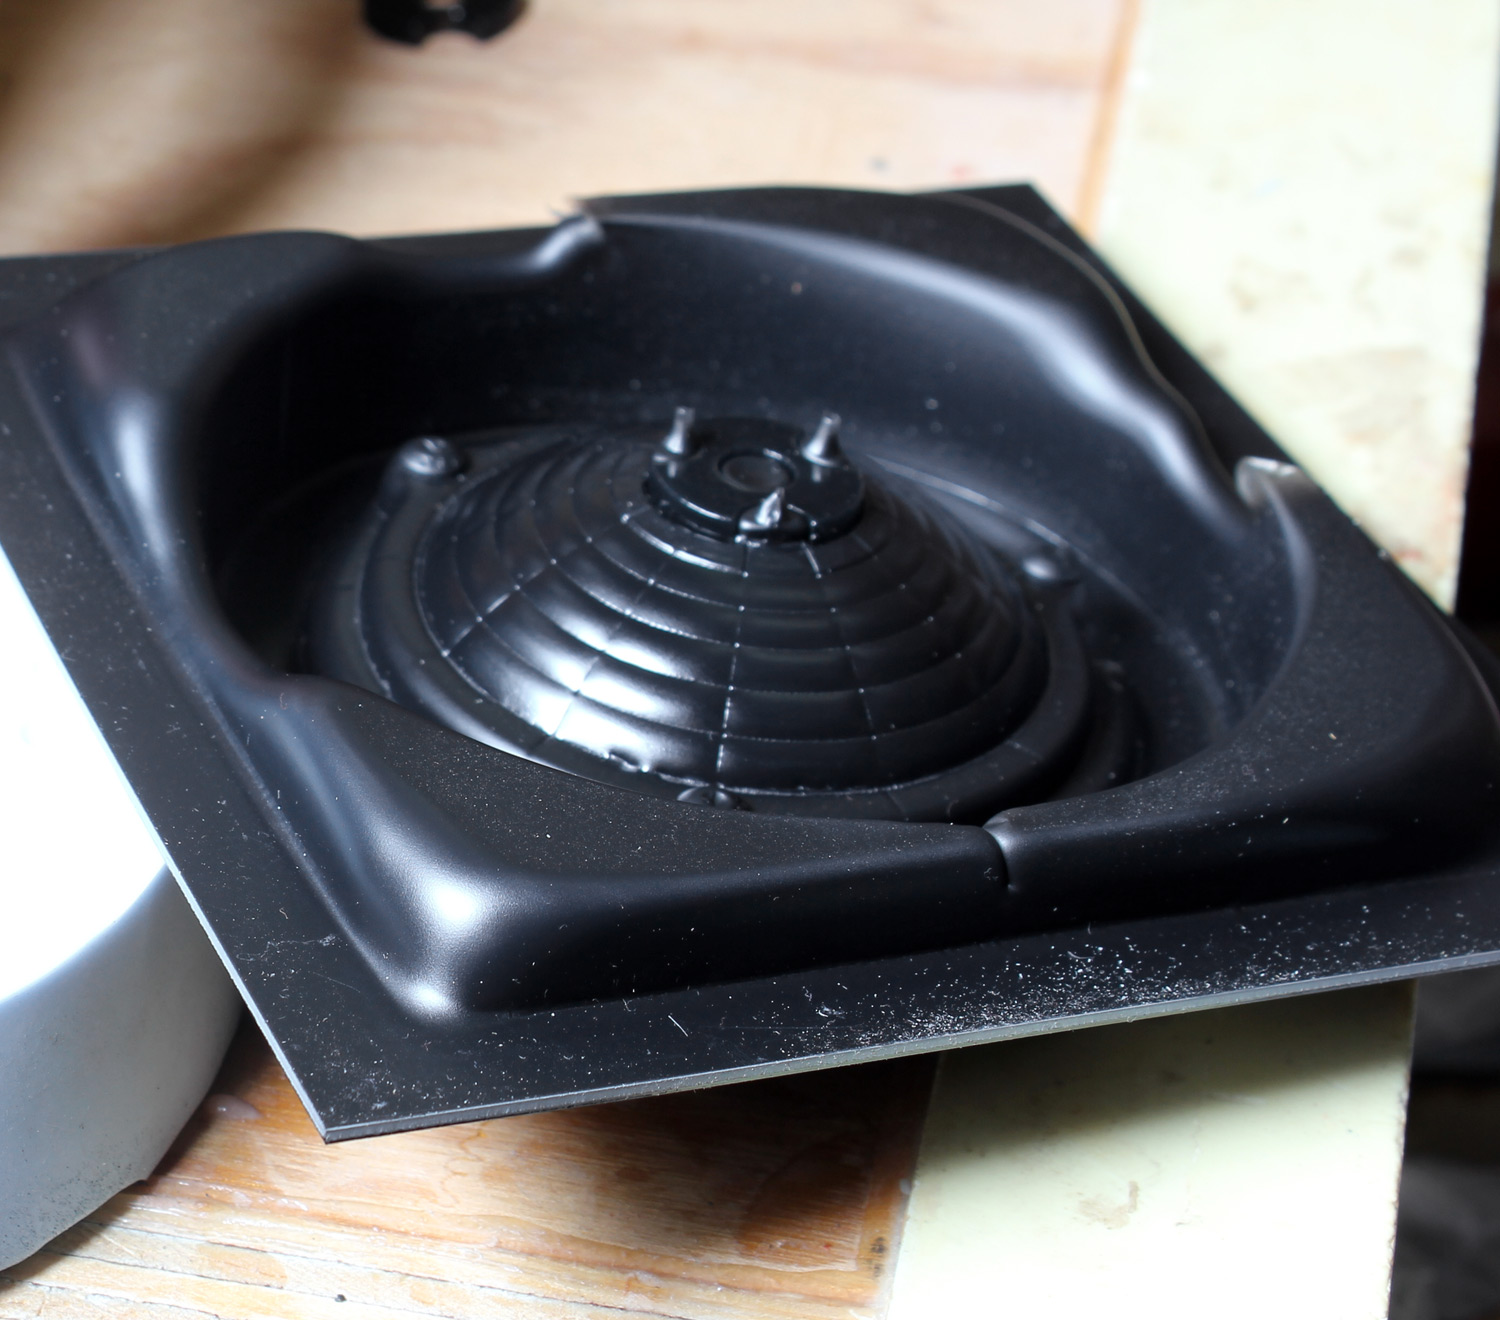
Rather than using my model as a male mold, I decided to convert it into a female mold and that would keep all my detail. Instead of the vacuum pulling the melted styrene plastic down over my model, the vacuum would pull the styrene into my bowl shaped mold. I used the same silicone rubber to make the female mold. The photo shows it sitting inside the steel vacuum frame.
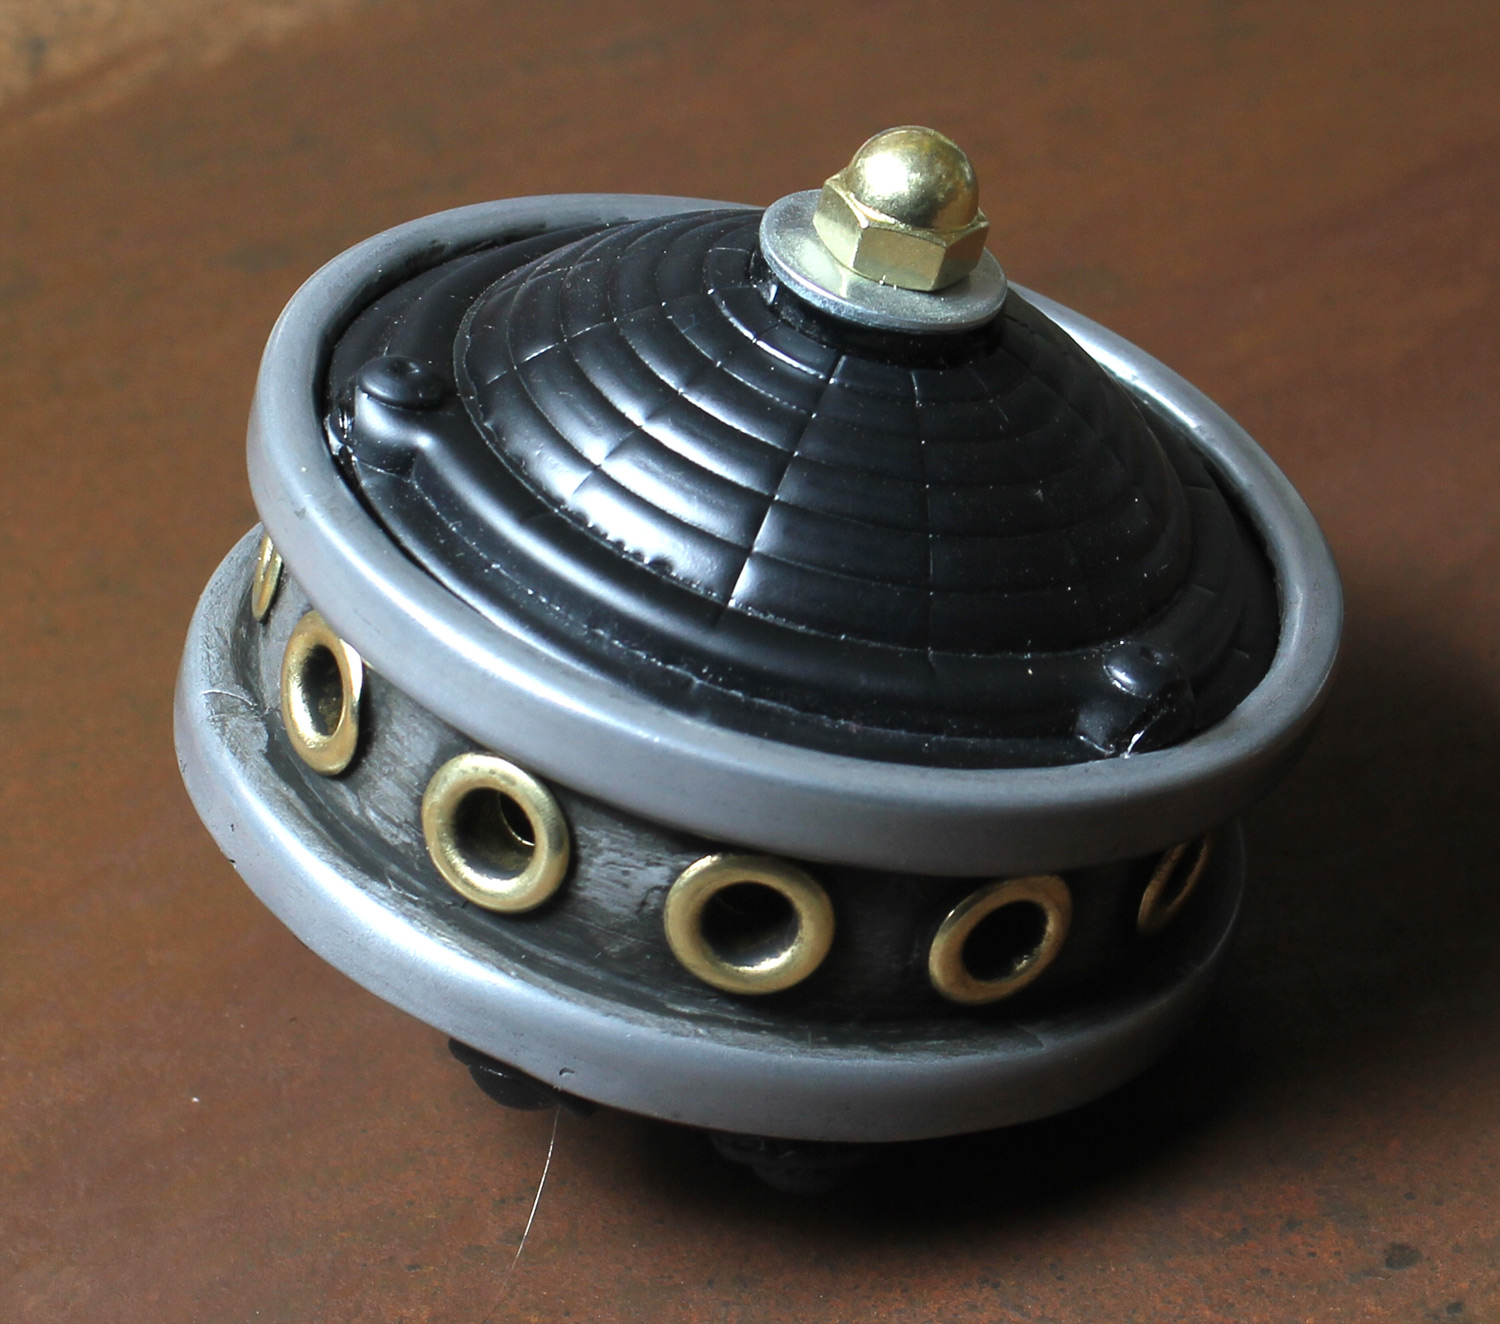
Here is the entire canister mocked up with the top and bottom in place. I will make further refinements in order to improve it, but it gives the general overall look that I was after.