
A gazillion years ago, in the mid-1980’s, I belonged to my local chapter of the Society for Creative Anachronism. At that time I made several medieval costumes, and a pair of pointy-toed shoes called poulaines.
Resin Last
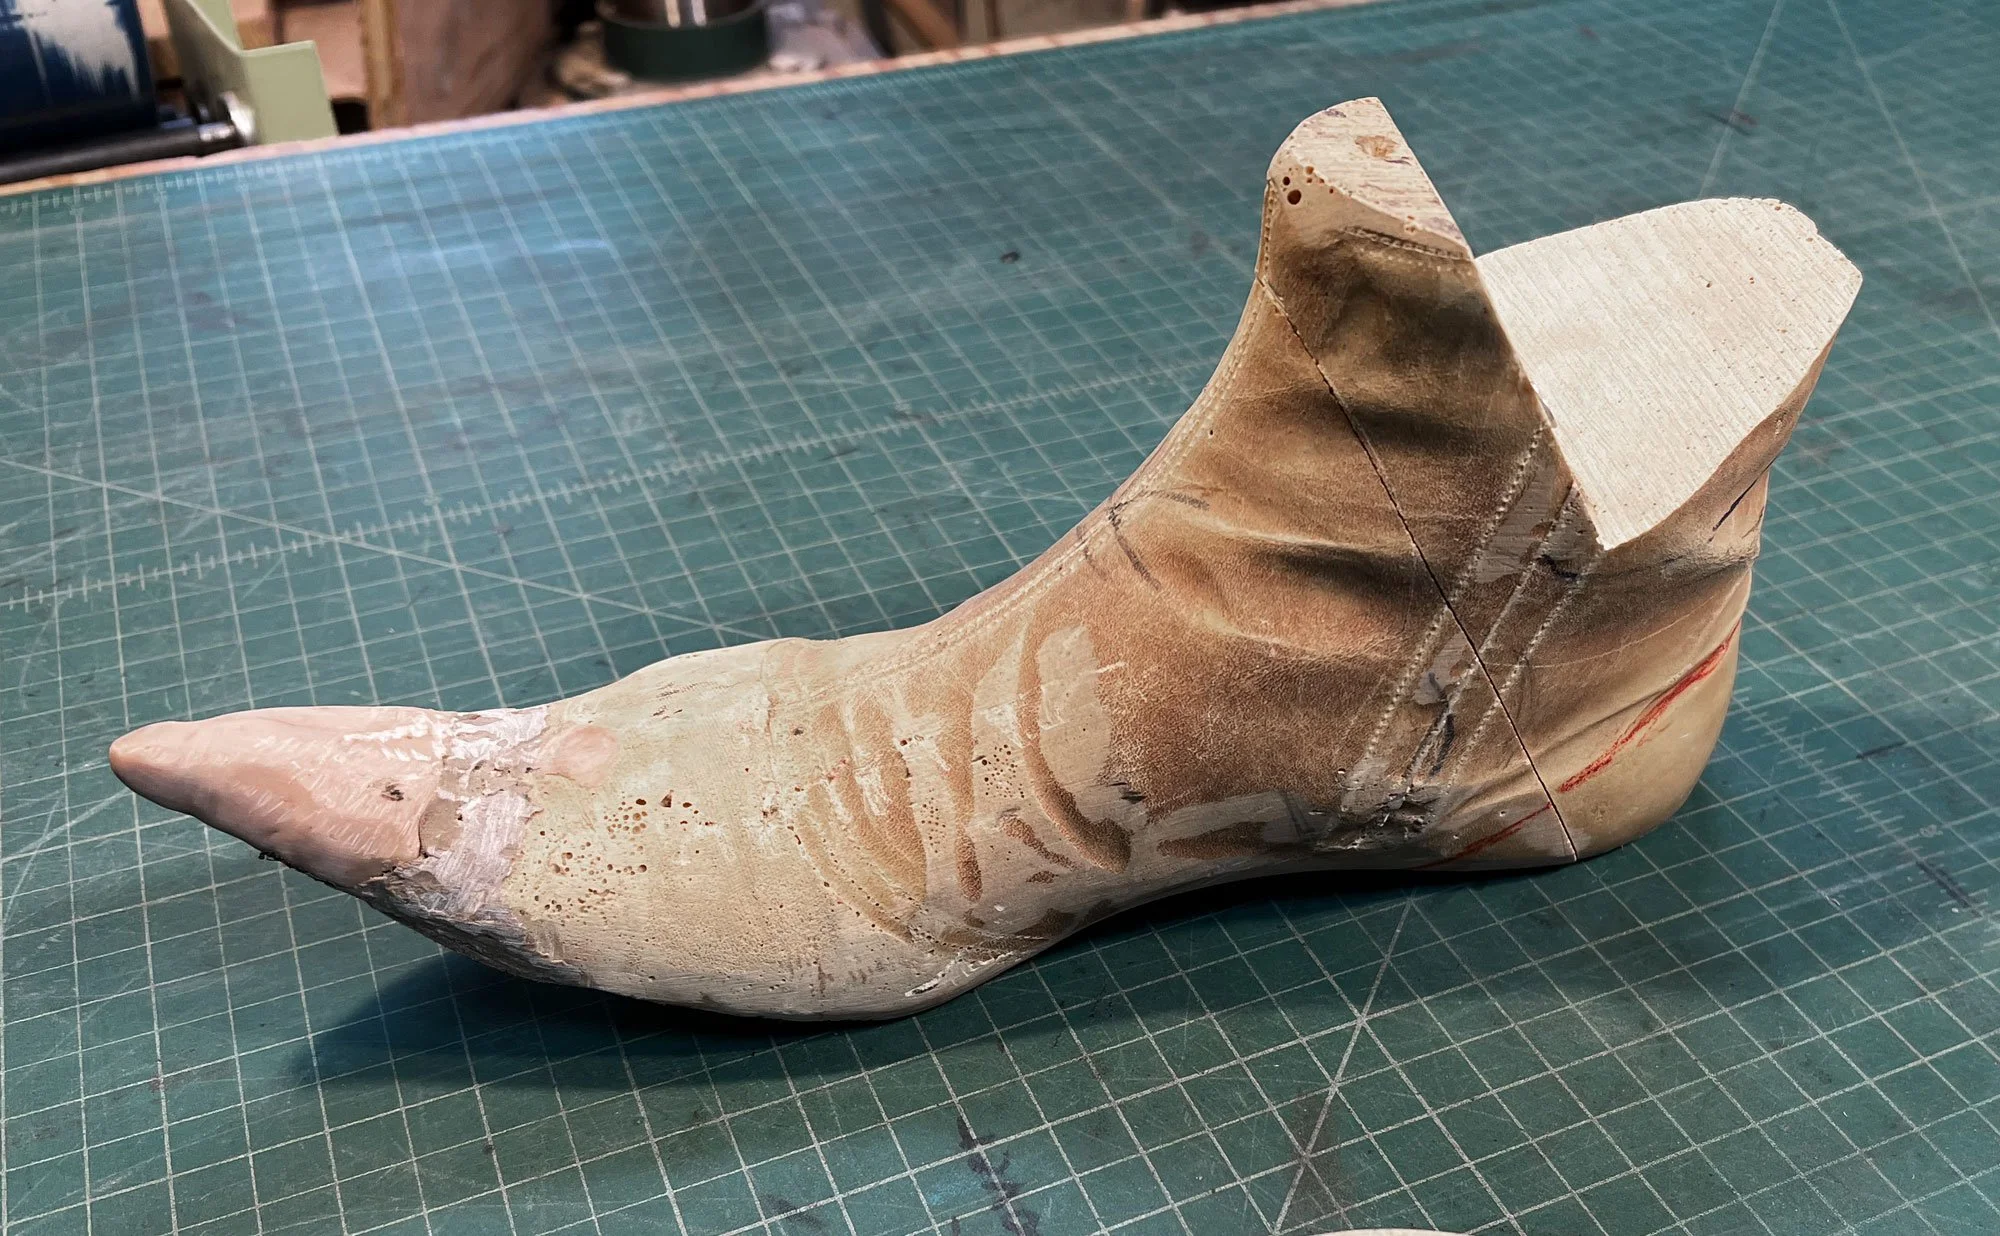
In order to be able to extract the last from the finished shoes I used a bandsaw to cut the last in two pieces (black arrows), and then held the pieces together with screws (red arrows). By removing the screws, I could pull out the heel section first, followed by the rest of the last.
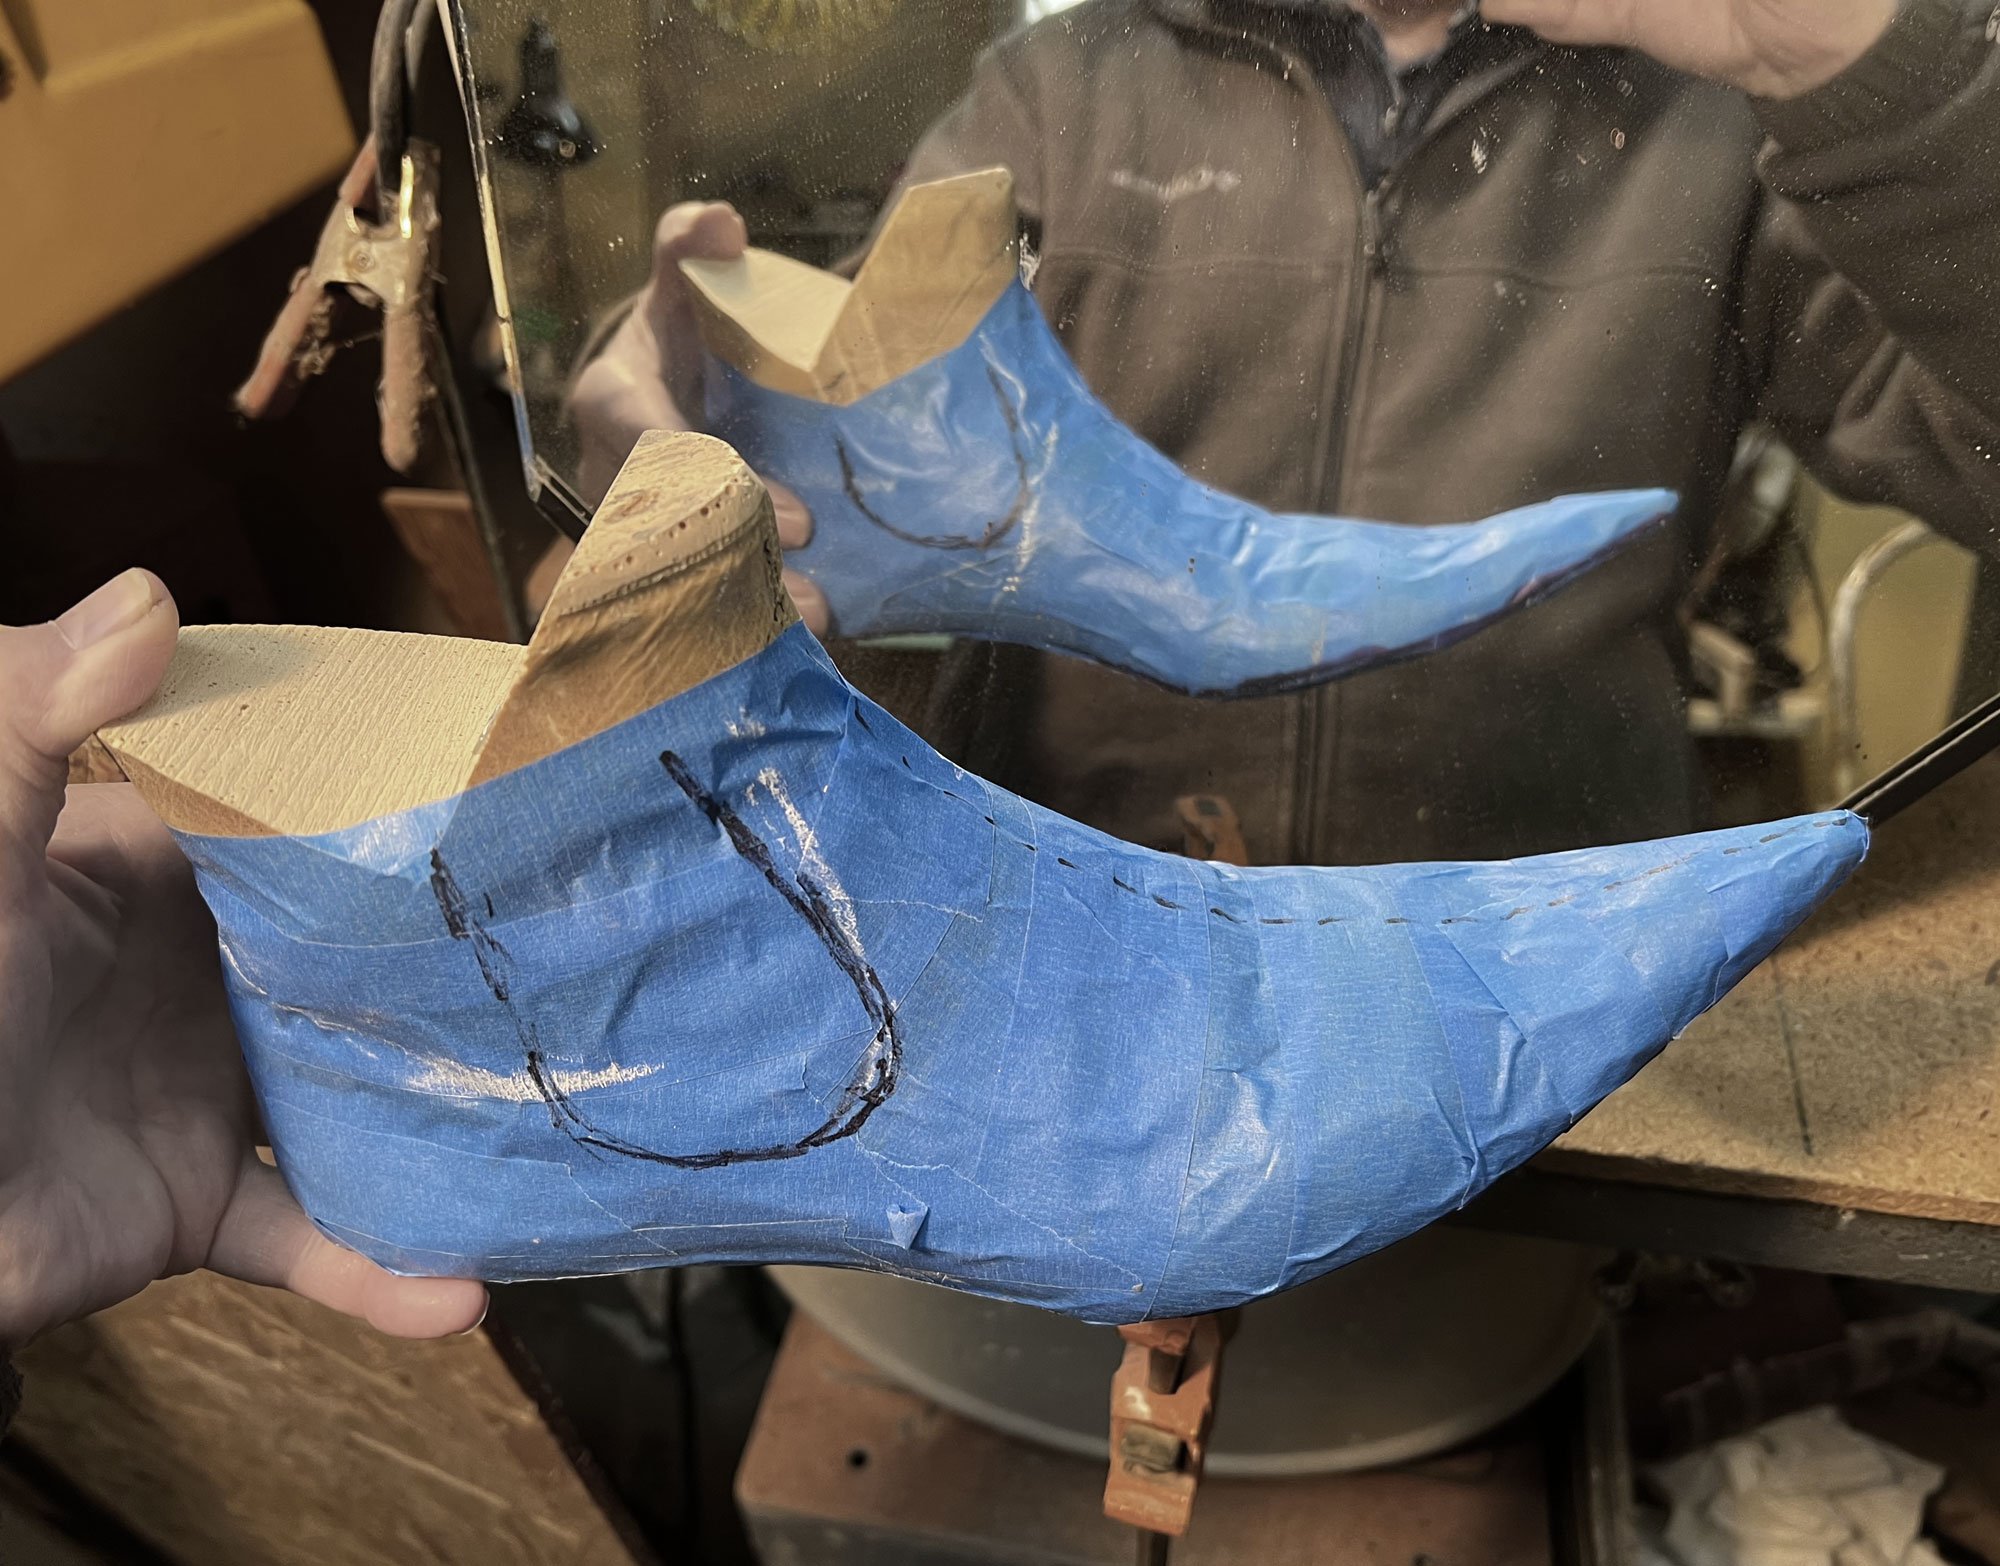
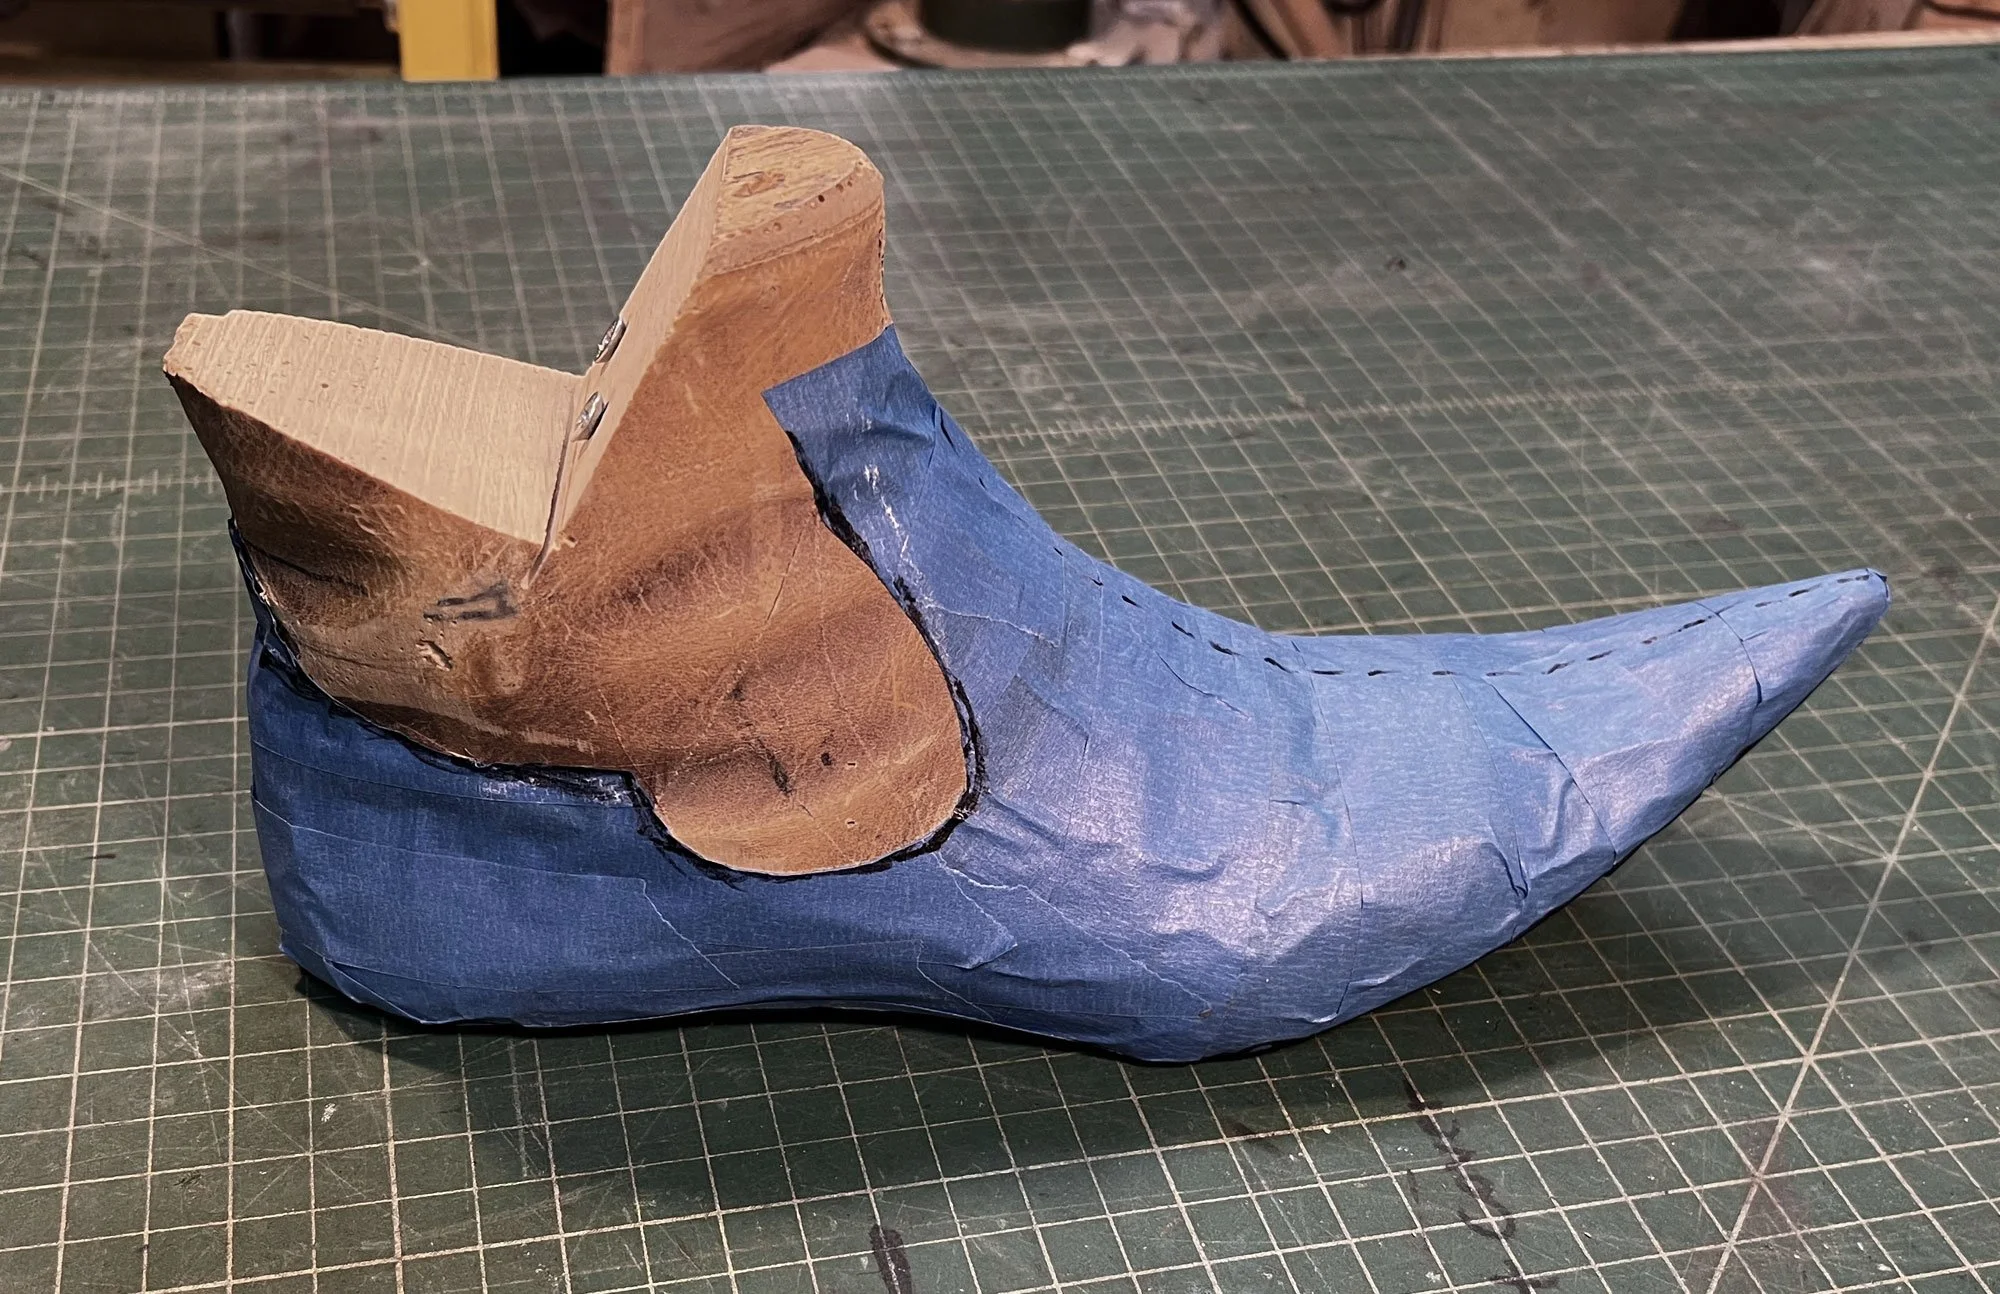
Since elves and fairies are popular Ren Faire characters I decided to construct a fairy shoe, complete with pointed toe. I began by covering the last with blue masking tape.
Drawing out the patterns onto the masking tape

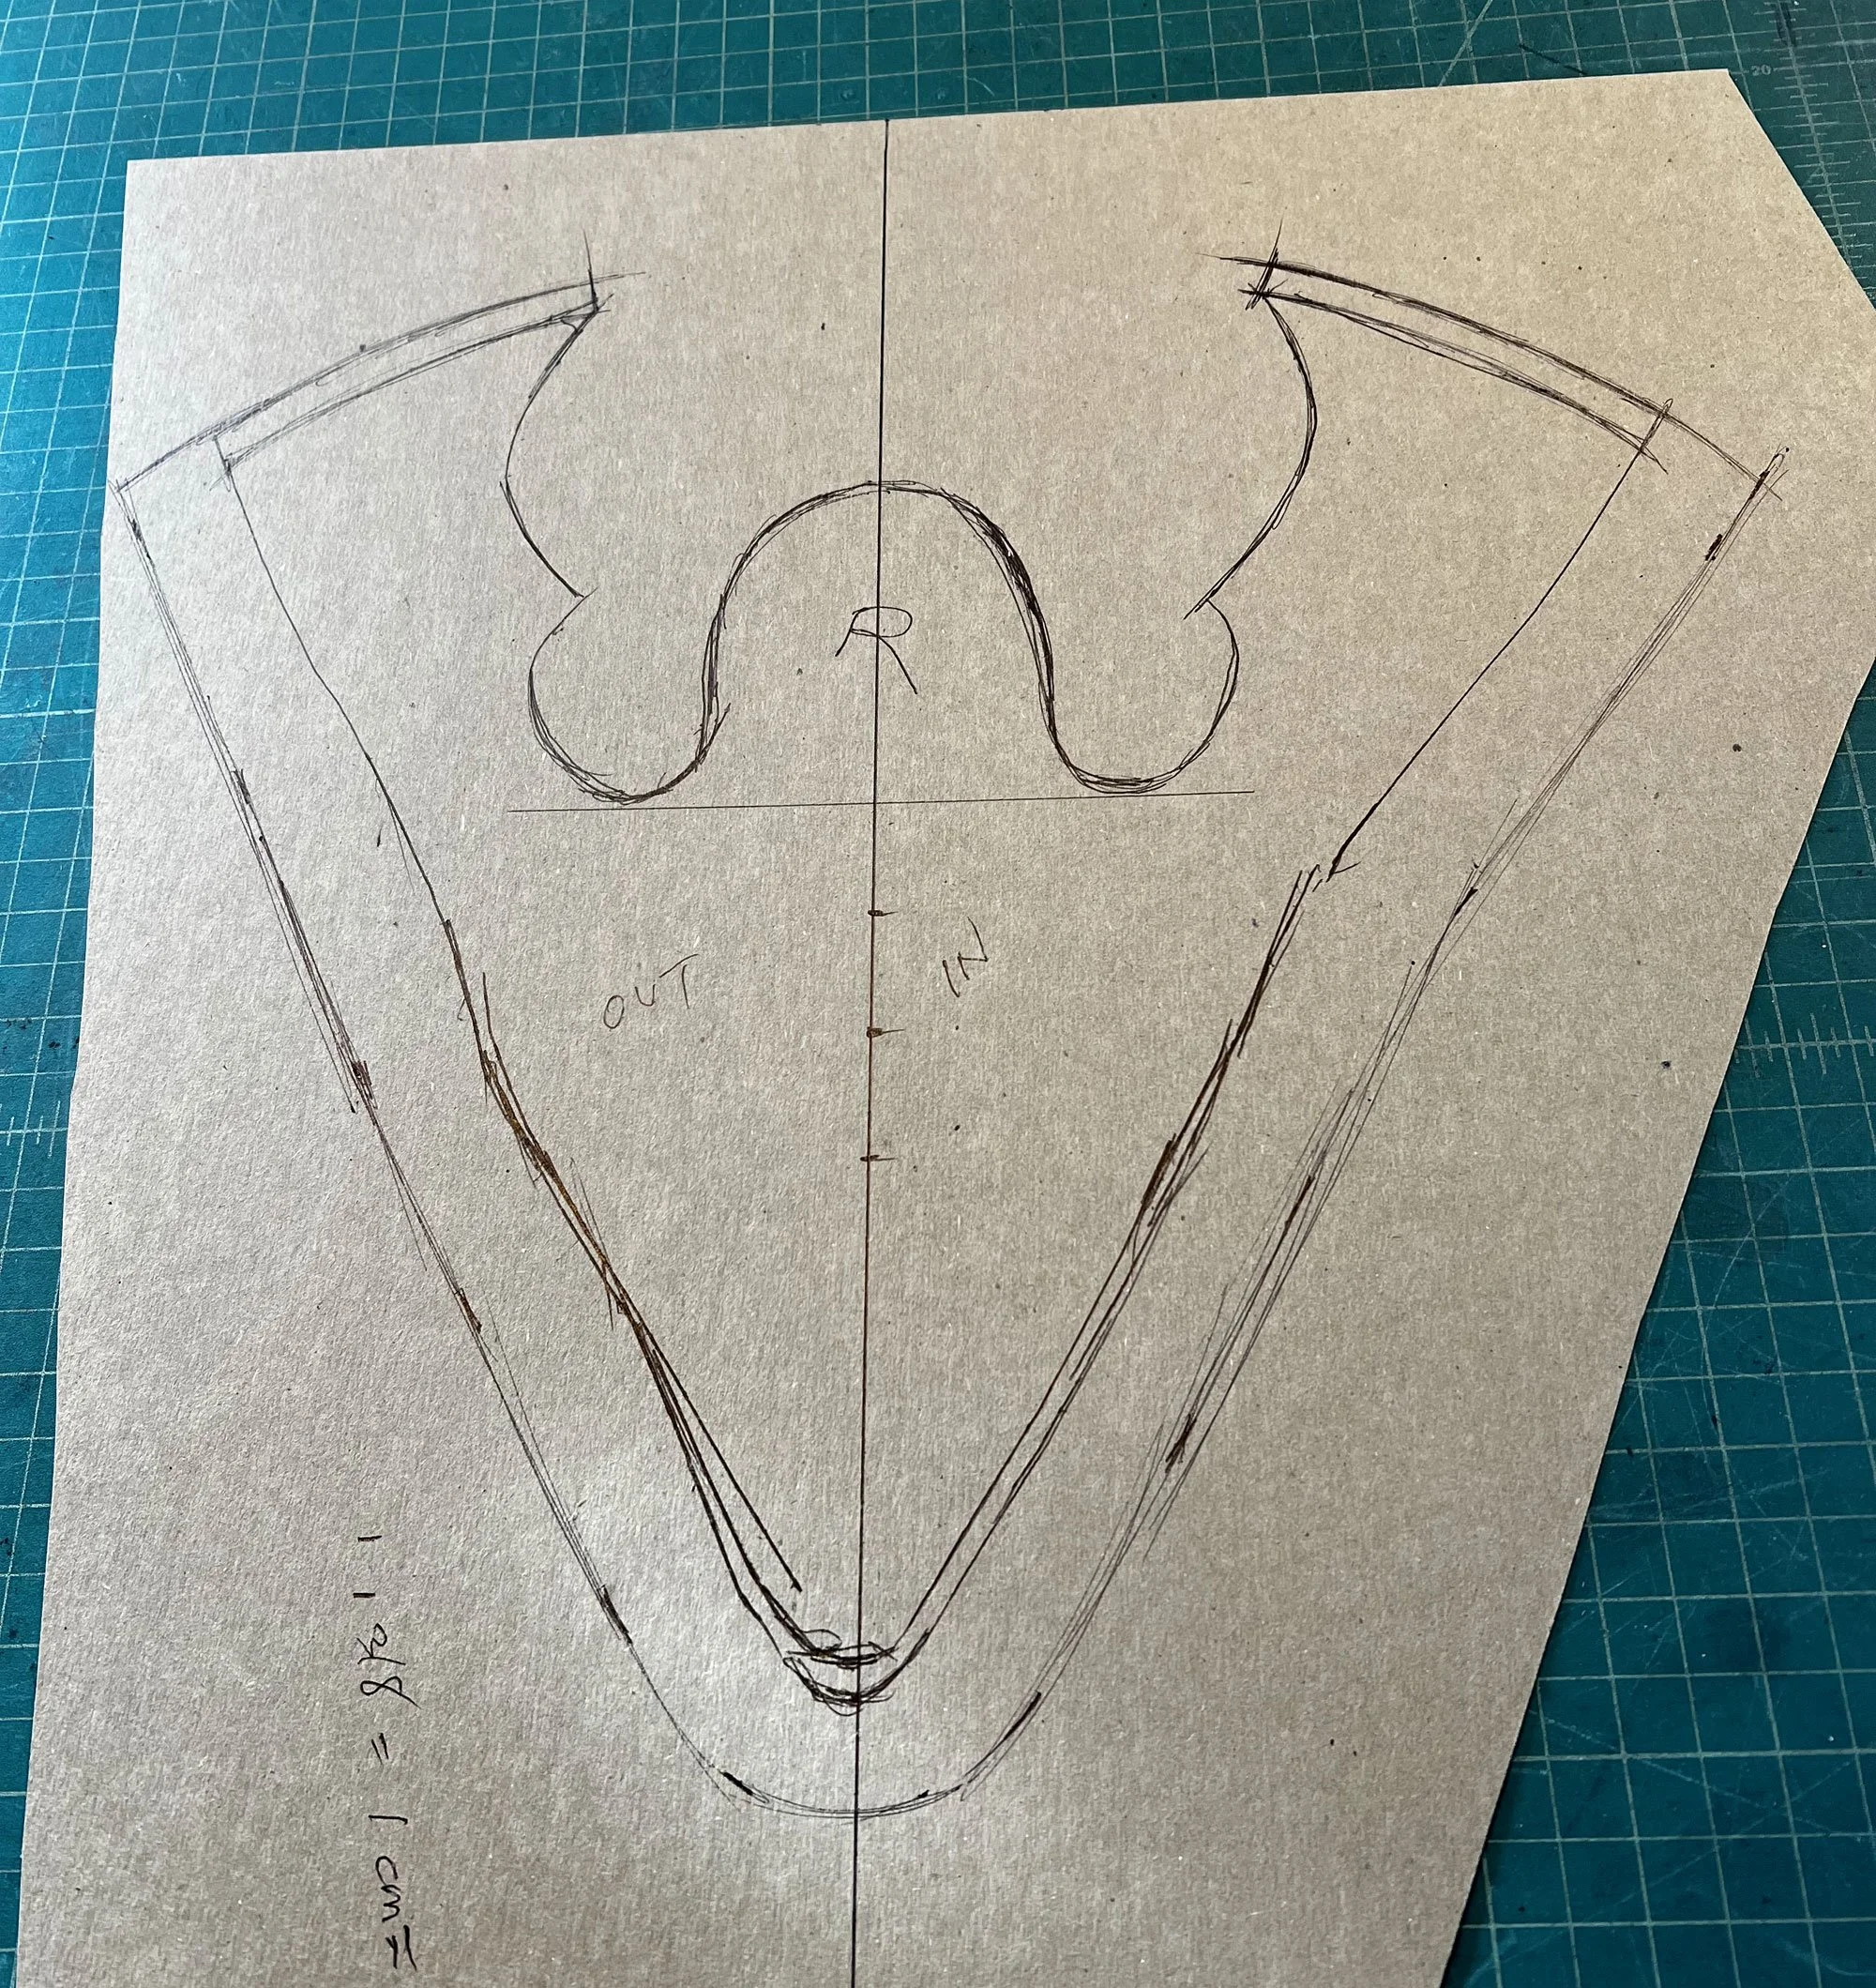
I used a straight-edge to mark a center line, then aligned the two halves of the uppers to it one at a time. I had to rotate the blue pattern as it extended to the toe. At the right you can see the two straightened patterns marked onto the chipboard.
To construct the shoe, I began with the insole piece of 5 oz veg tan leather. After cutting it out I tacked it to the sole of the last.
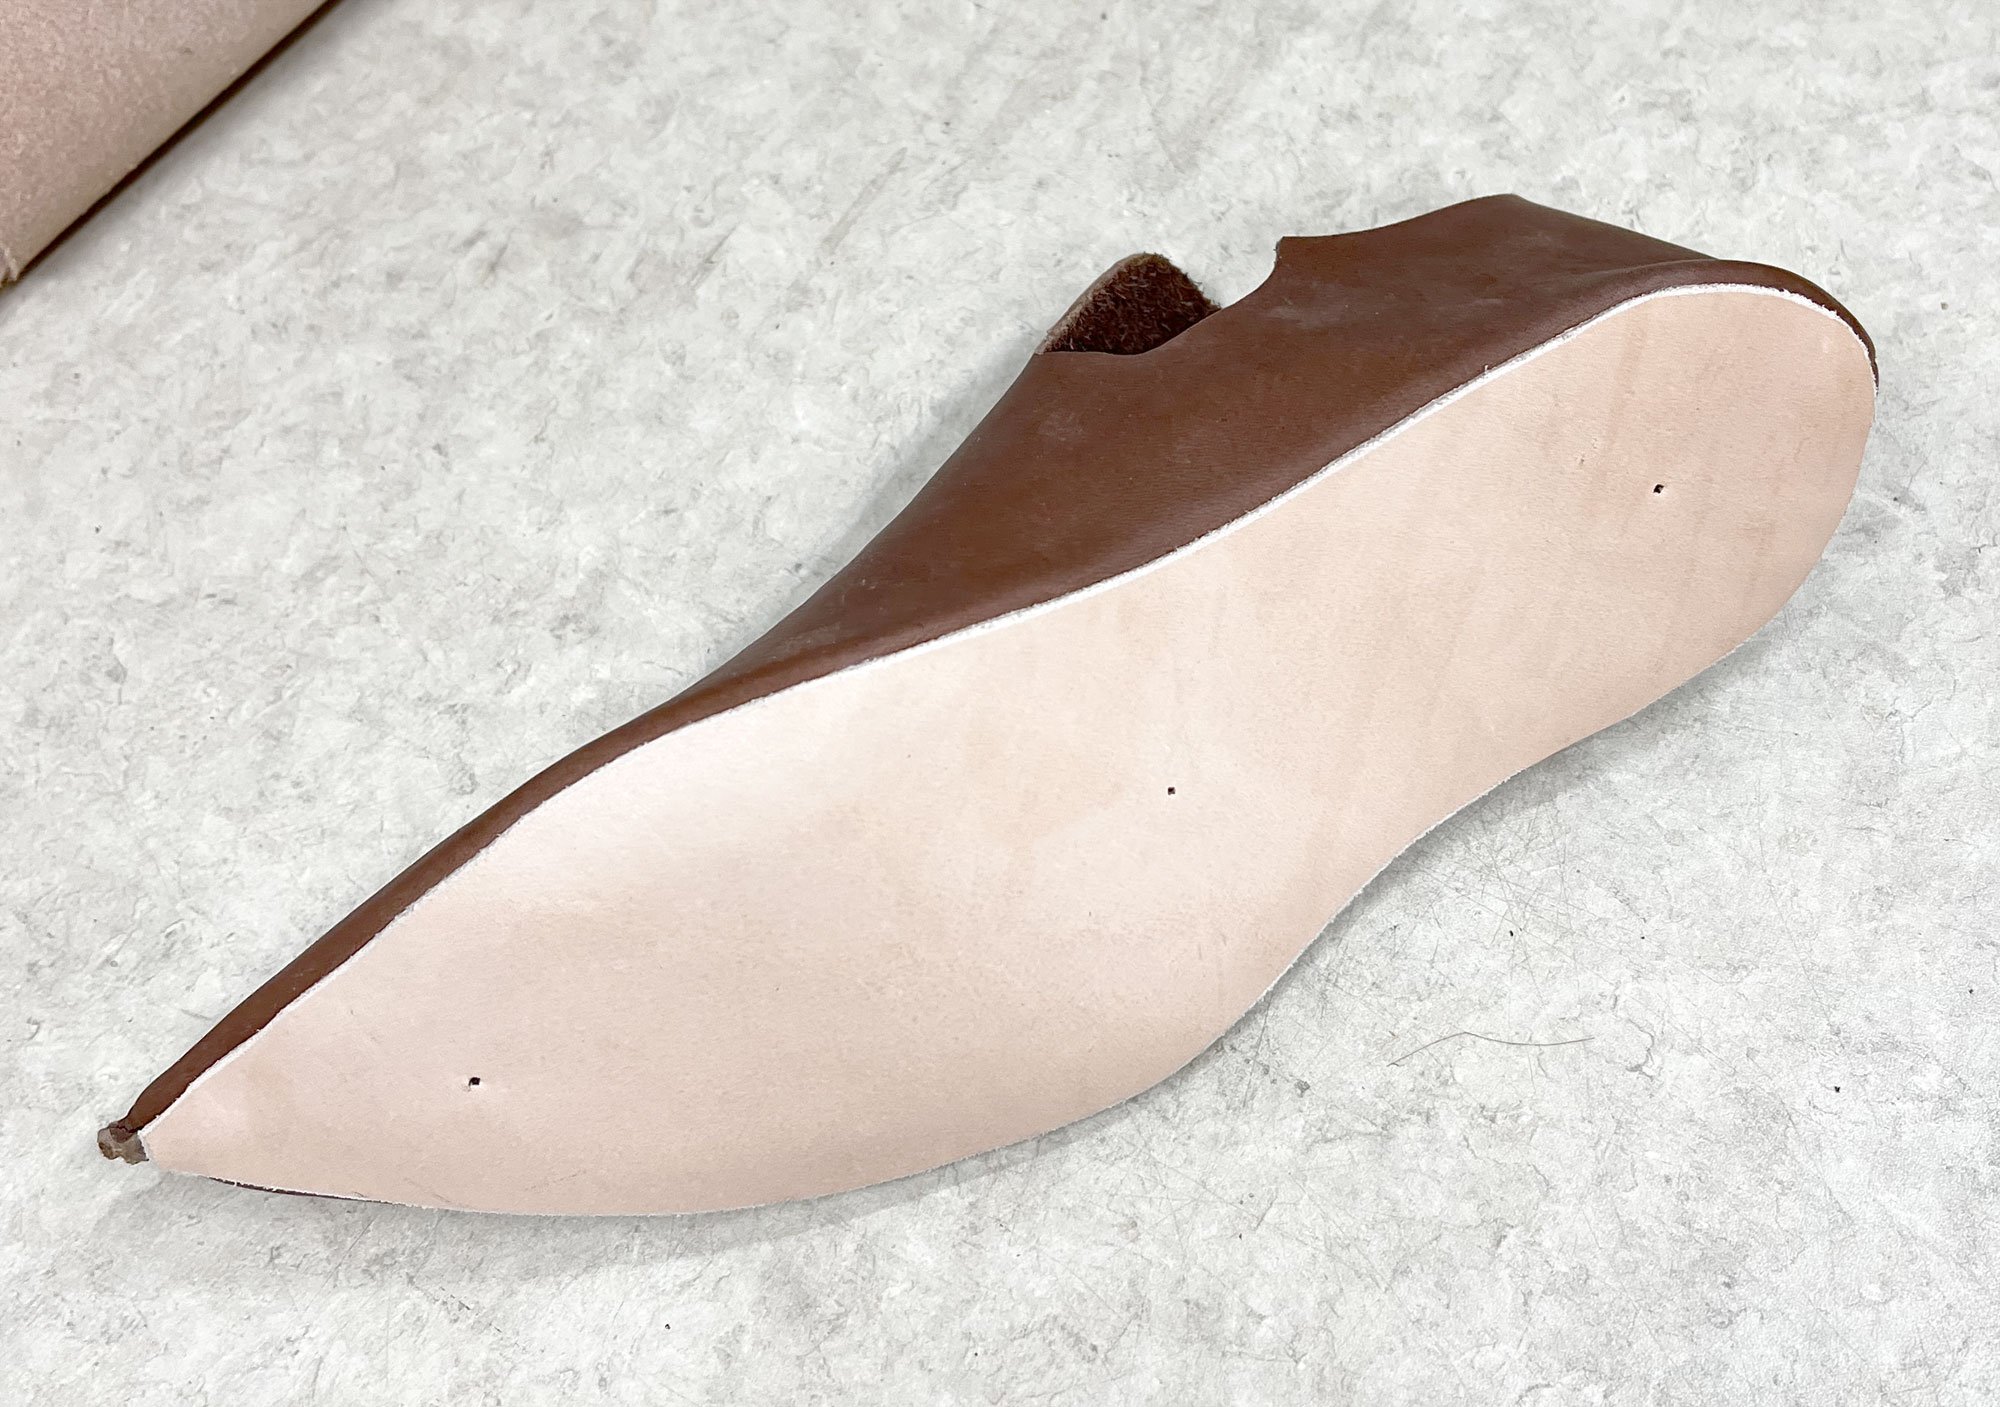
I glued it all down with contact cement. Once that was set, I pulled out the tacks. That left a large open area on the bottom which I needed to fill with a piece of similar weight leather.
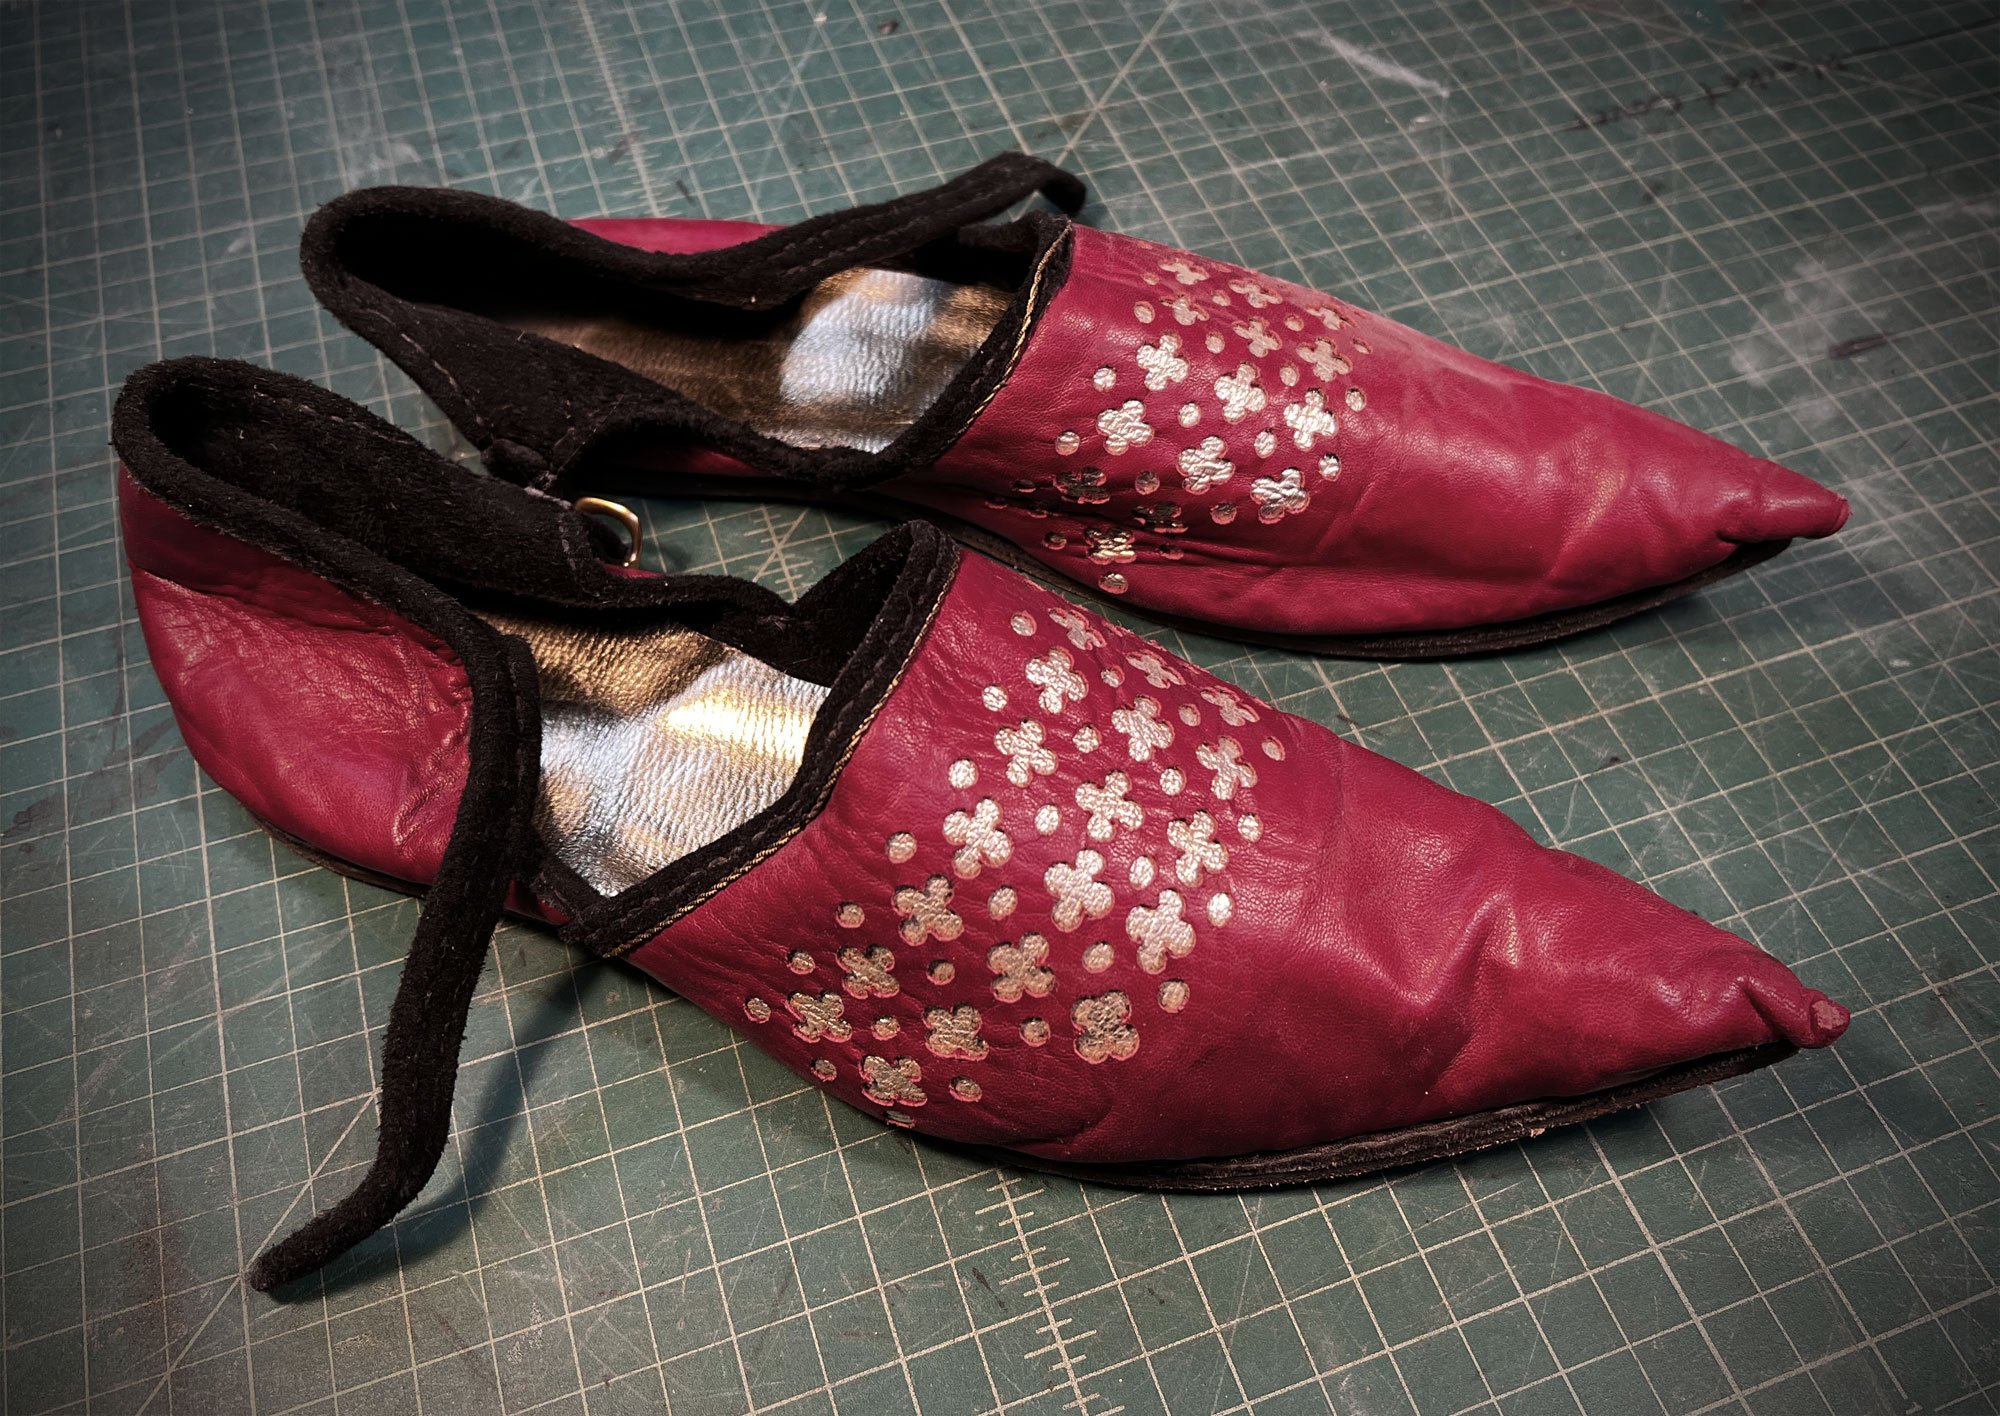
Poulaines
To make them I built my own lasts. I bought a pair of cheap, used shoes that fit me and filled them full of resin. I cut the shoe off the casting, and built up the pointy toe using Bondo™. By carefully sanding them I had a pair of lasts over which I could make medieval shoes.
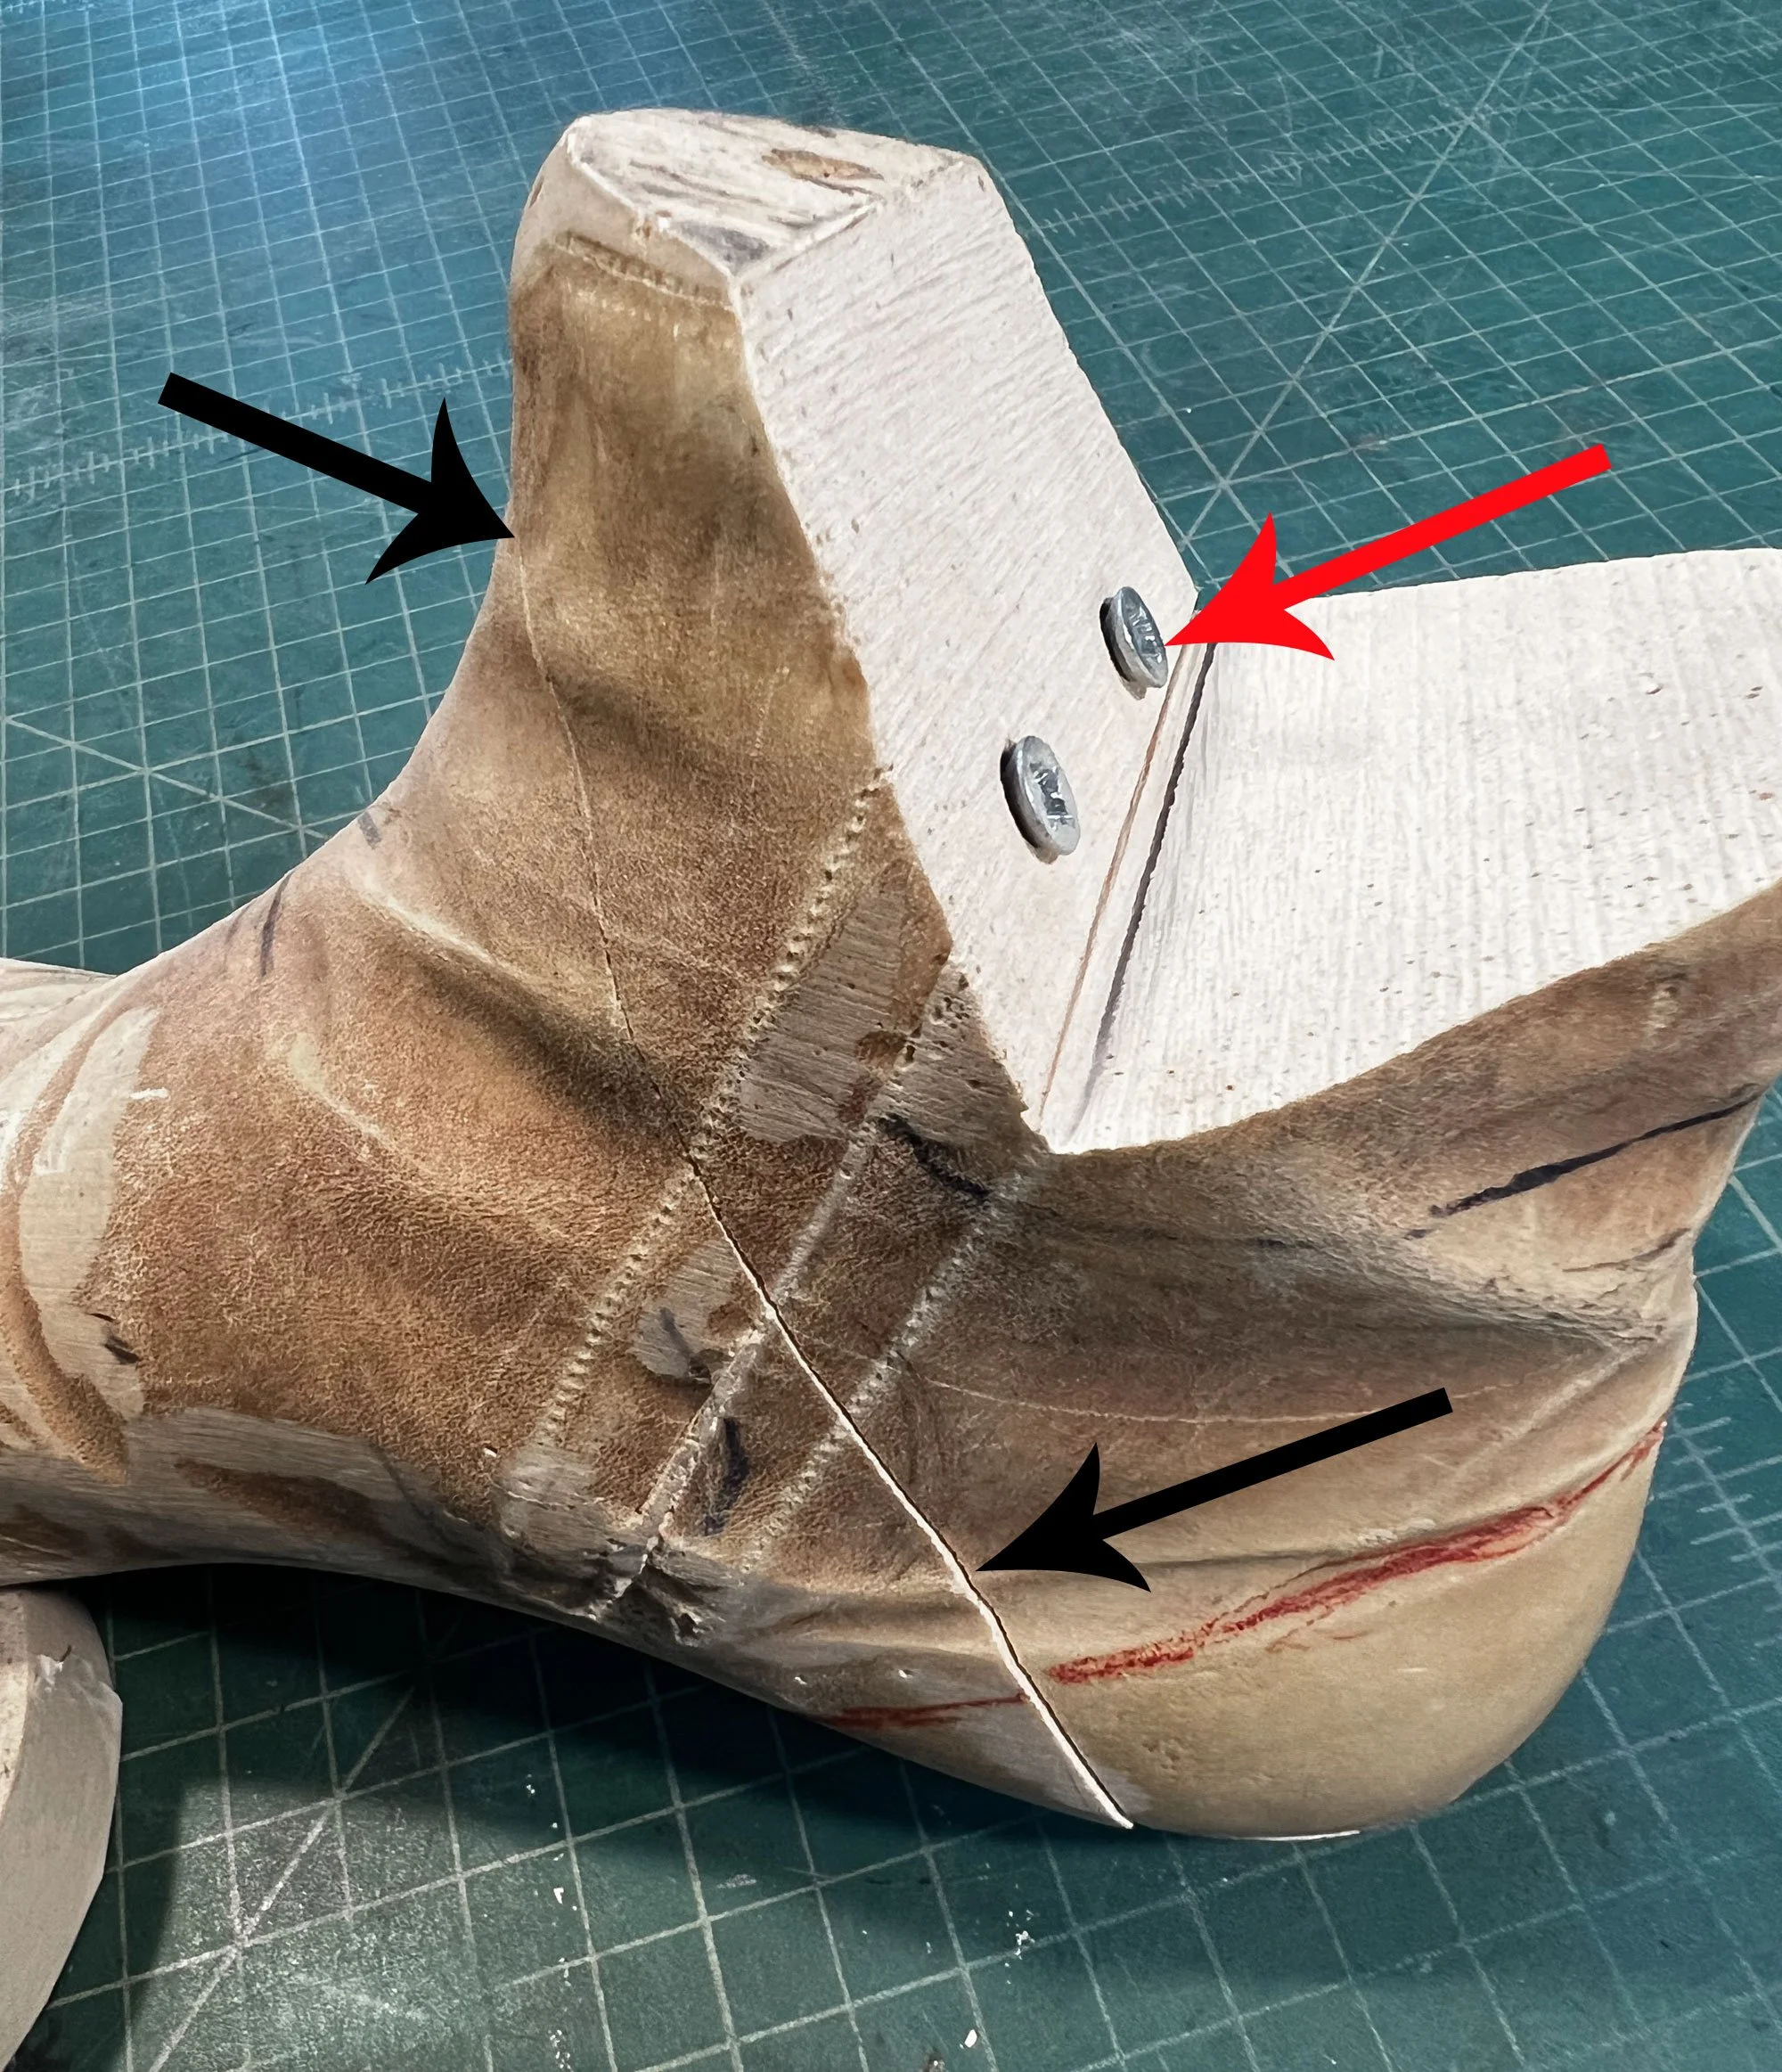
Close up of Last
Using markers I drew out the seams and patterns as I envisioned them onto the tape. To get the two sides of the shoe the same, I marked first one side, then held it up to a mirror (as shown in the pic) and marked the second side to match.
Next I used an Xacto knife to cut out the pattern and lay it down onto a piece of chipboard.
I cut the tape off right down the middle top of the last in order to get the pattern pieces to lie flat. But I wanted to make the uppers one large piece, so had to eliminate that middle seam.
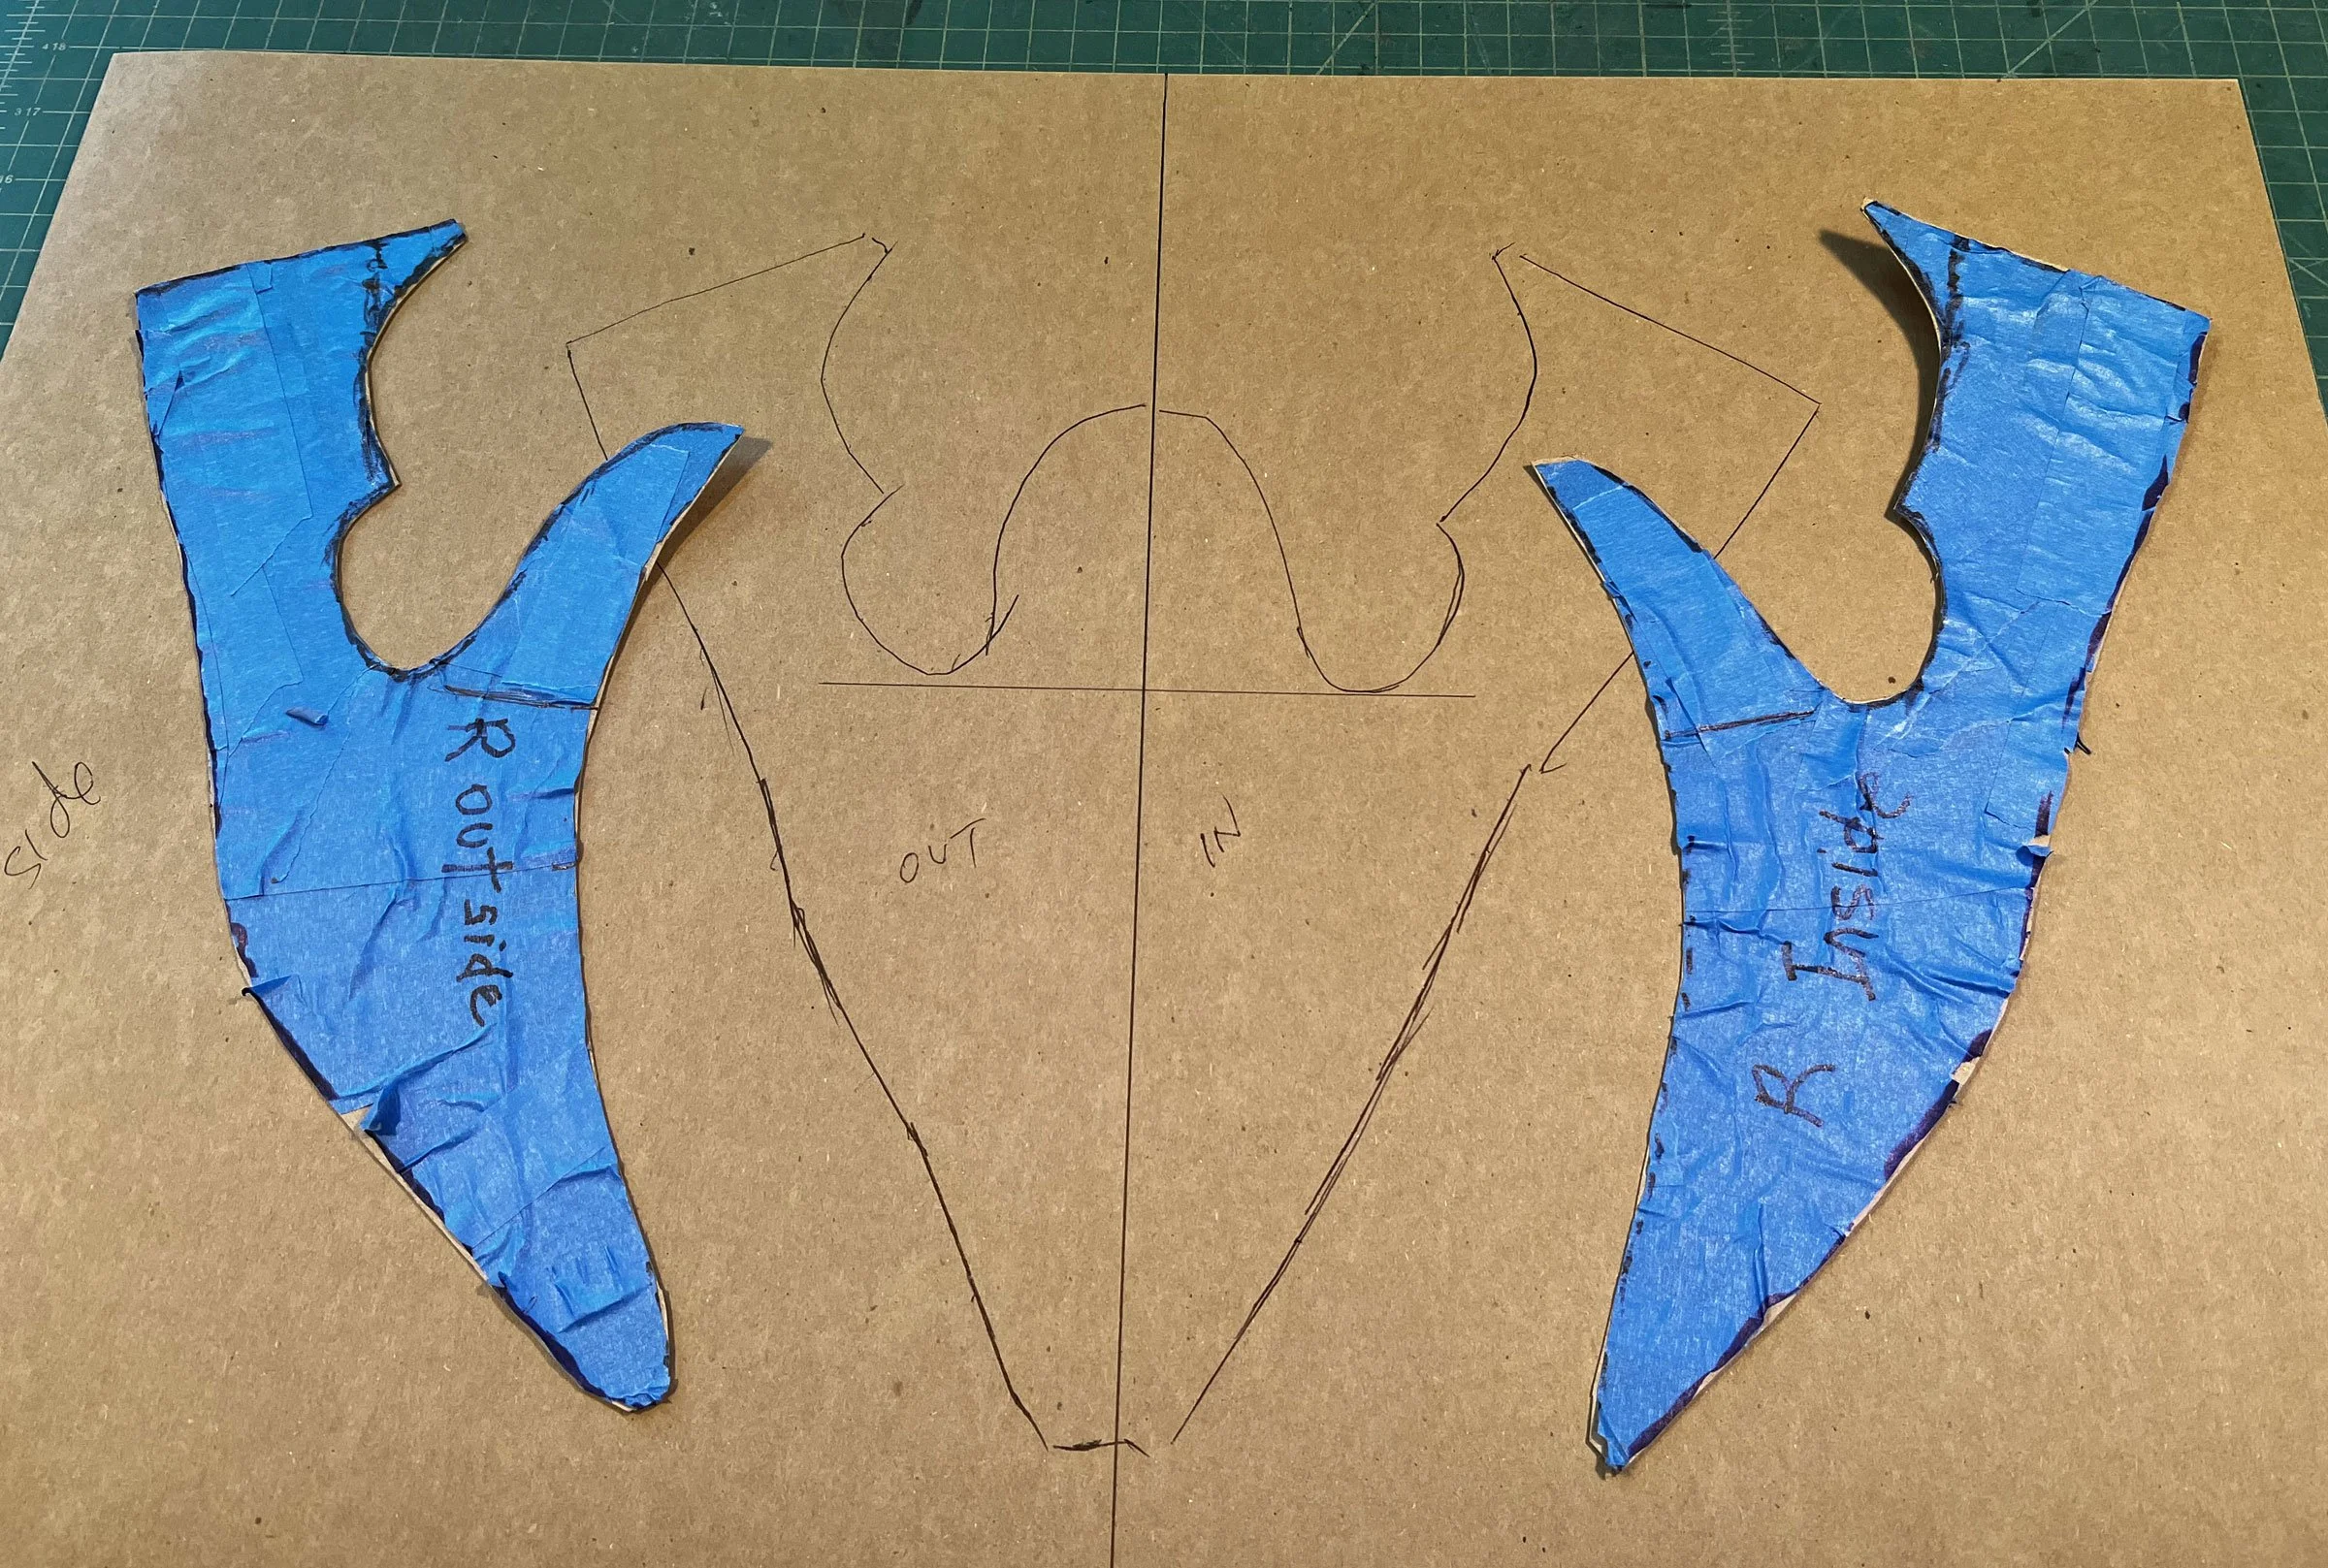
And to the left is the finished uppers pattern with seam allowance and stretch allowance marked, ready to be cut and transferred to the leather.
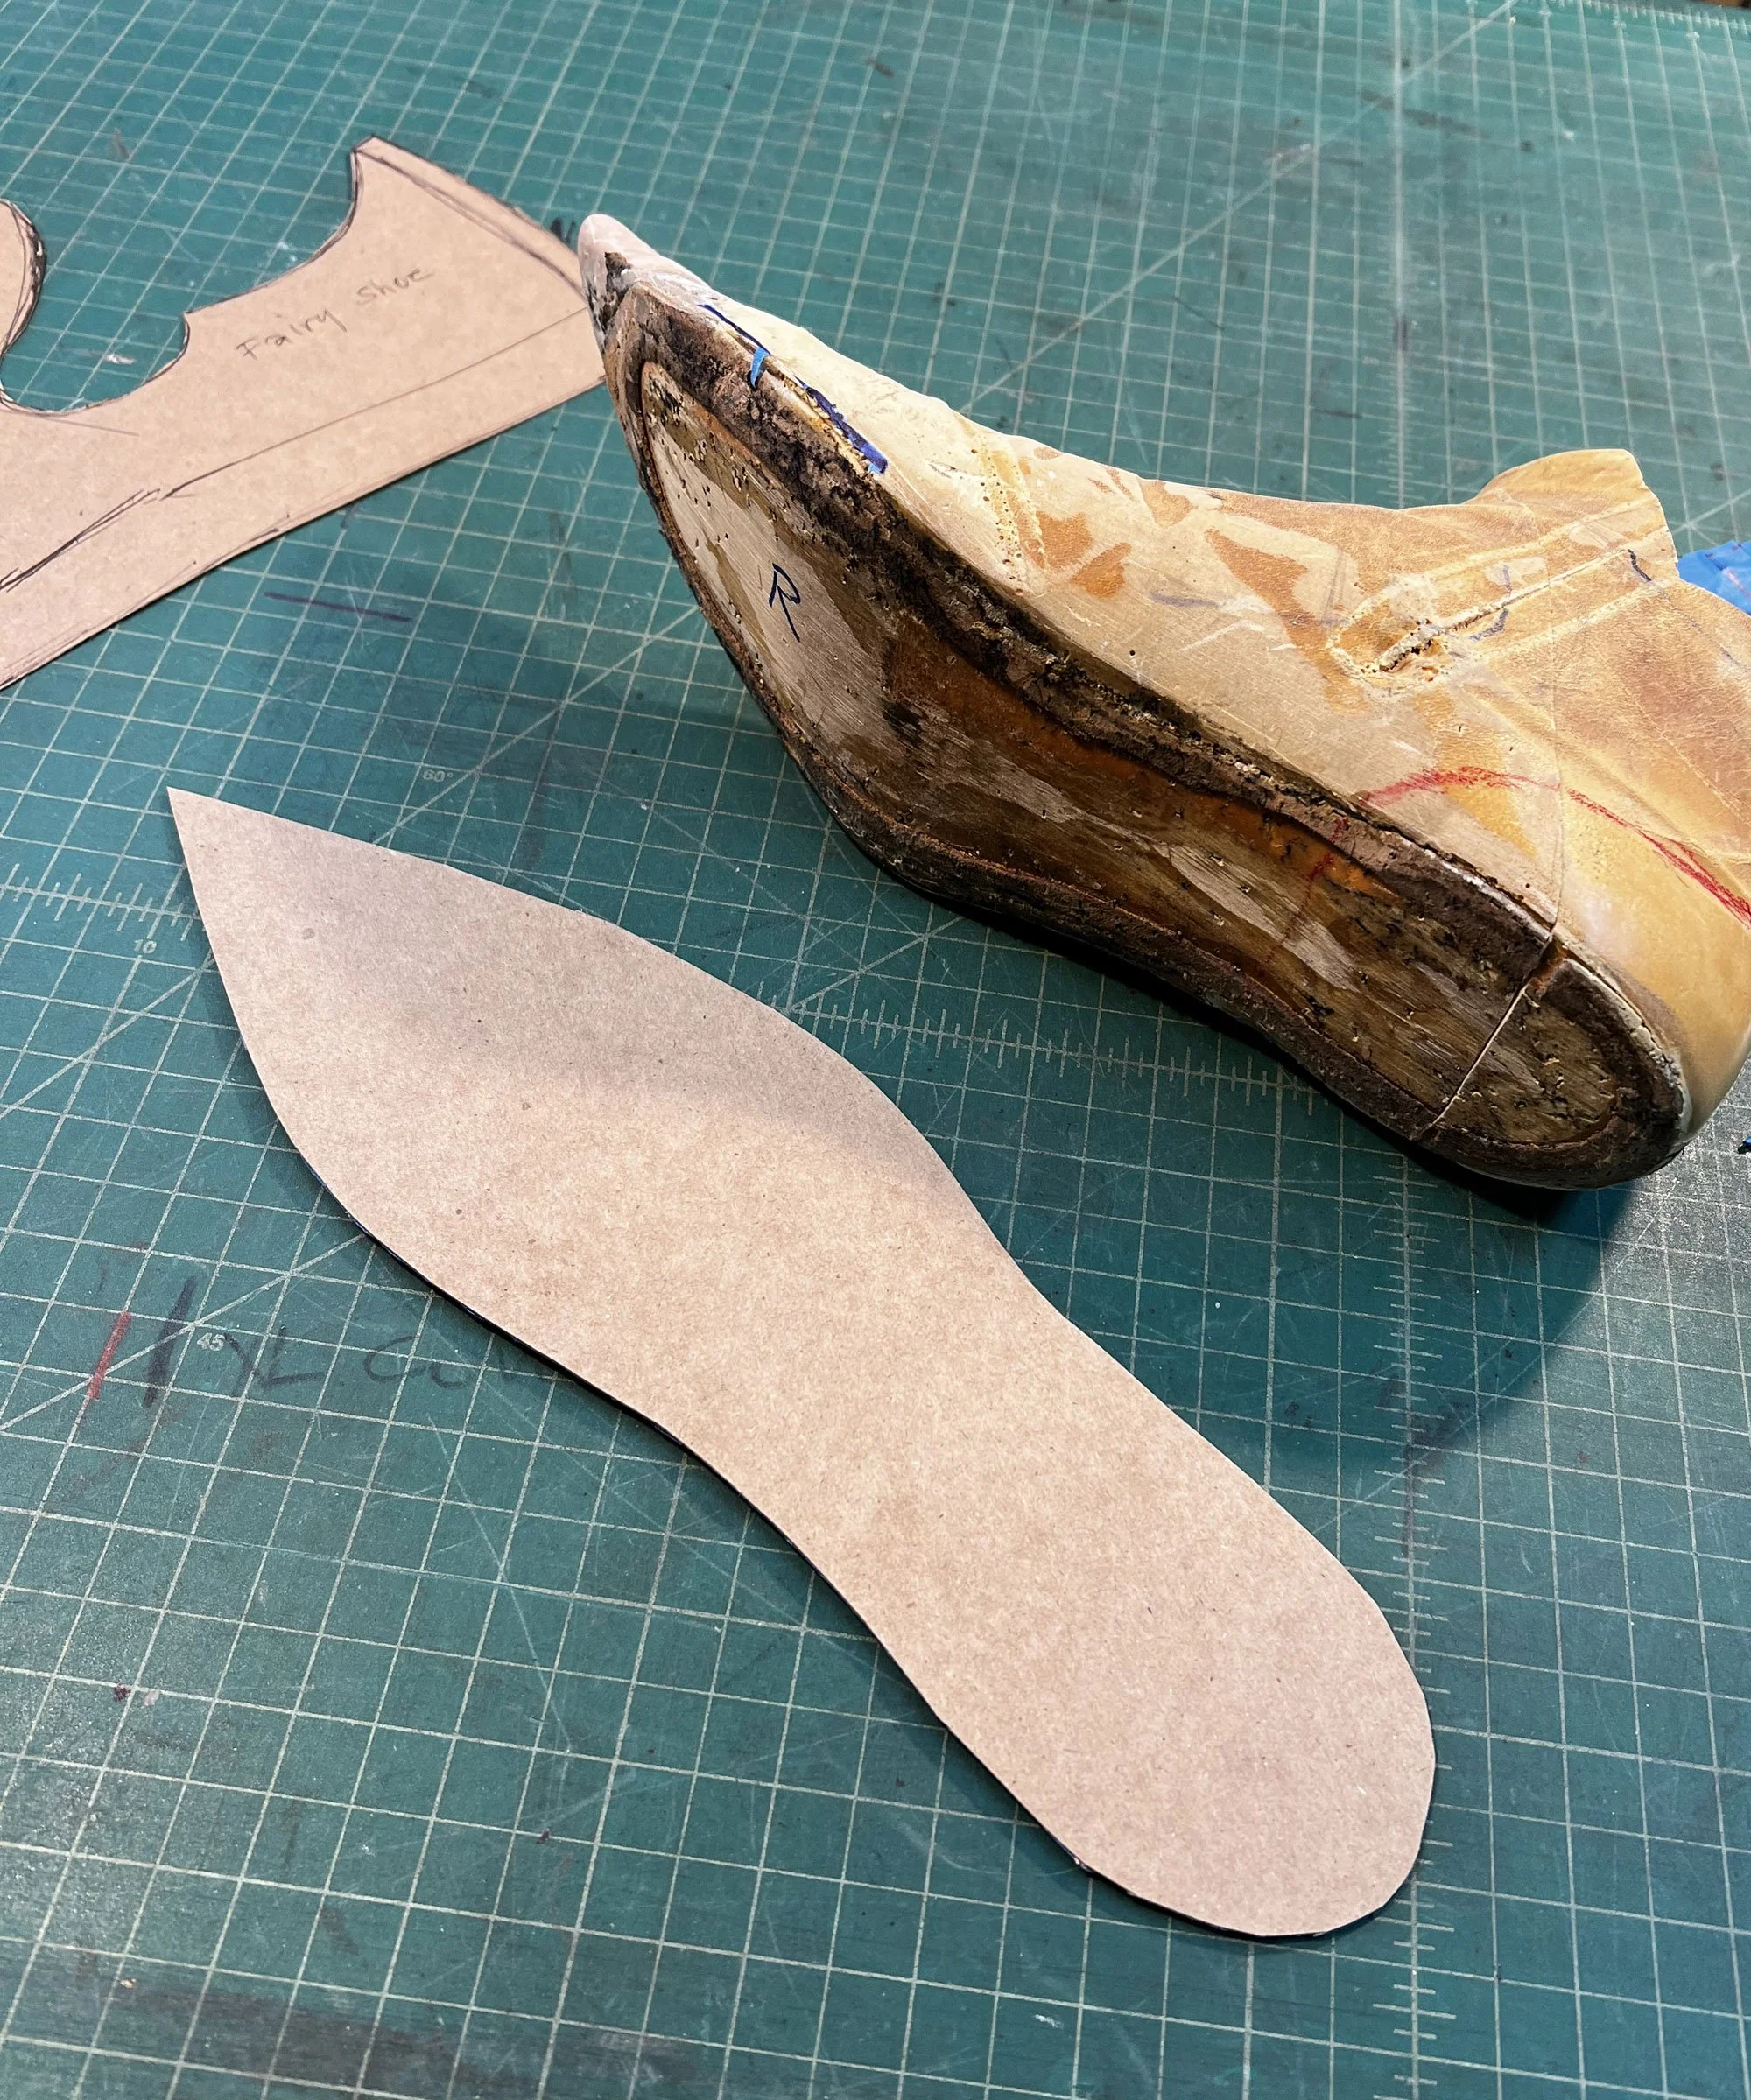
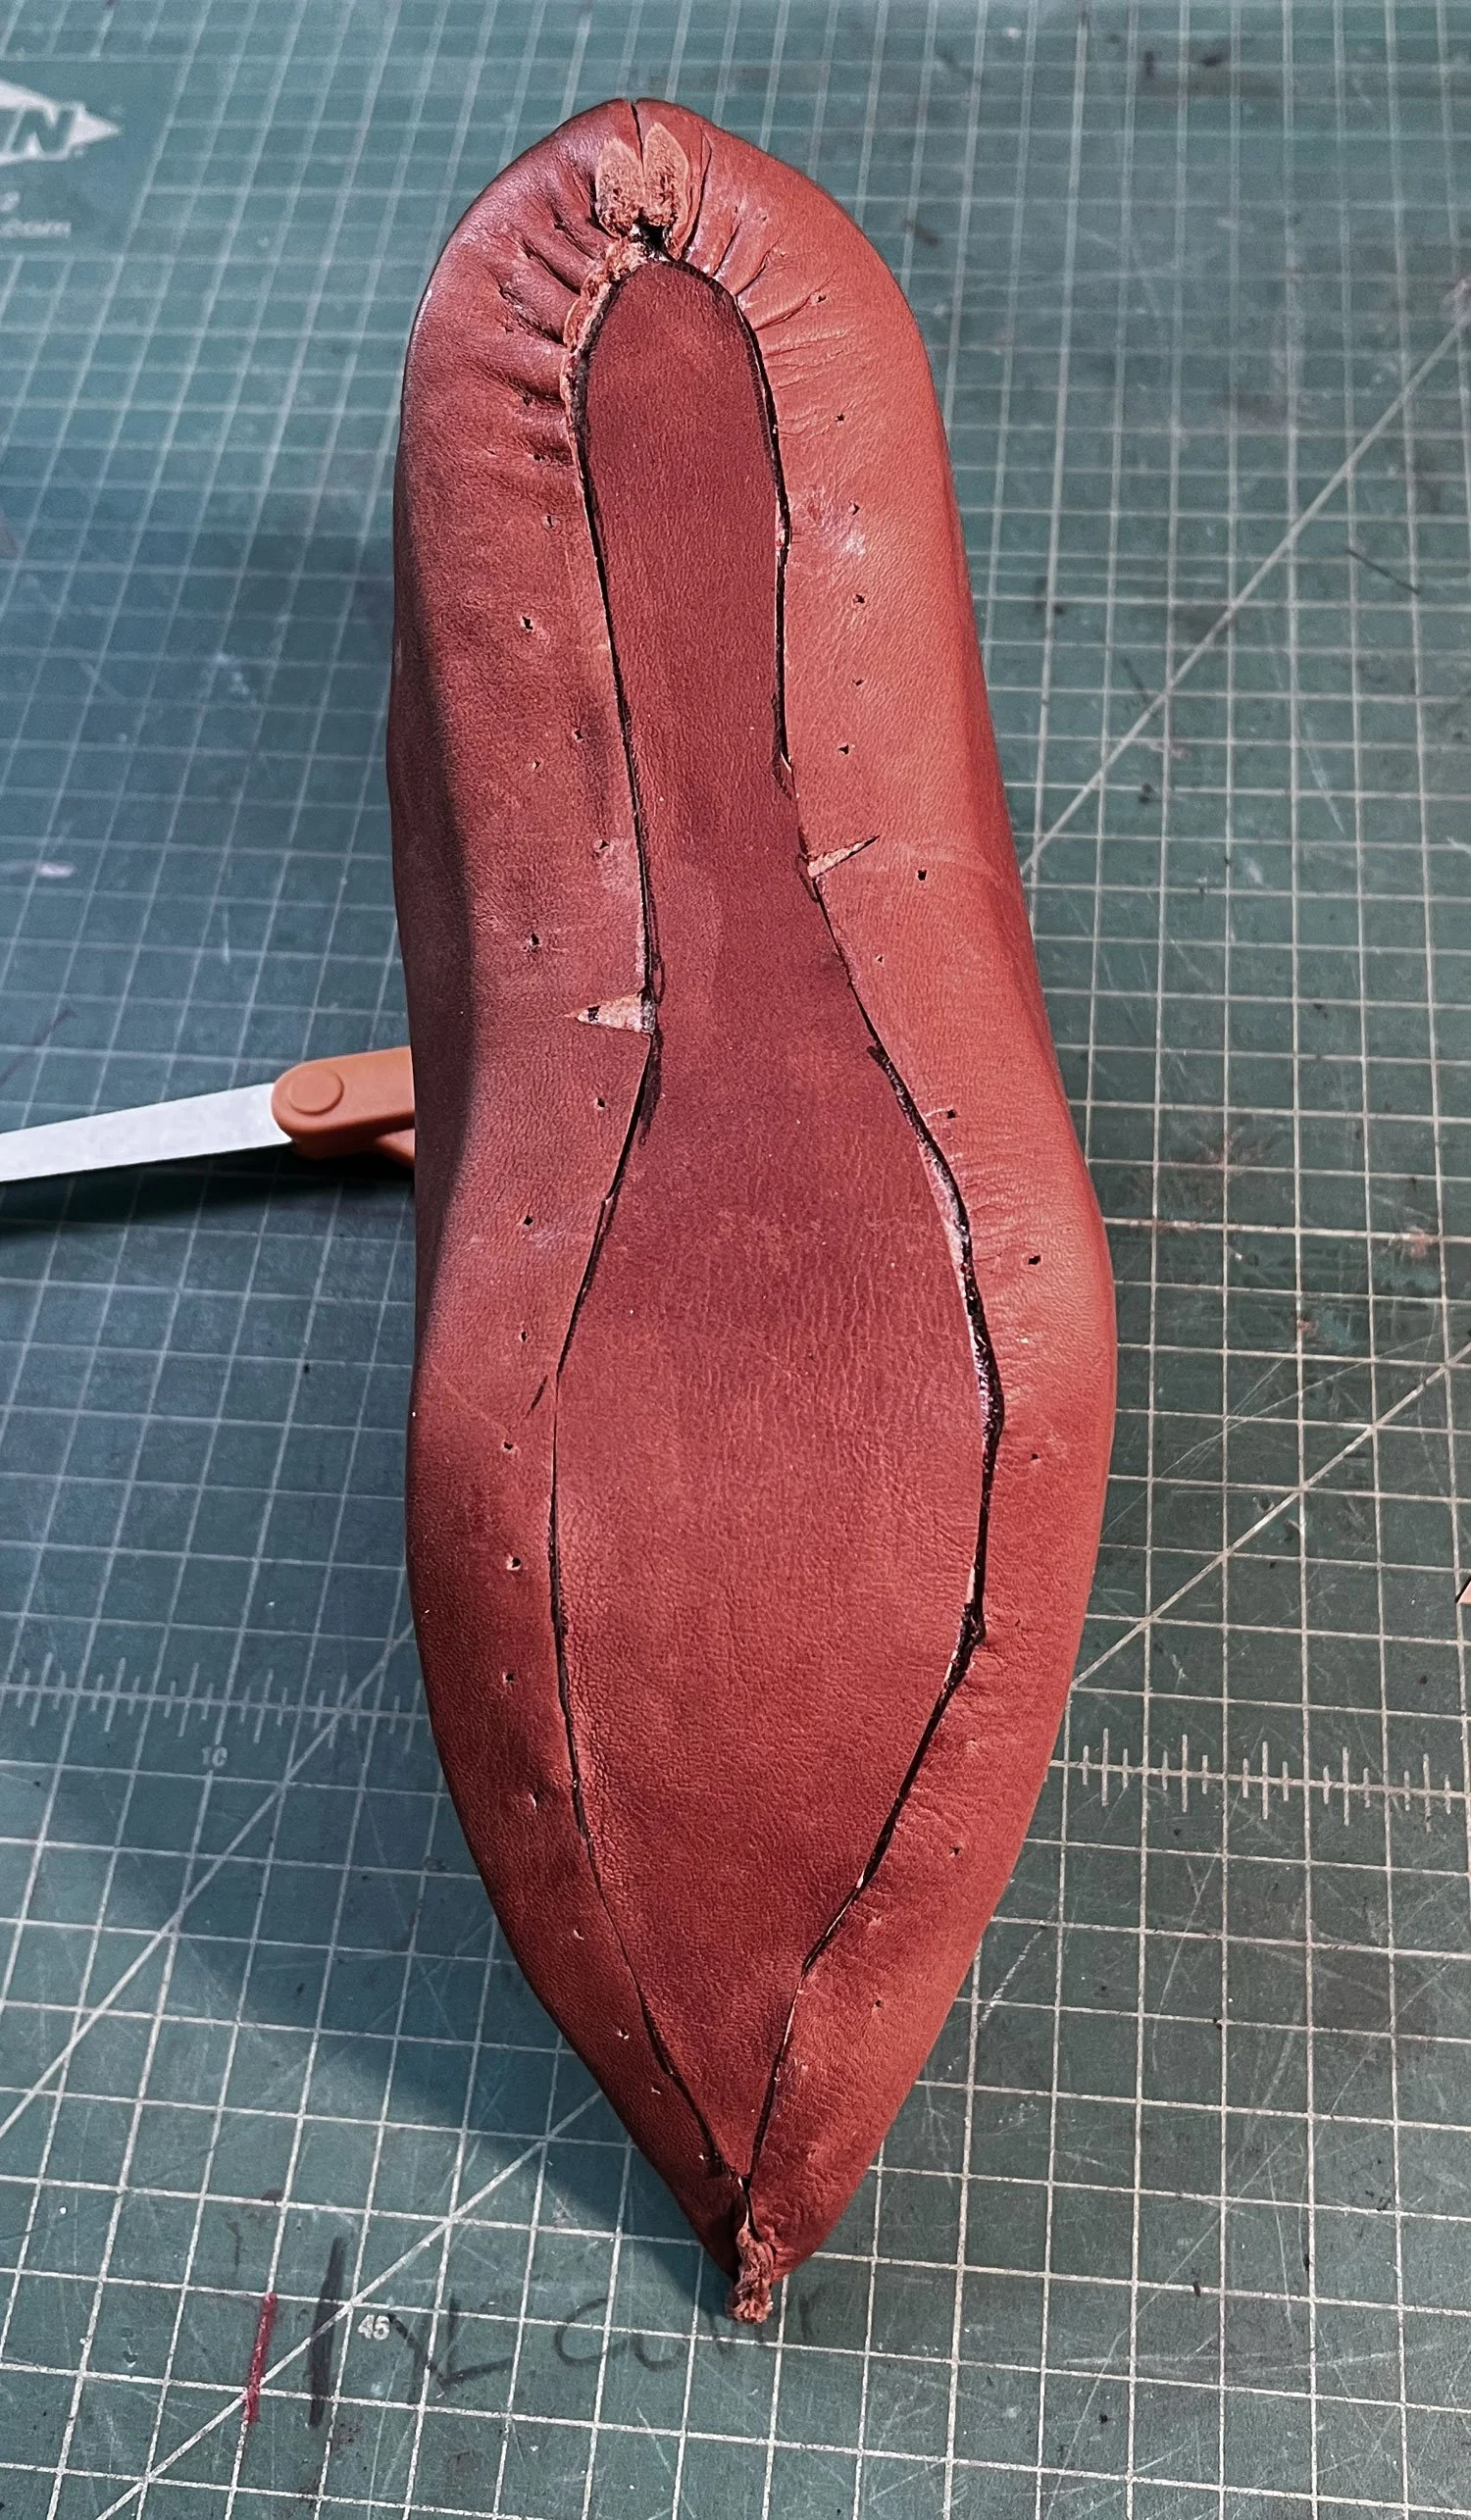
Insole
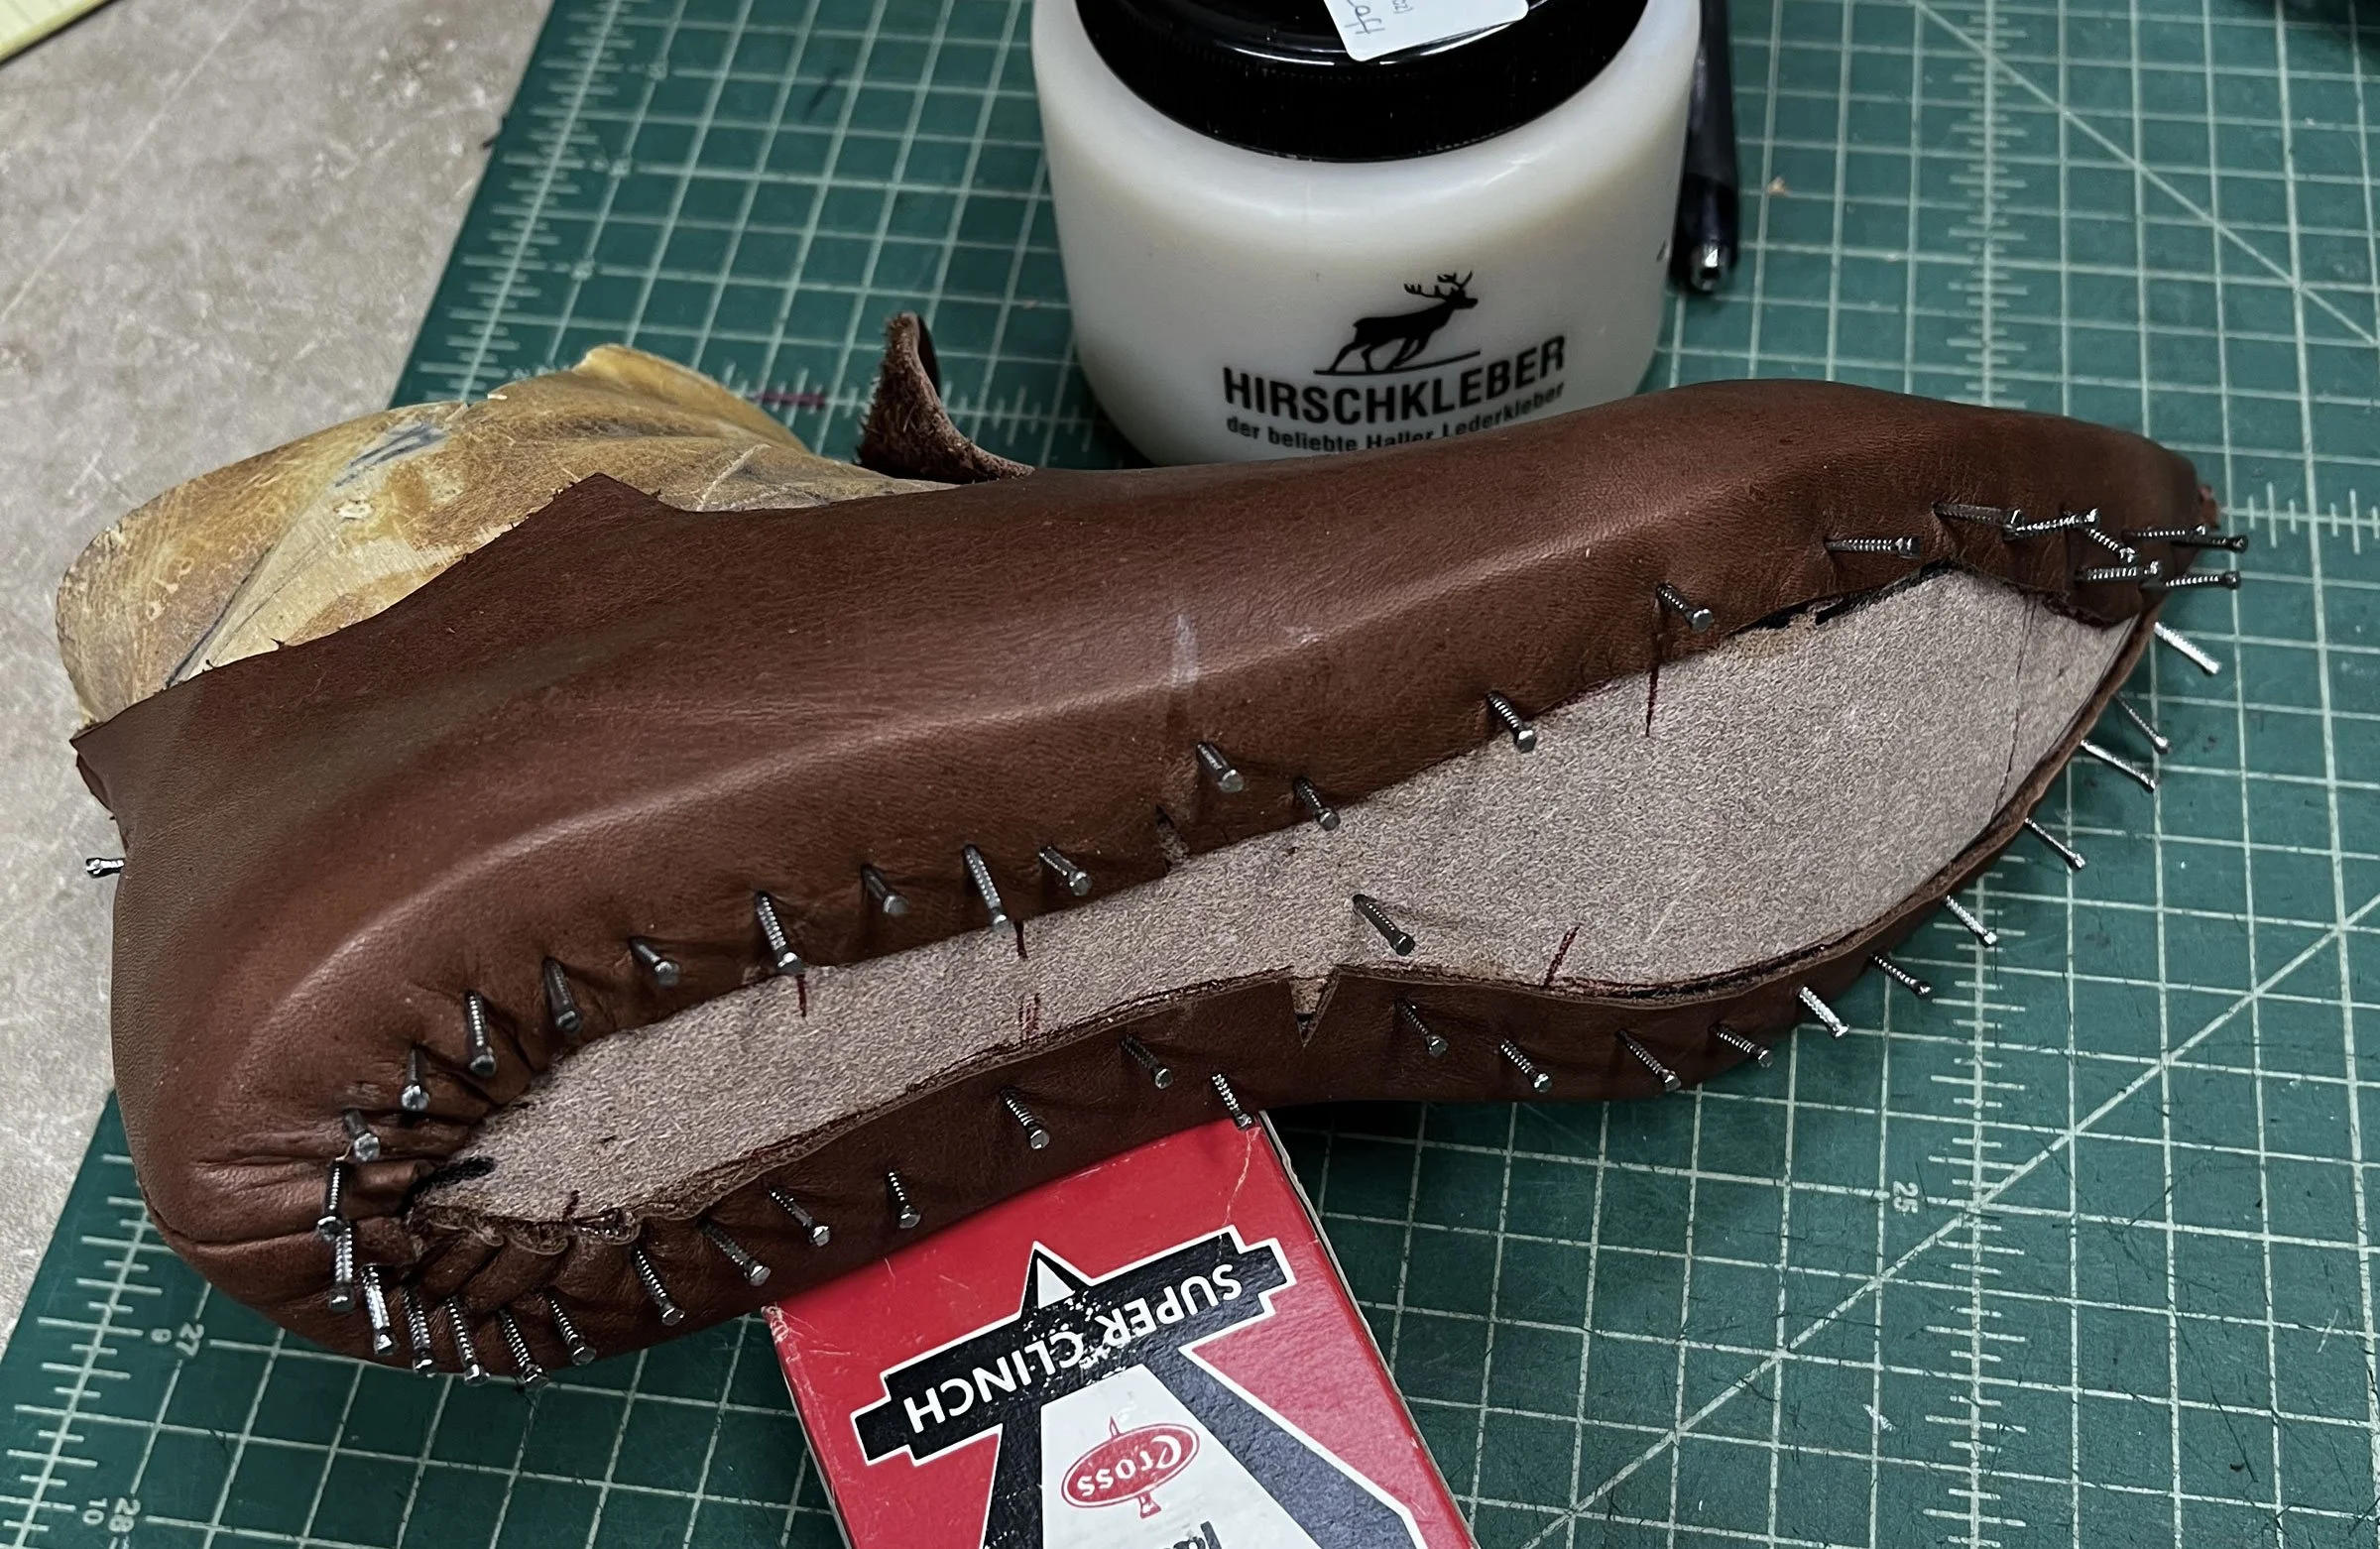
Next I cut out the uppers in a heavy garment weight cowhide. After sewing up the back seam, I stretched it over the last and tacked it down with ¾” tacks

I glued that in place with contact cement.
I used the insole pattern to cut another veg tan piece for the outer sole, and cemented in onto the bottom.

The finished shoe