

New uppers along with the shoe last
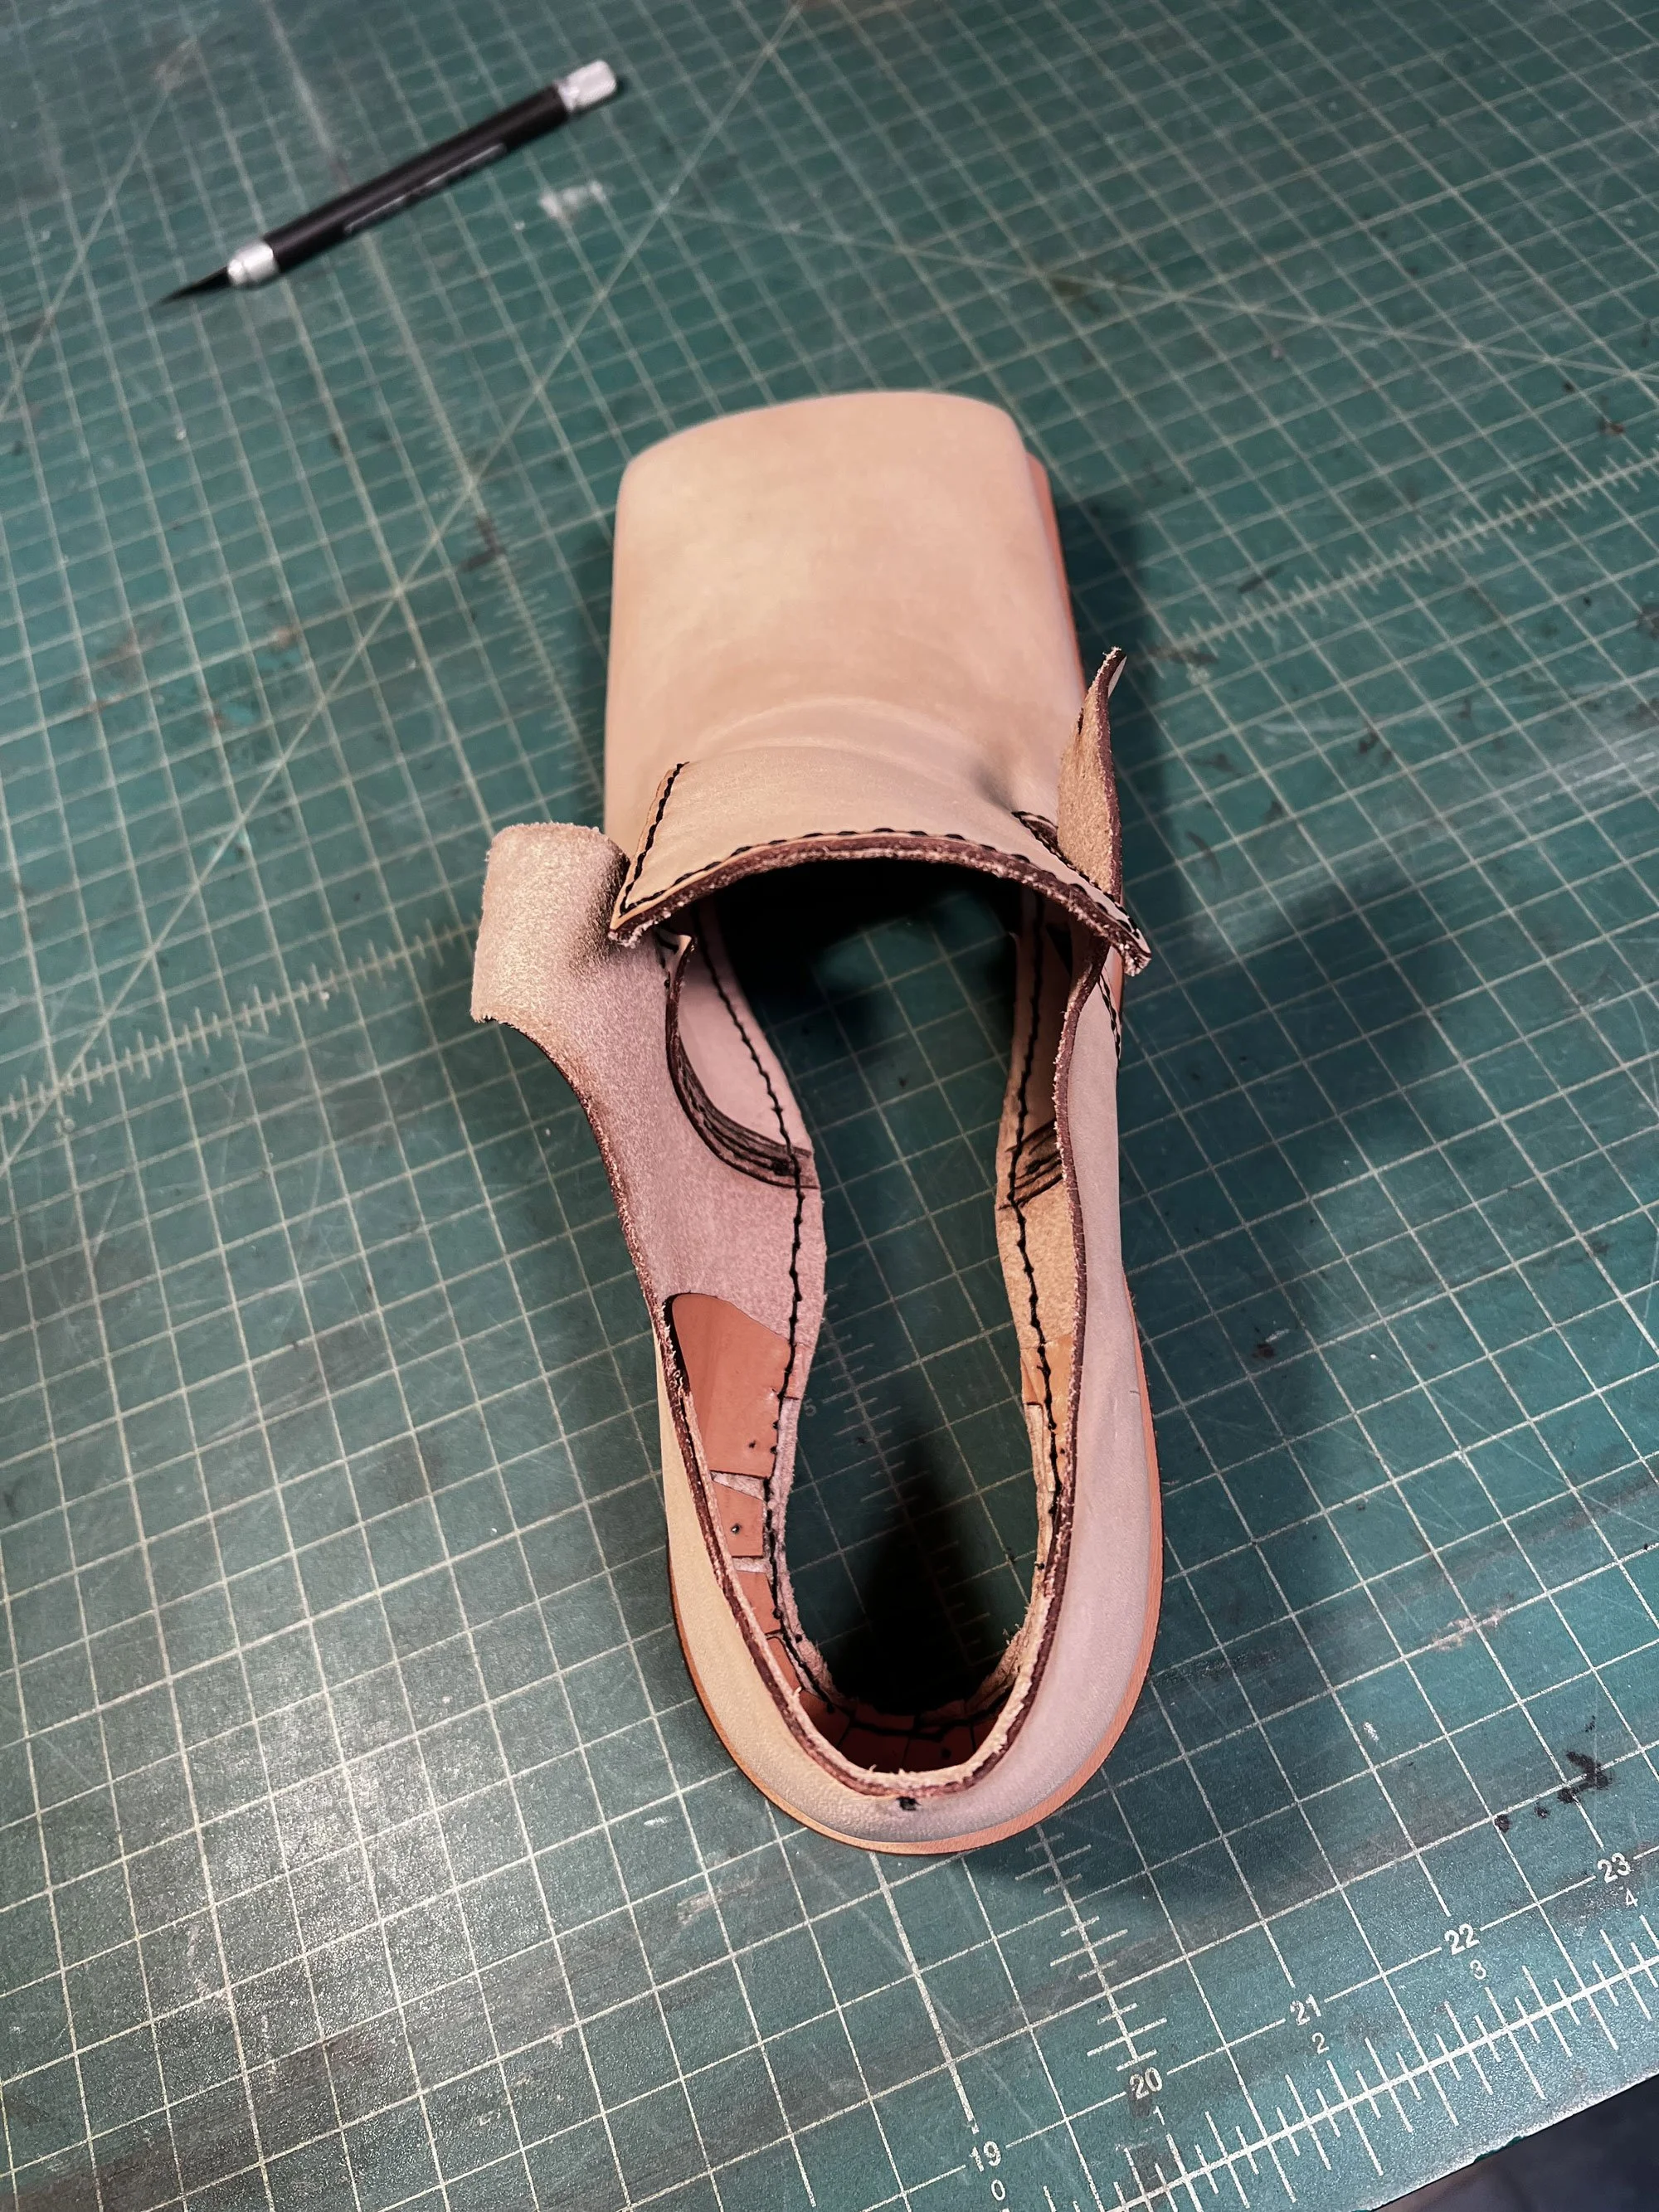
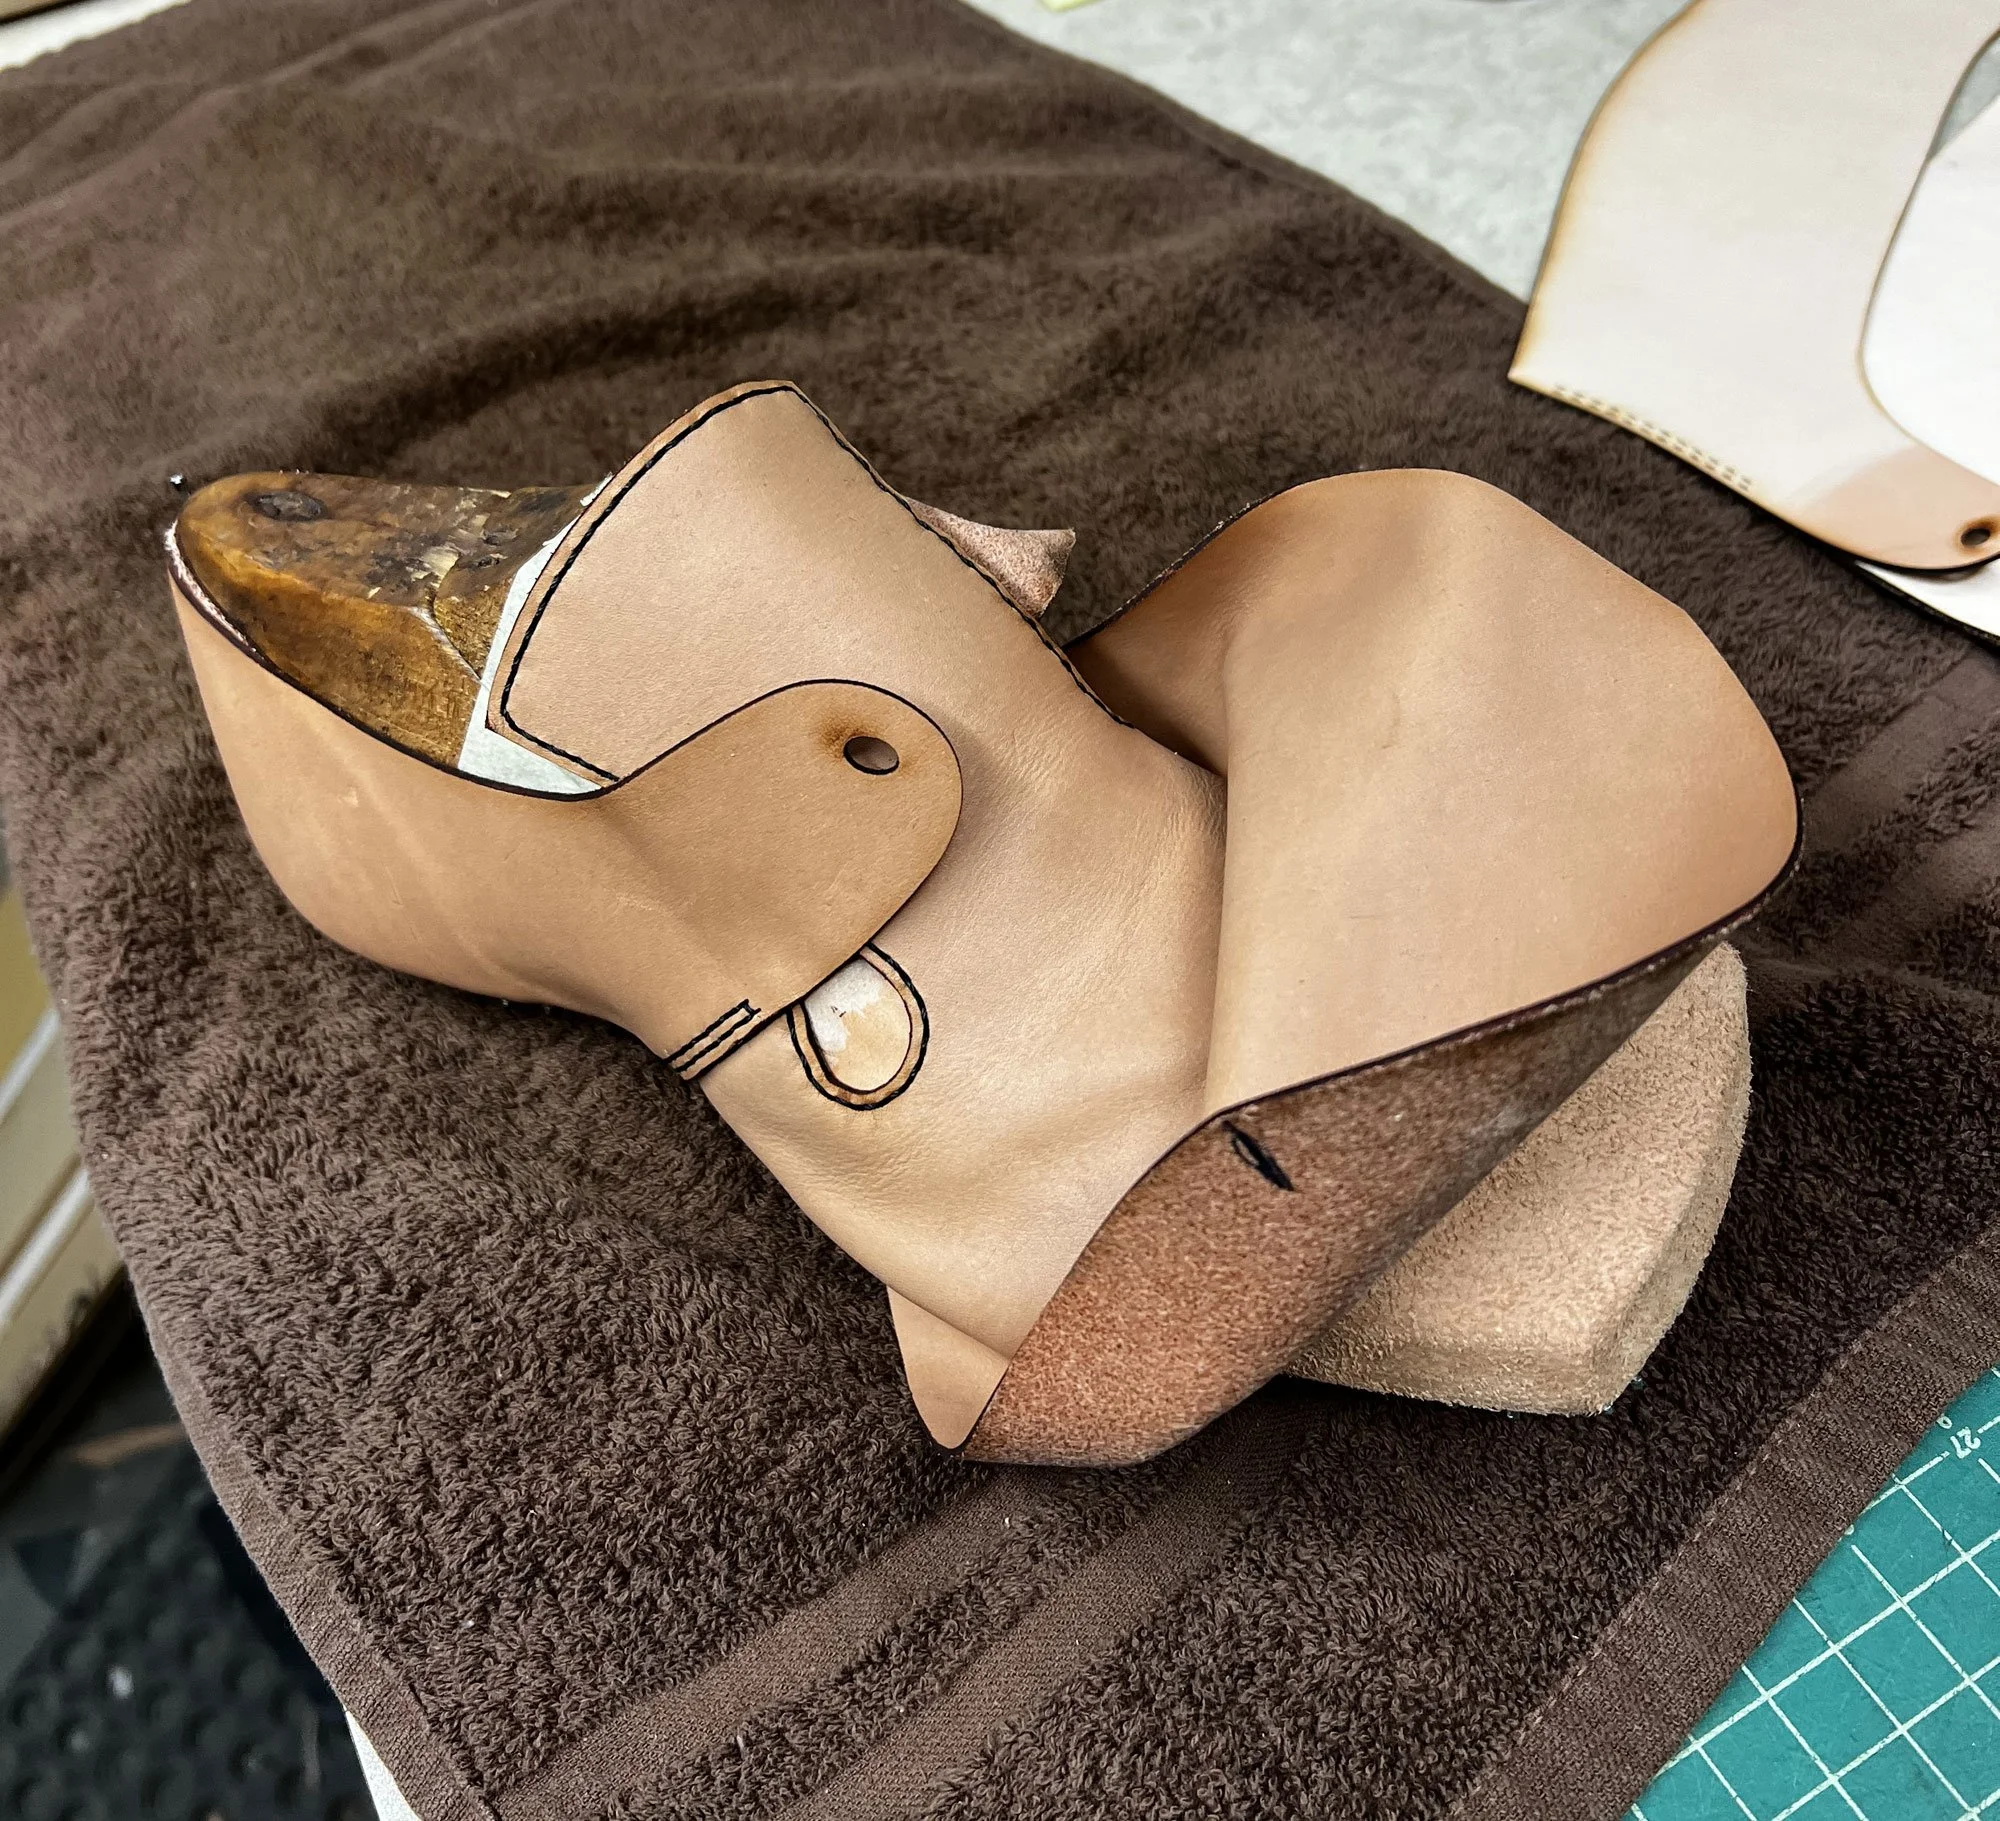
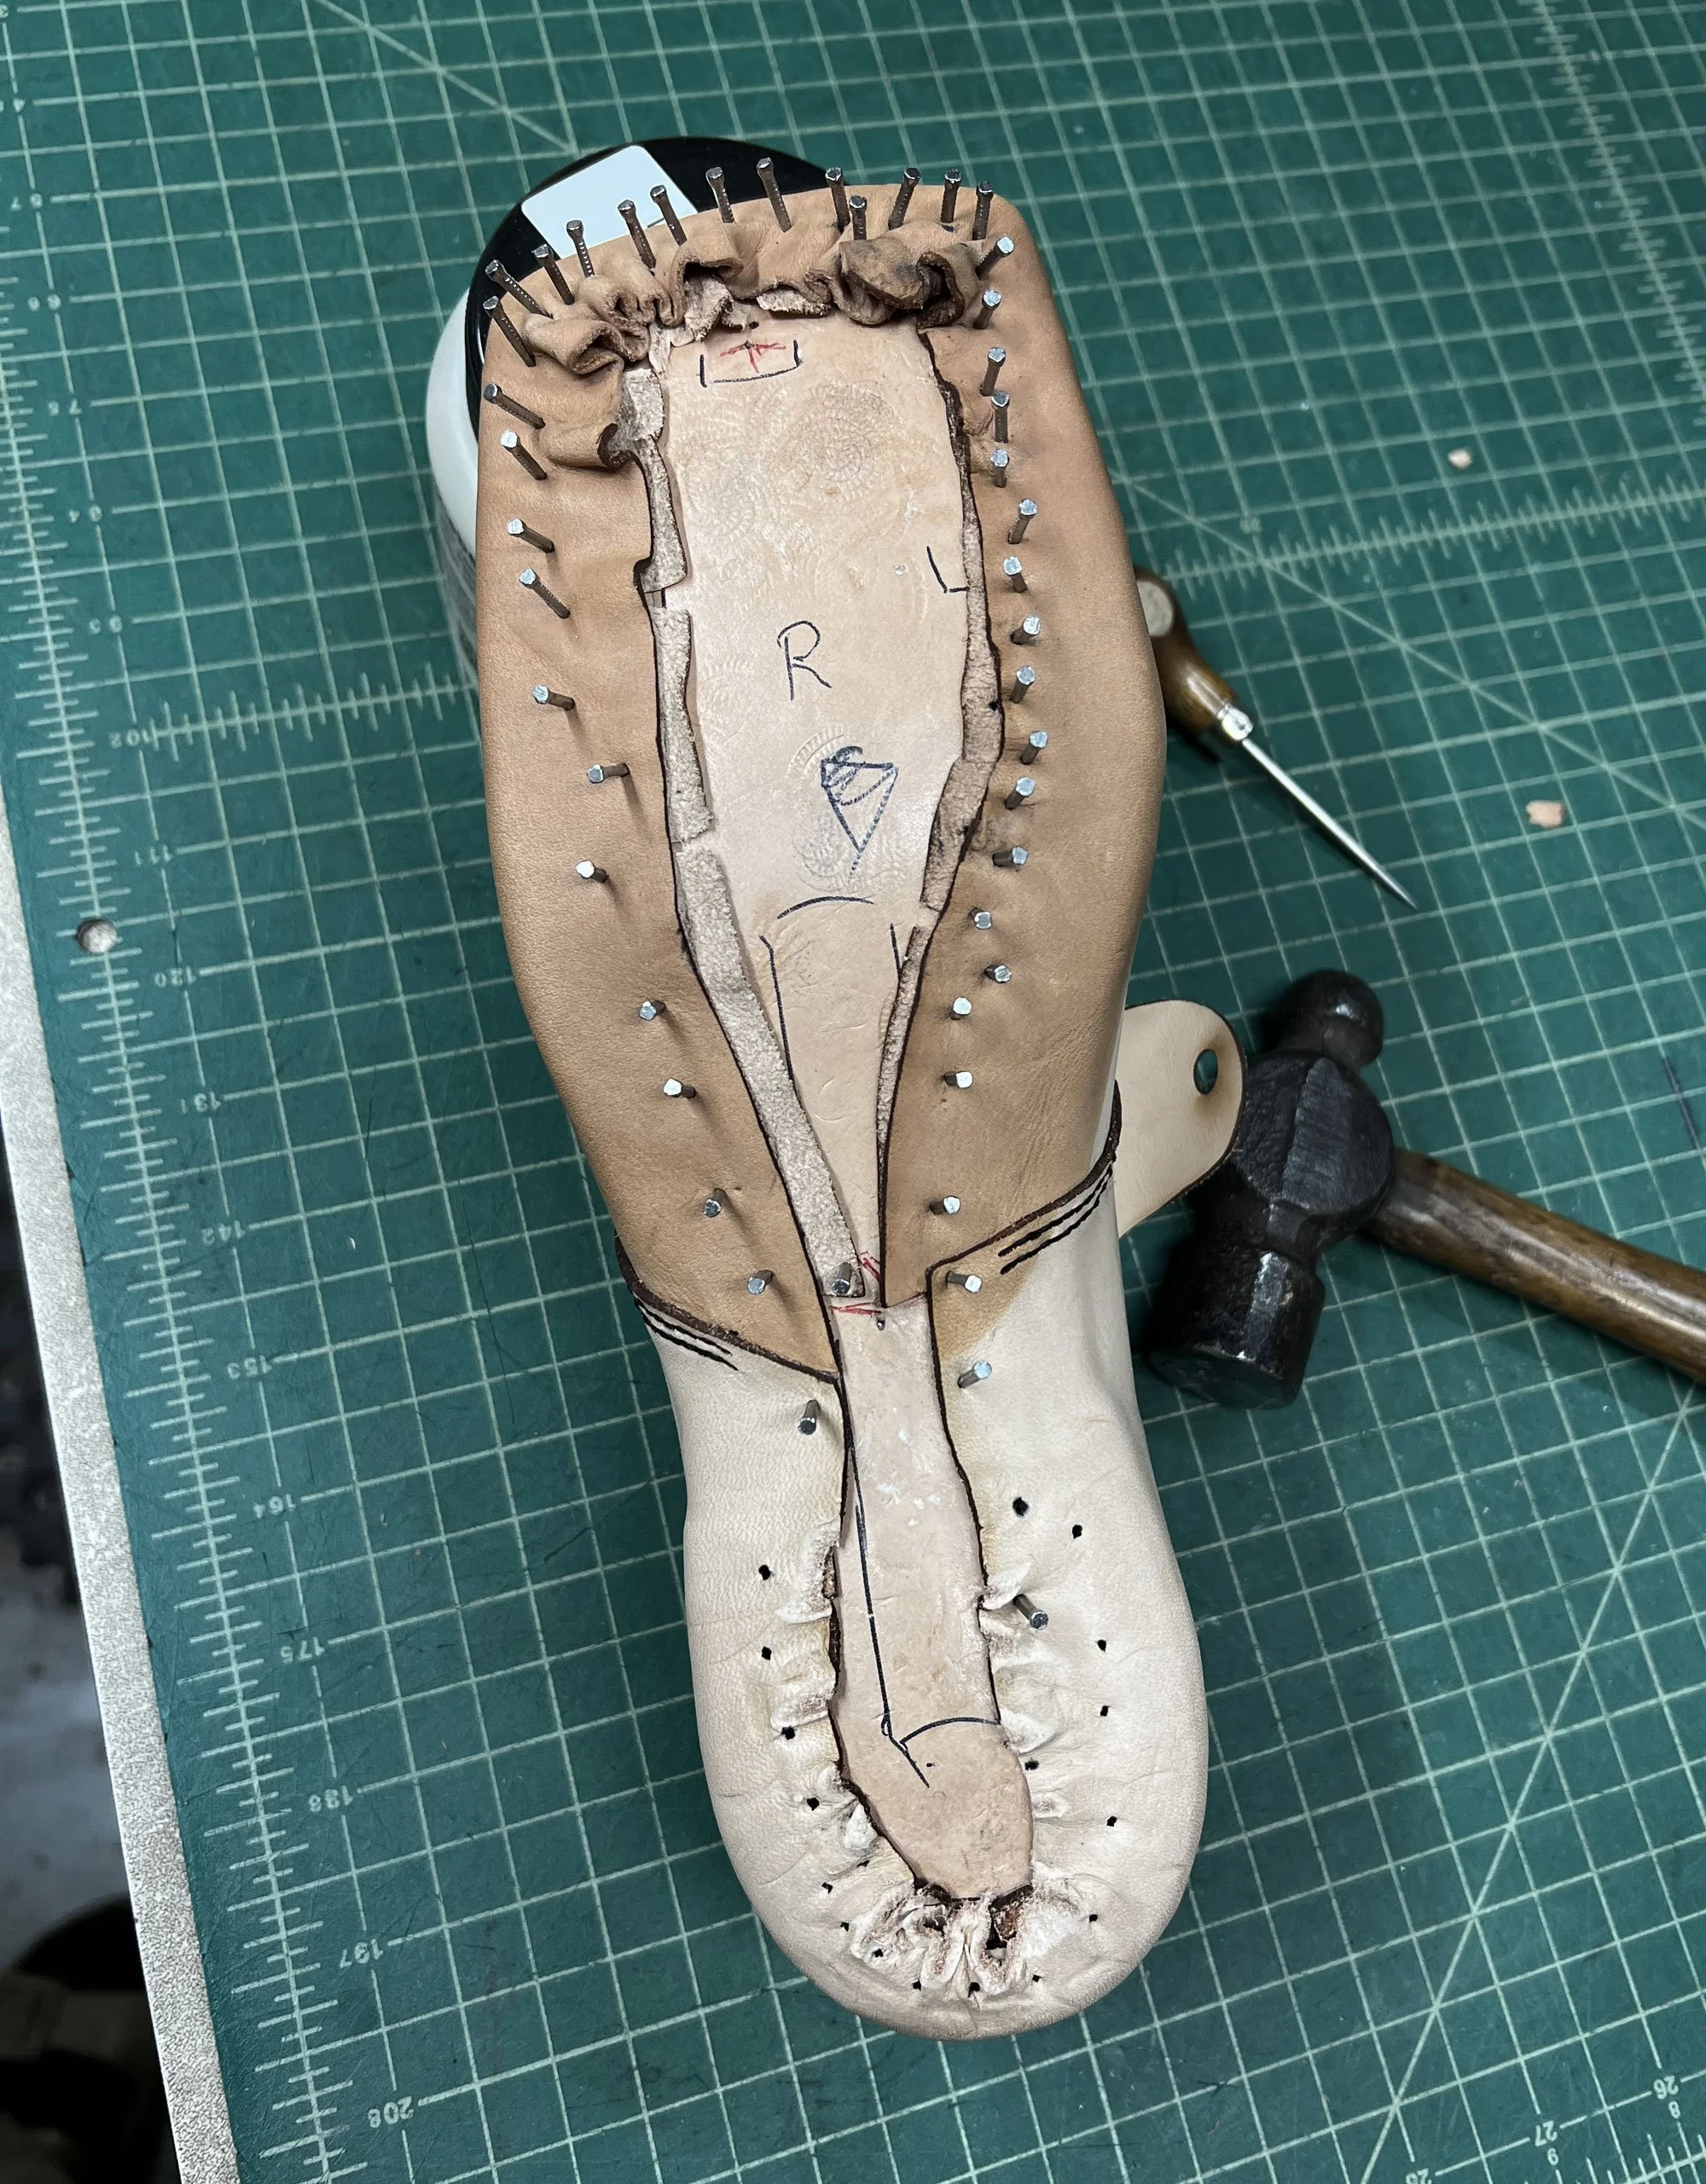
I have stretched the uppers over the last, and tacked down the vamp liner. The vamp itself is shown peeled back so that I can smooth out the liner.

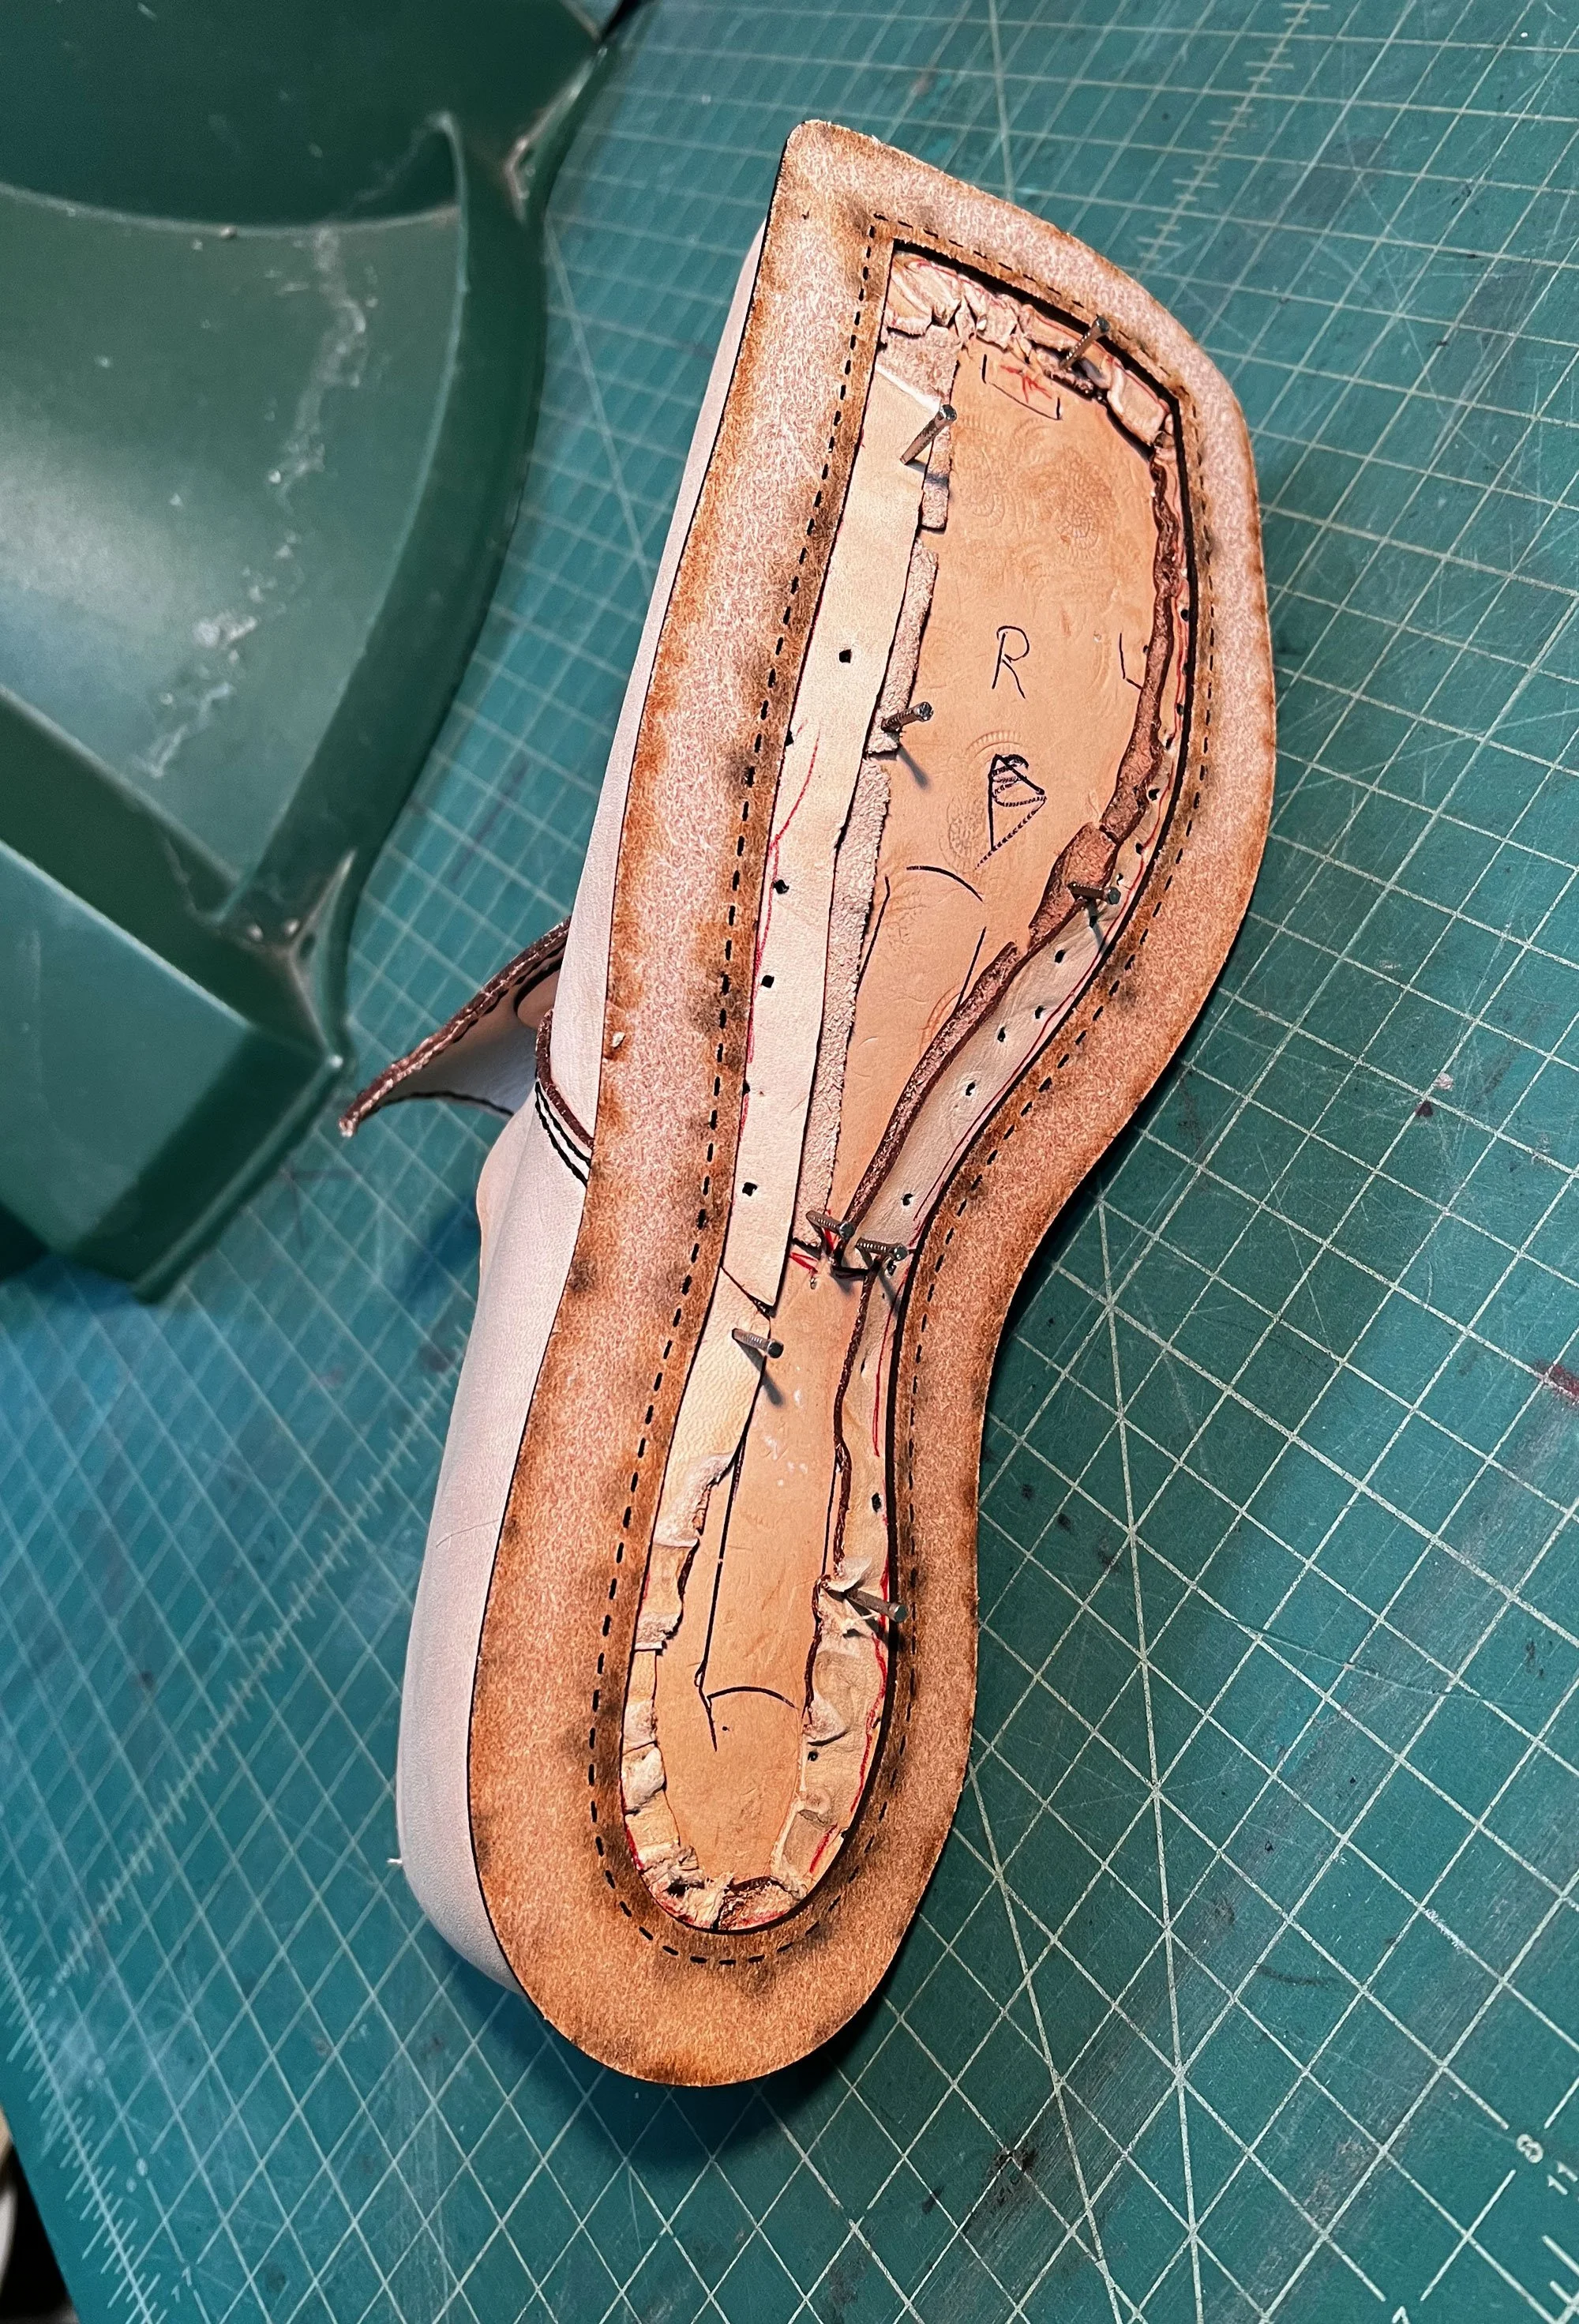
A view of the underside of the vamp liner stretched and tacked down
The vamp liner serves to strengthen the front of the shoe to protect the toes. The heel is supported with a counter, as I did in my earlier post. I have spread a shoe paste between the outer uppers and both the counter and the vamp liner to bind them together and make the front and back more rigid.
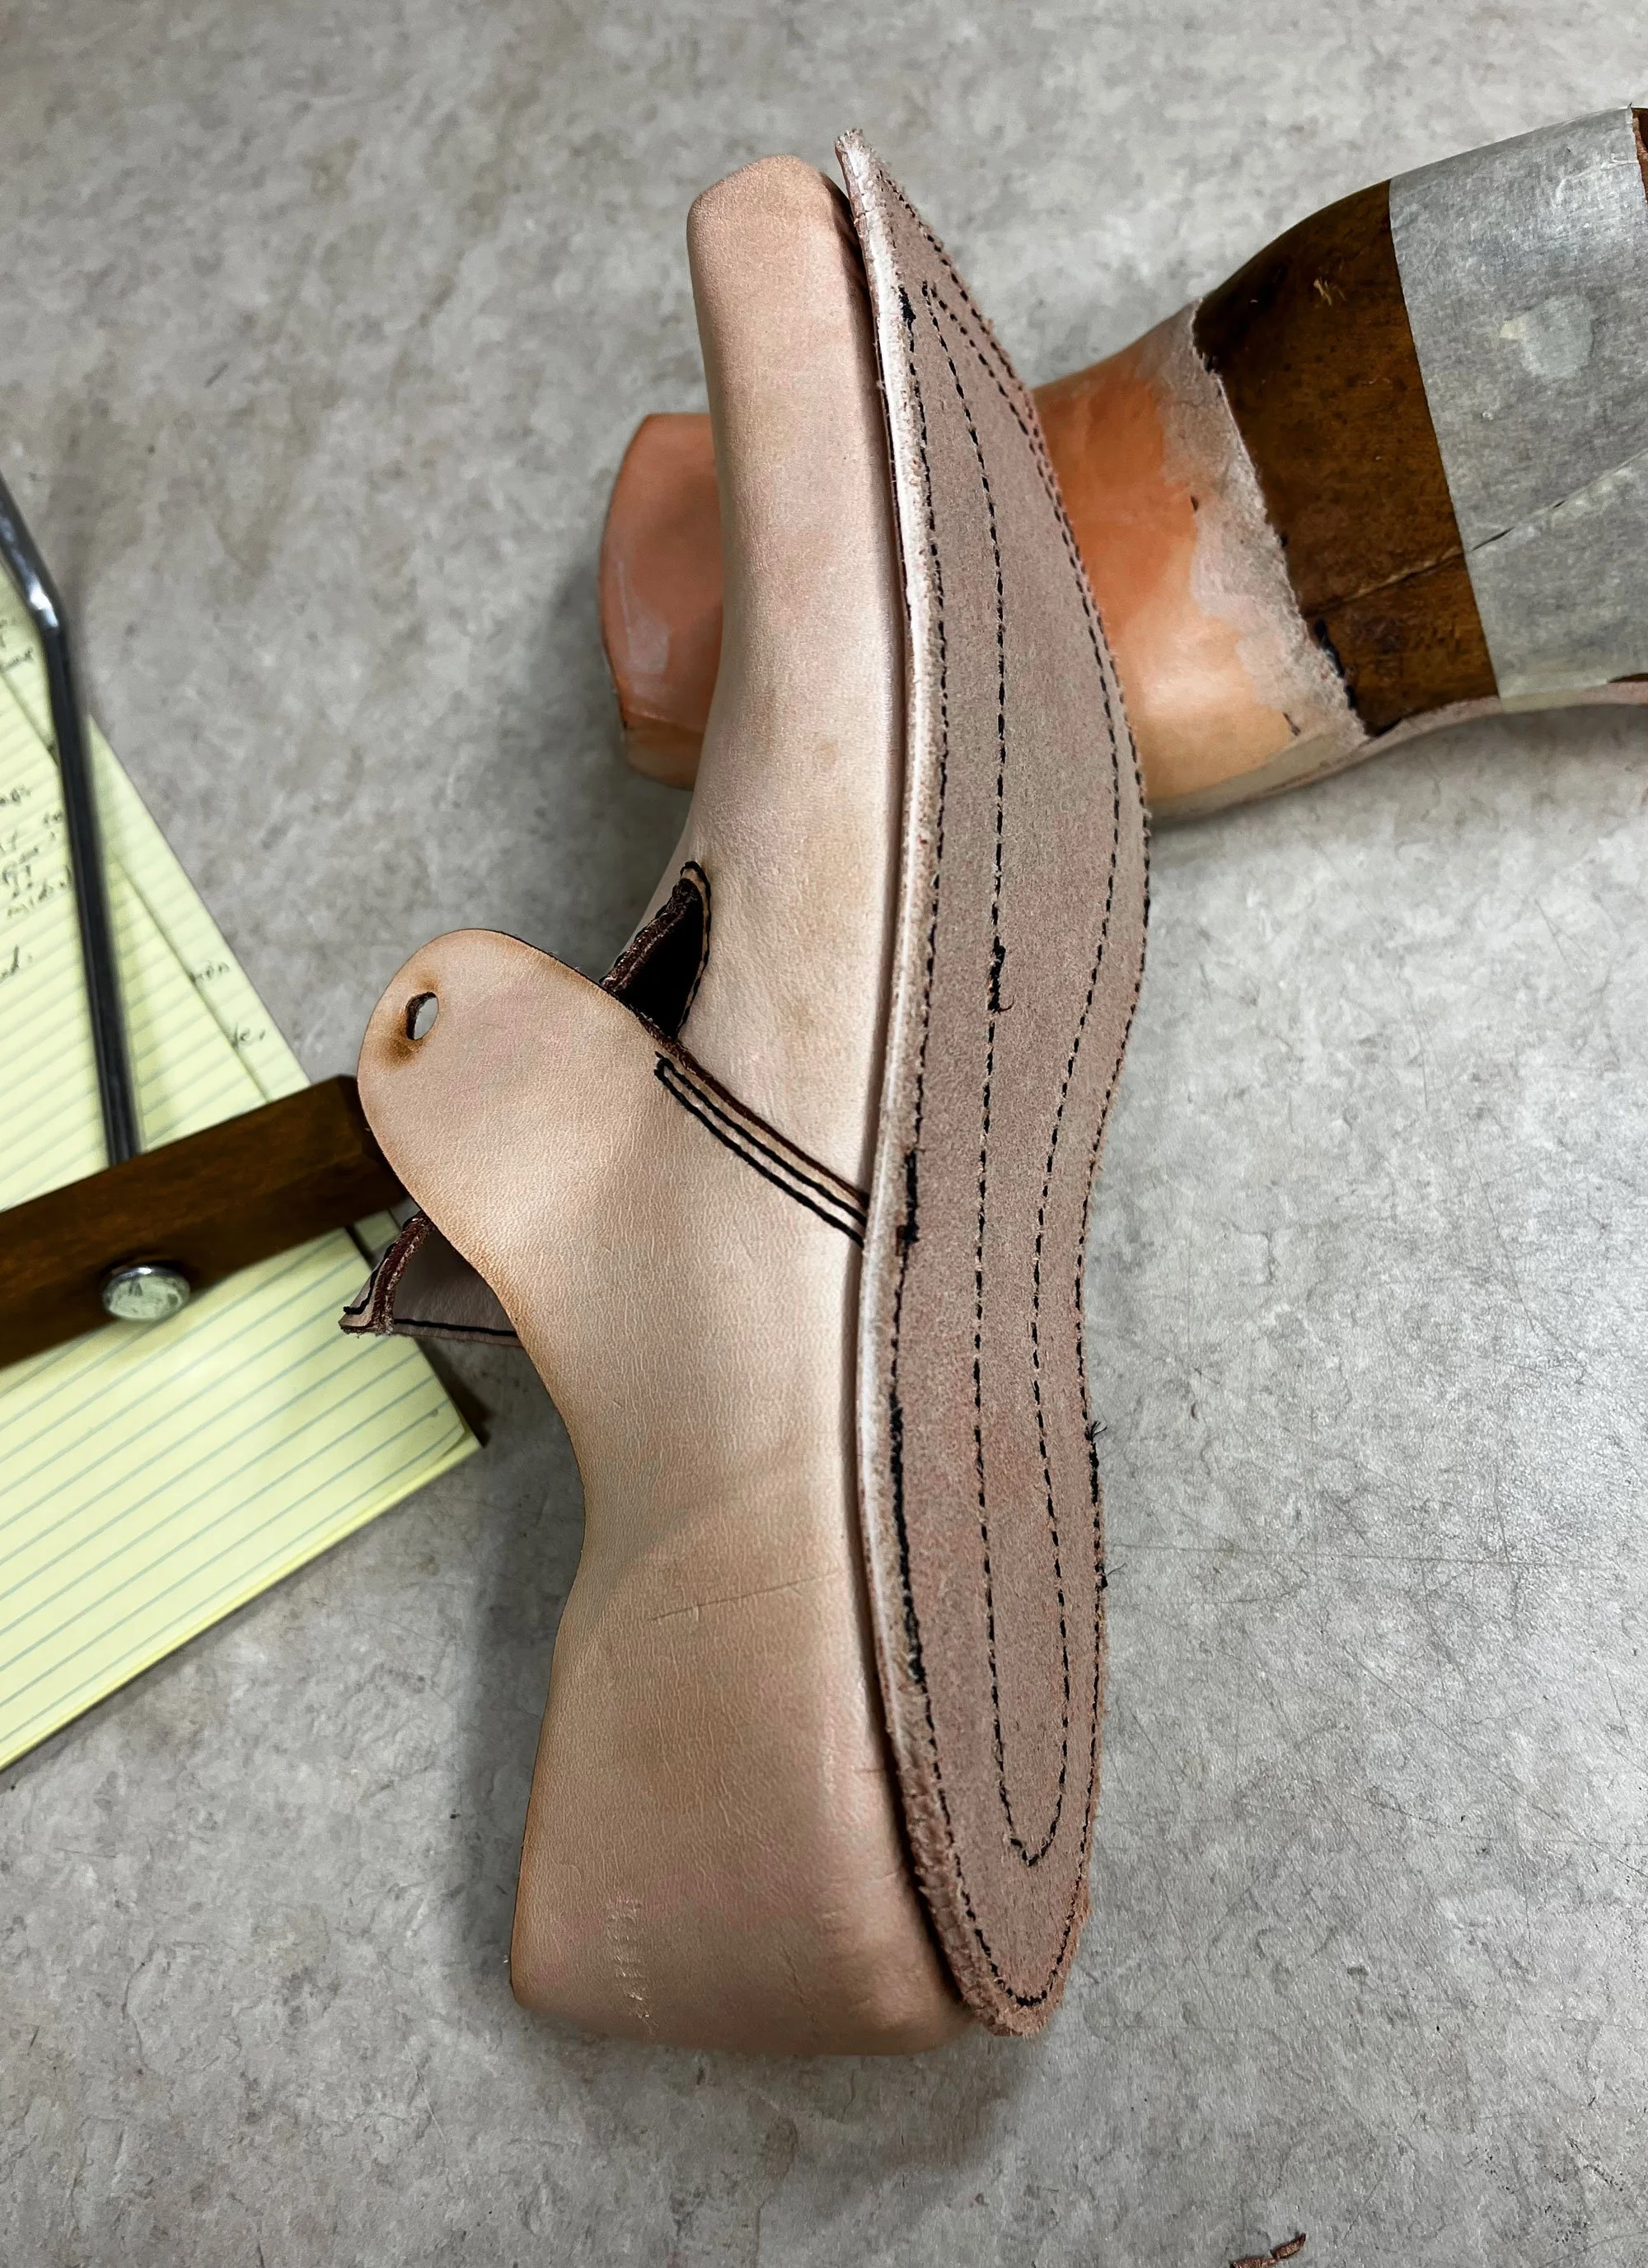
The welt is glued to the bottom of the uppers
The welt has been hand-stitched to the uppers
A midsole was cut out to glue to the bottom of the welt with contact cement. Once secure it is sewn on with a leather sewing machine
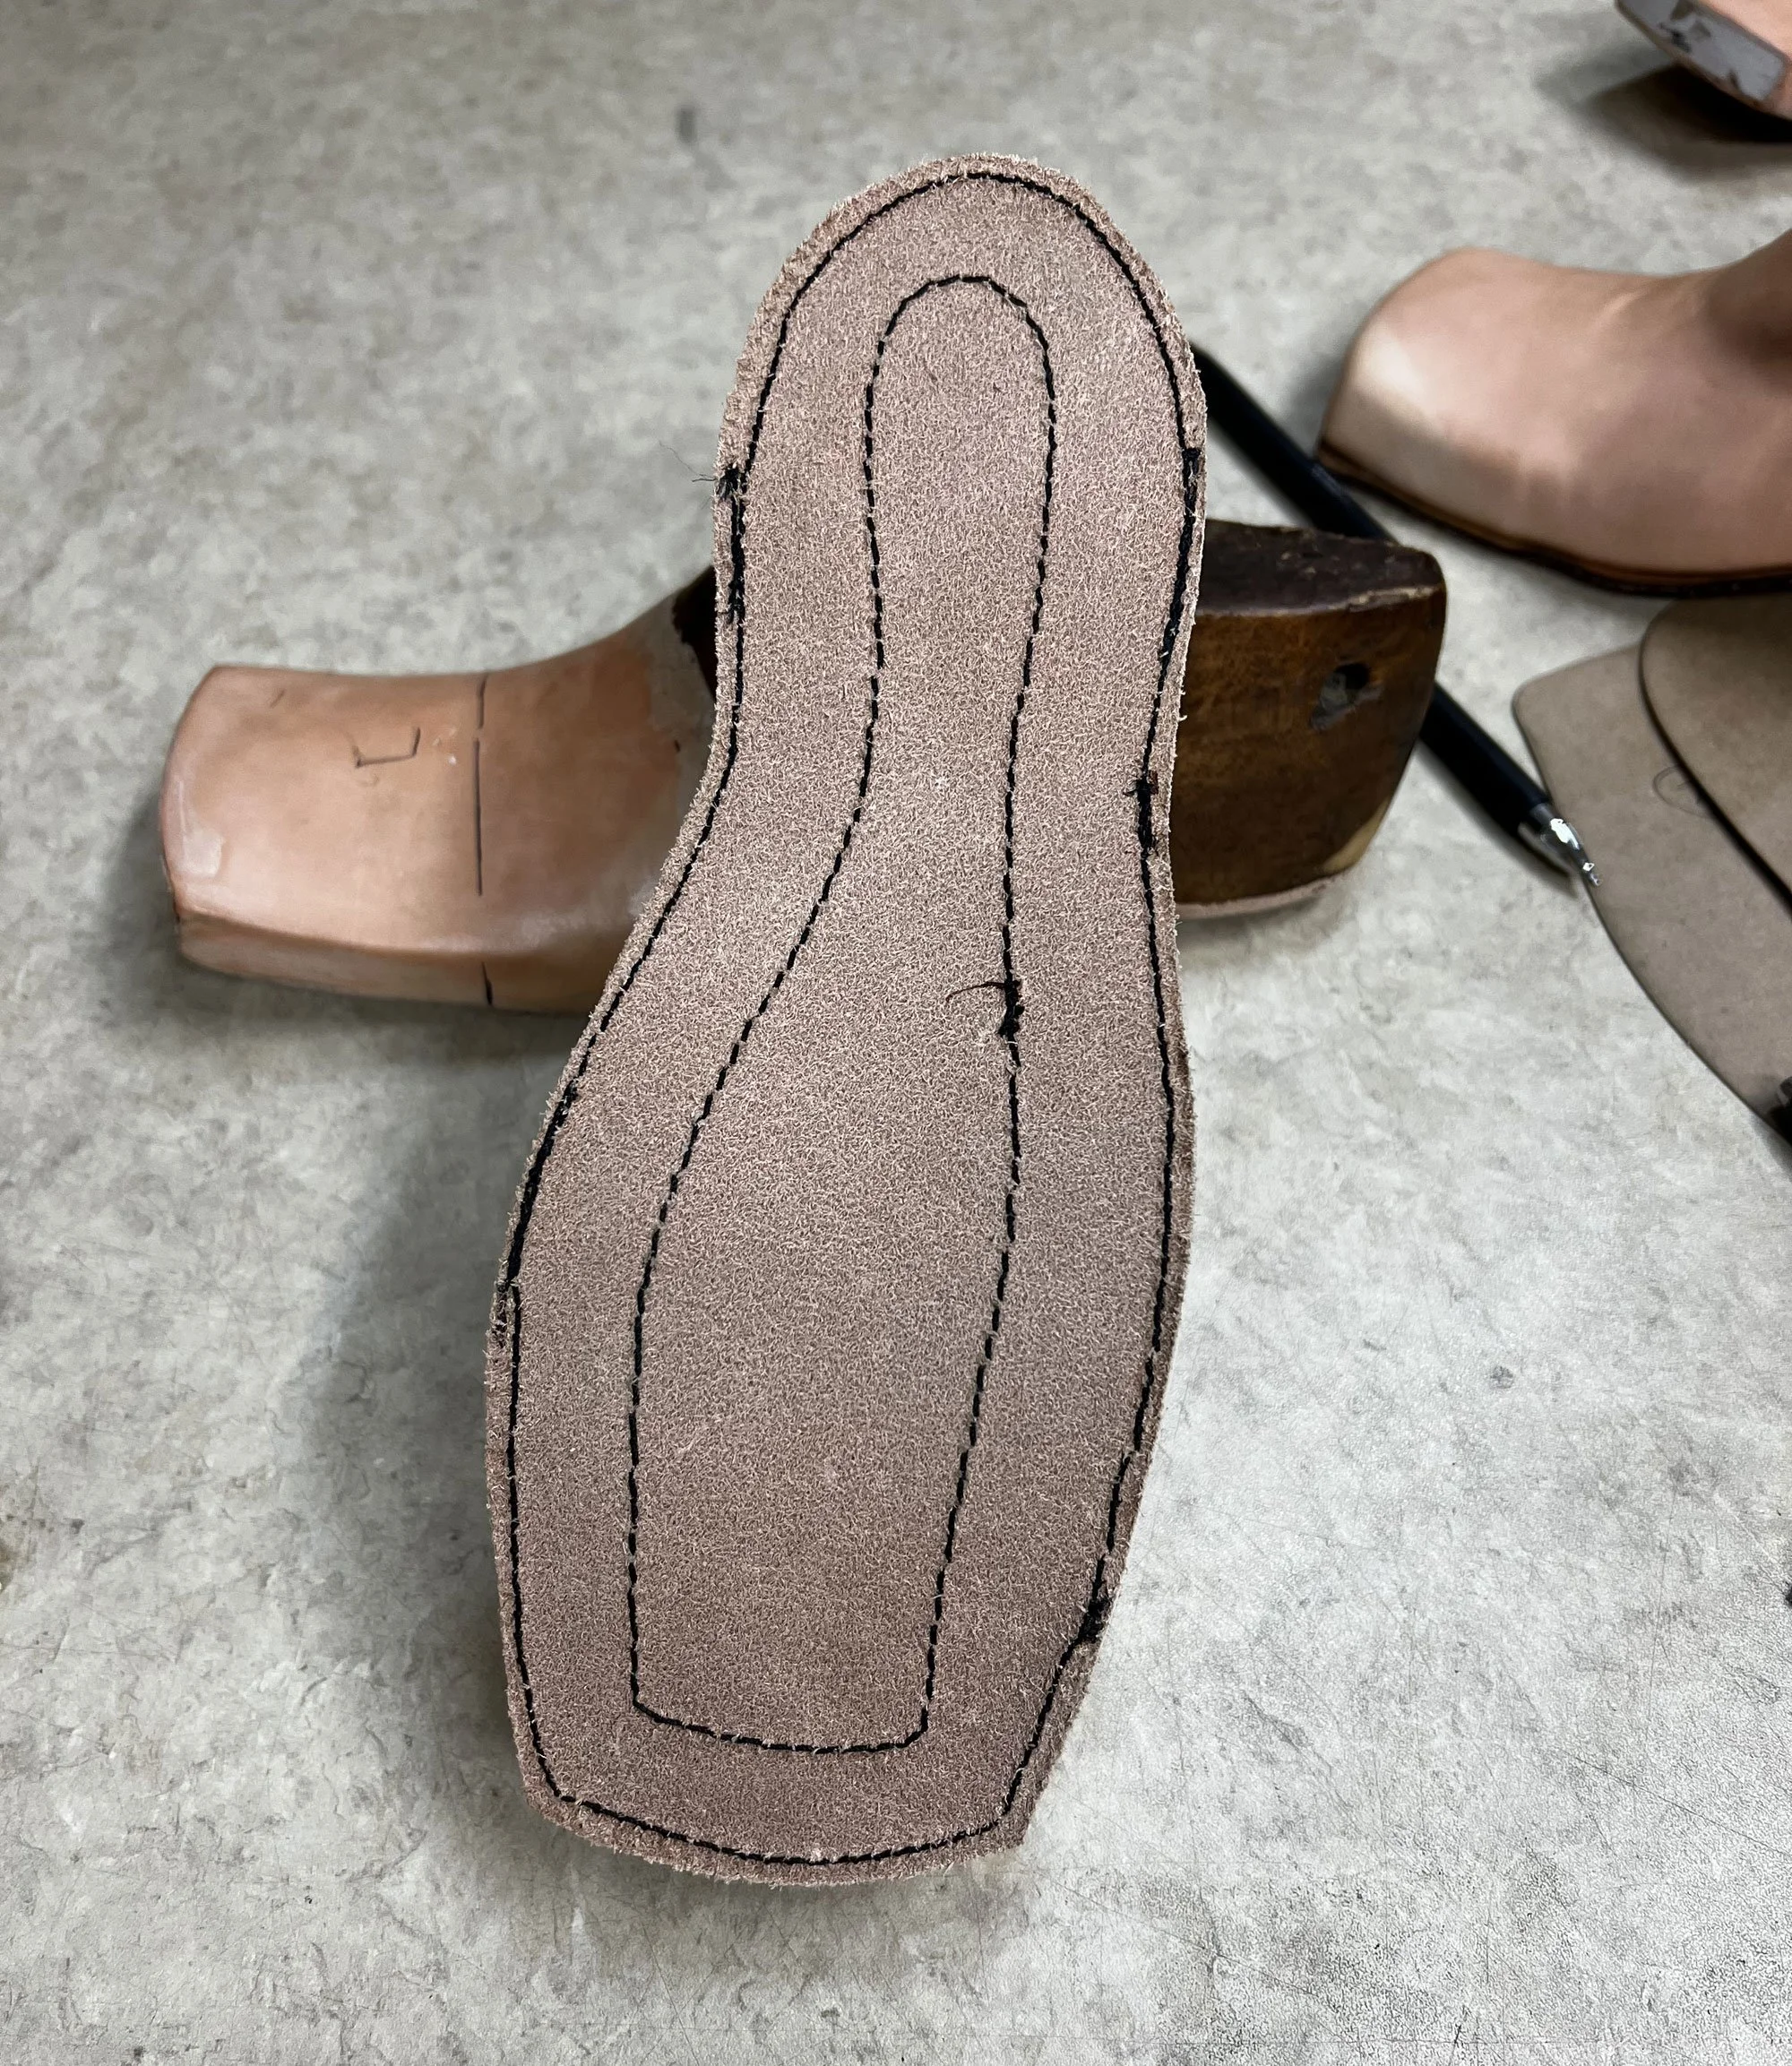
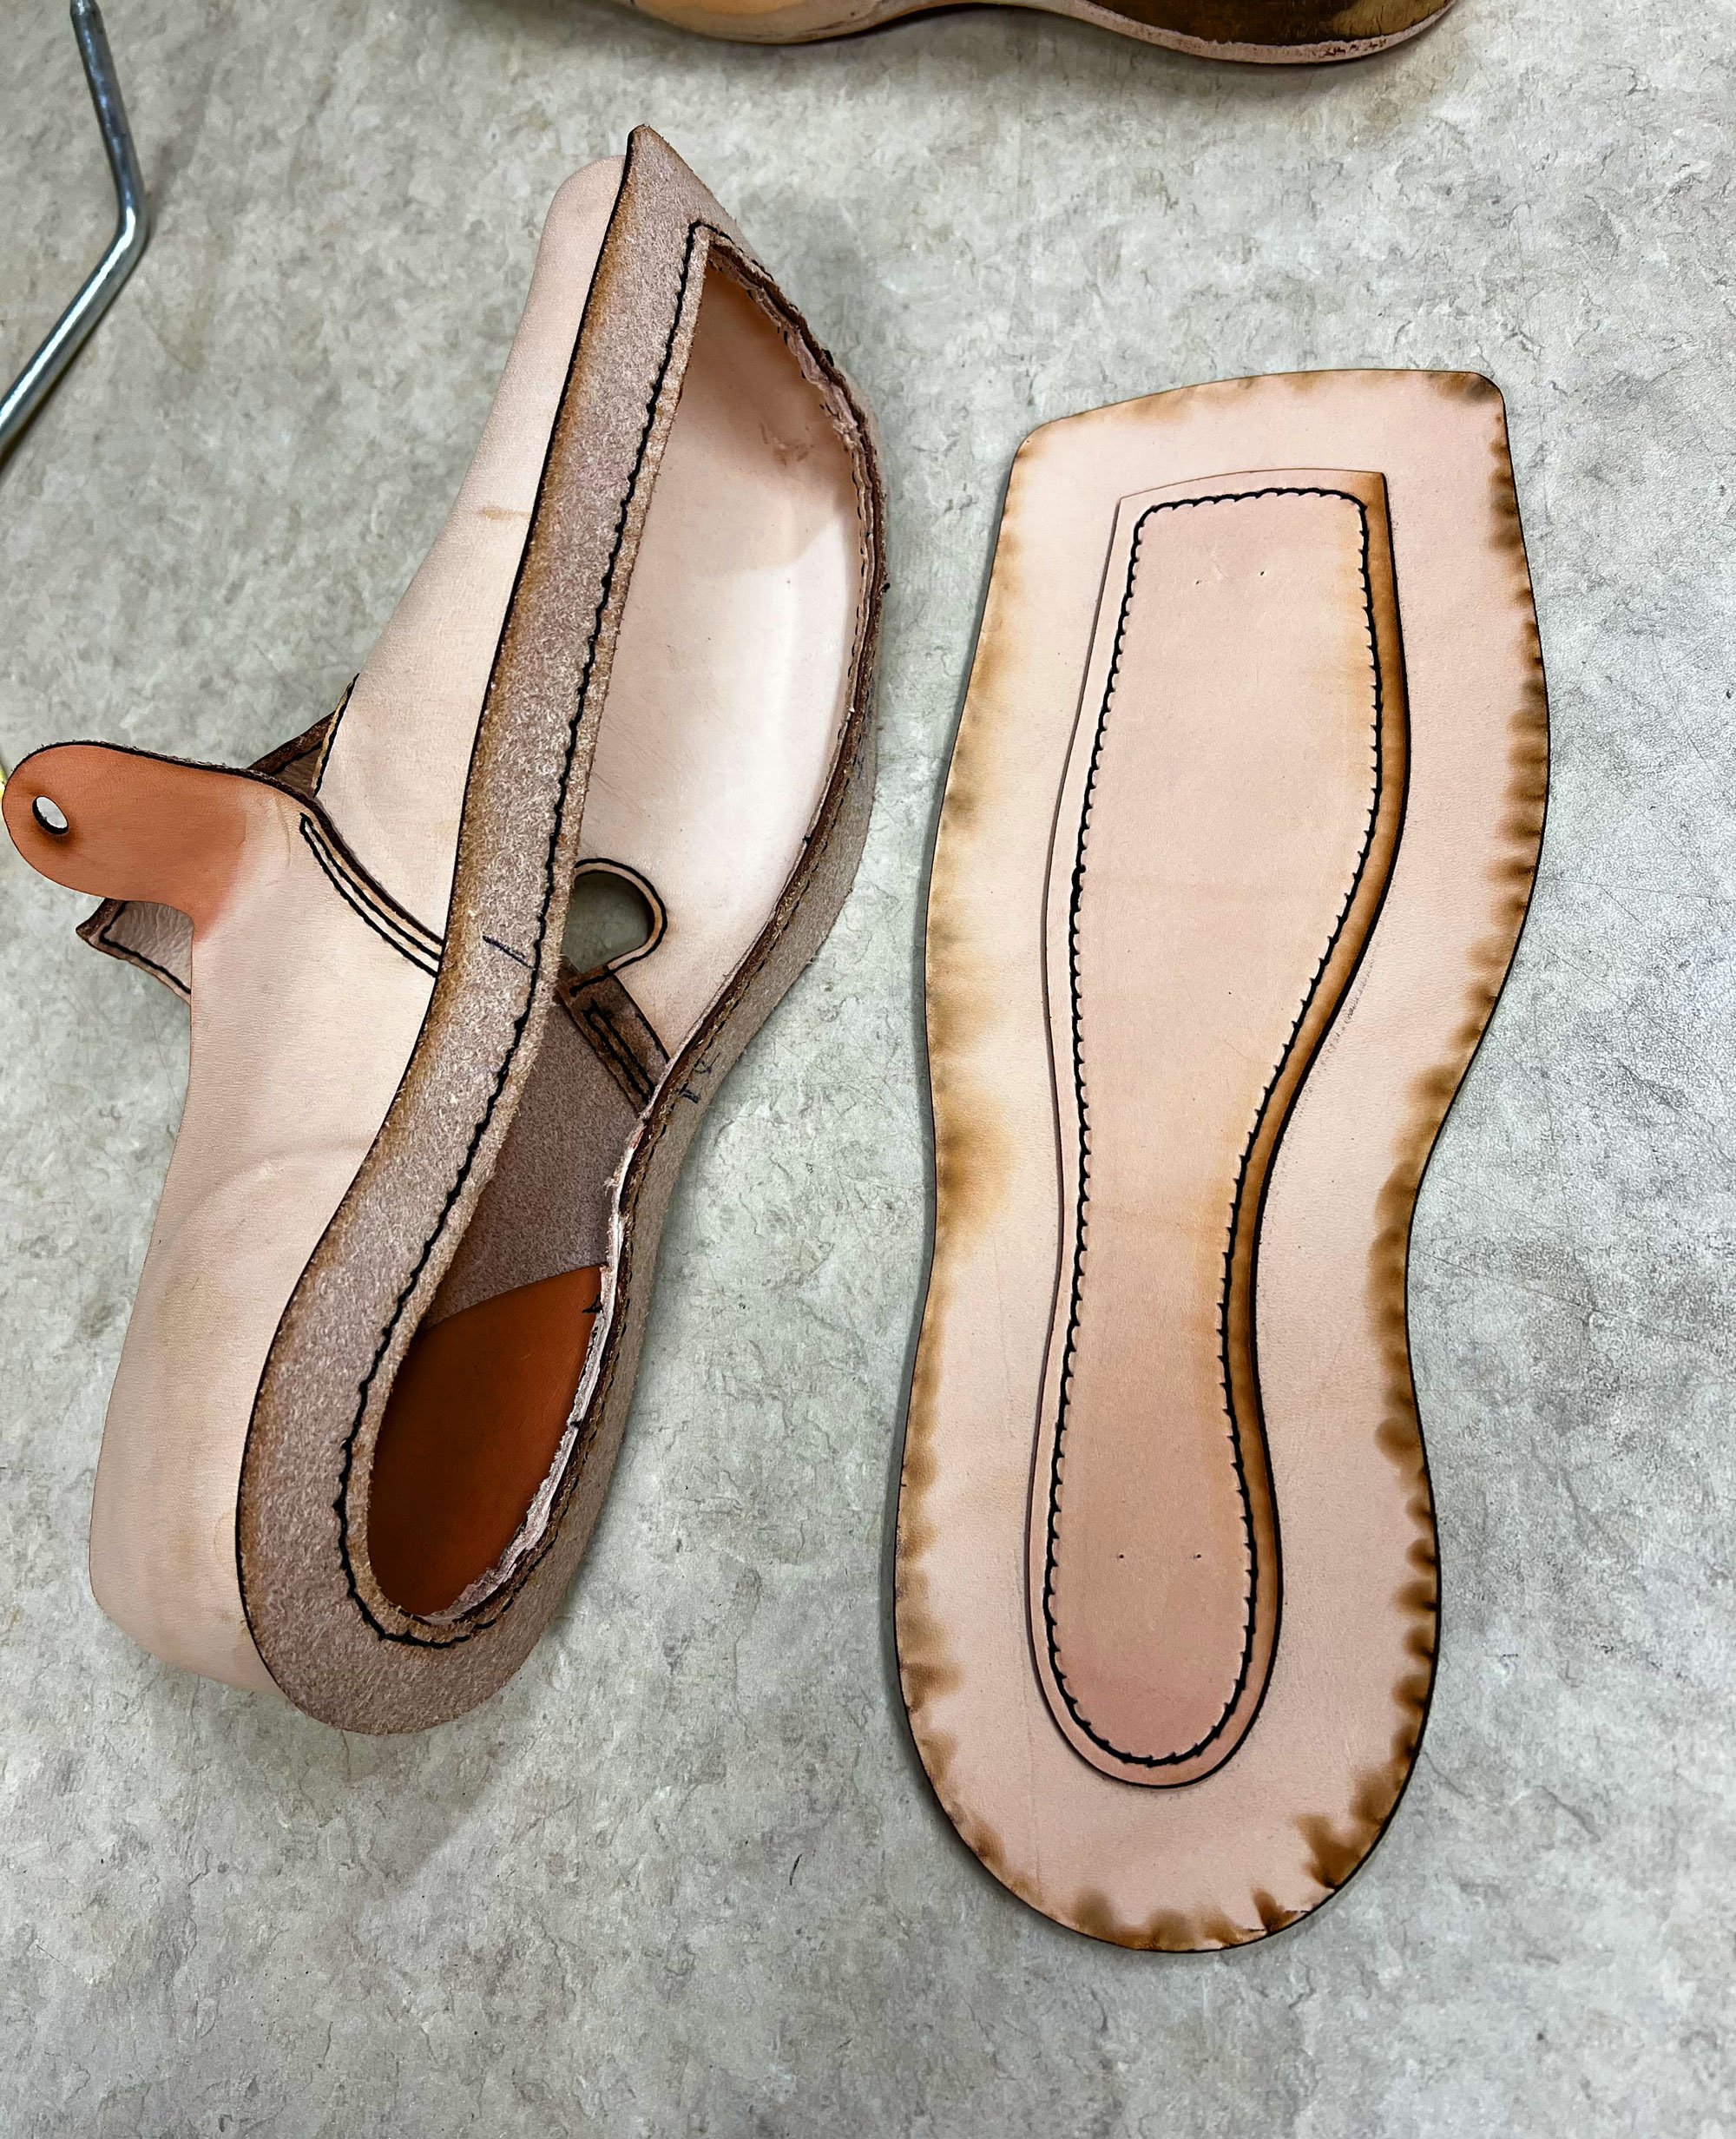
View of the bottom of the midsole after stitching it to the welt
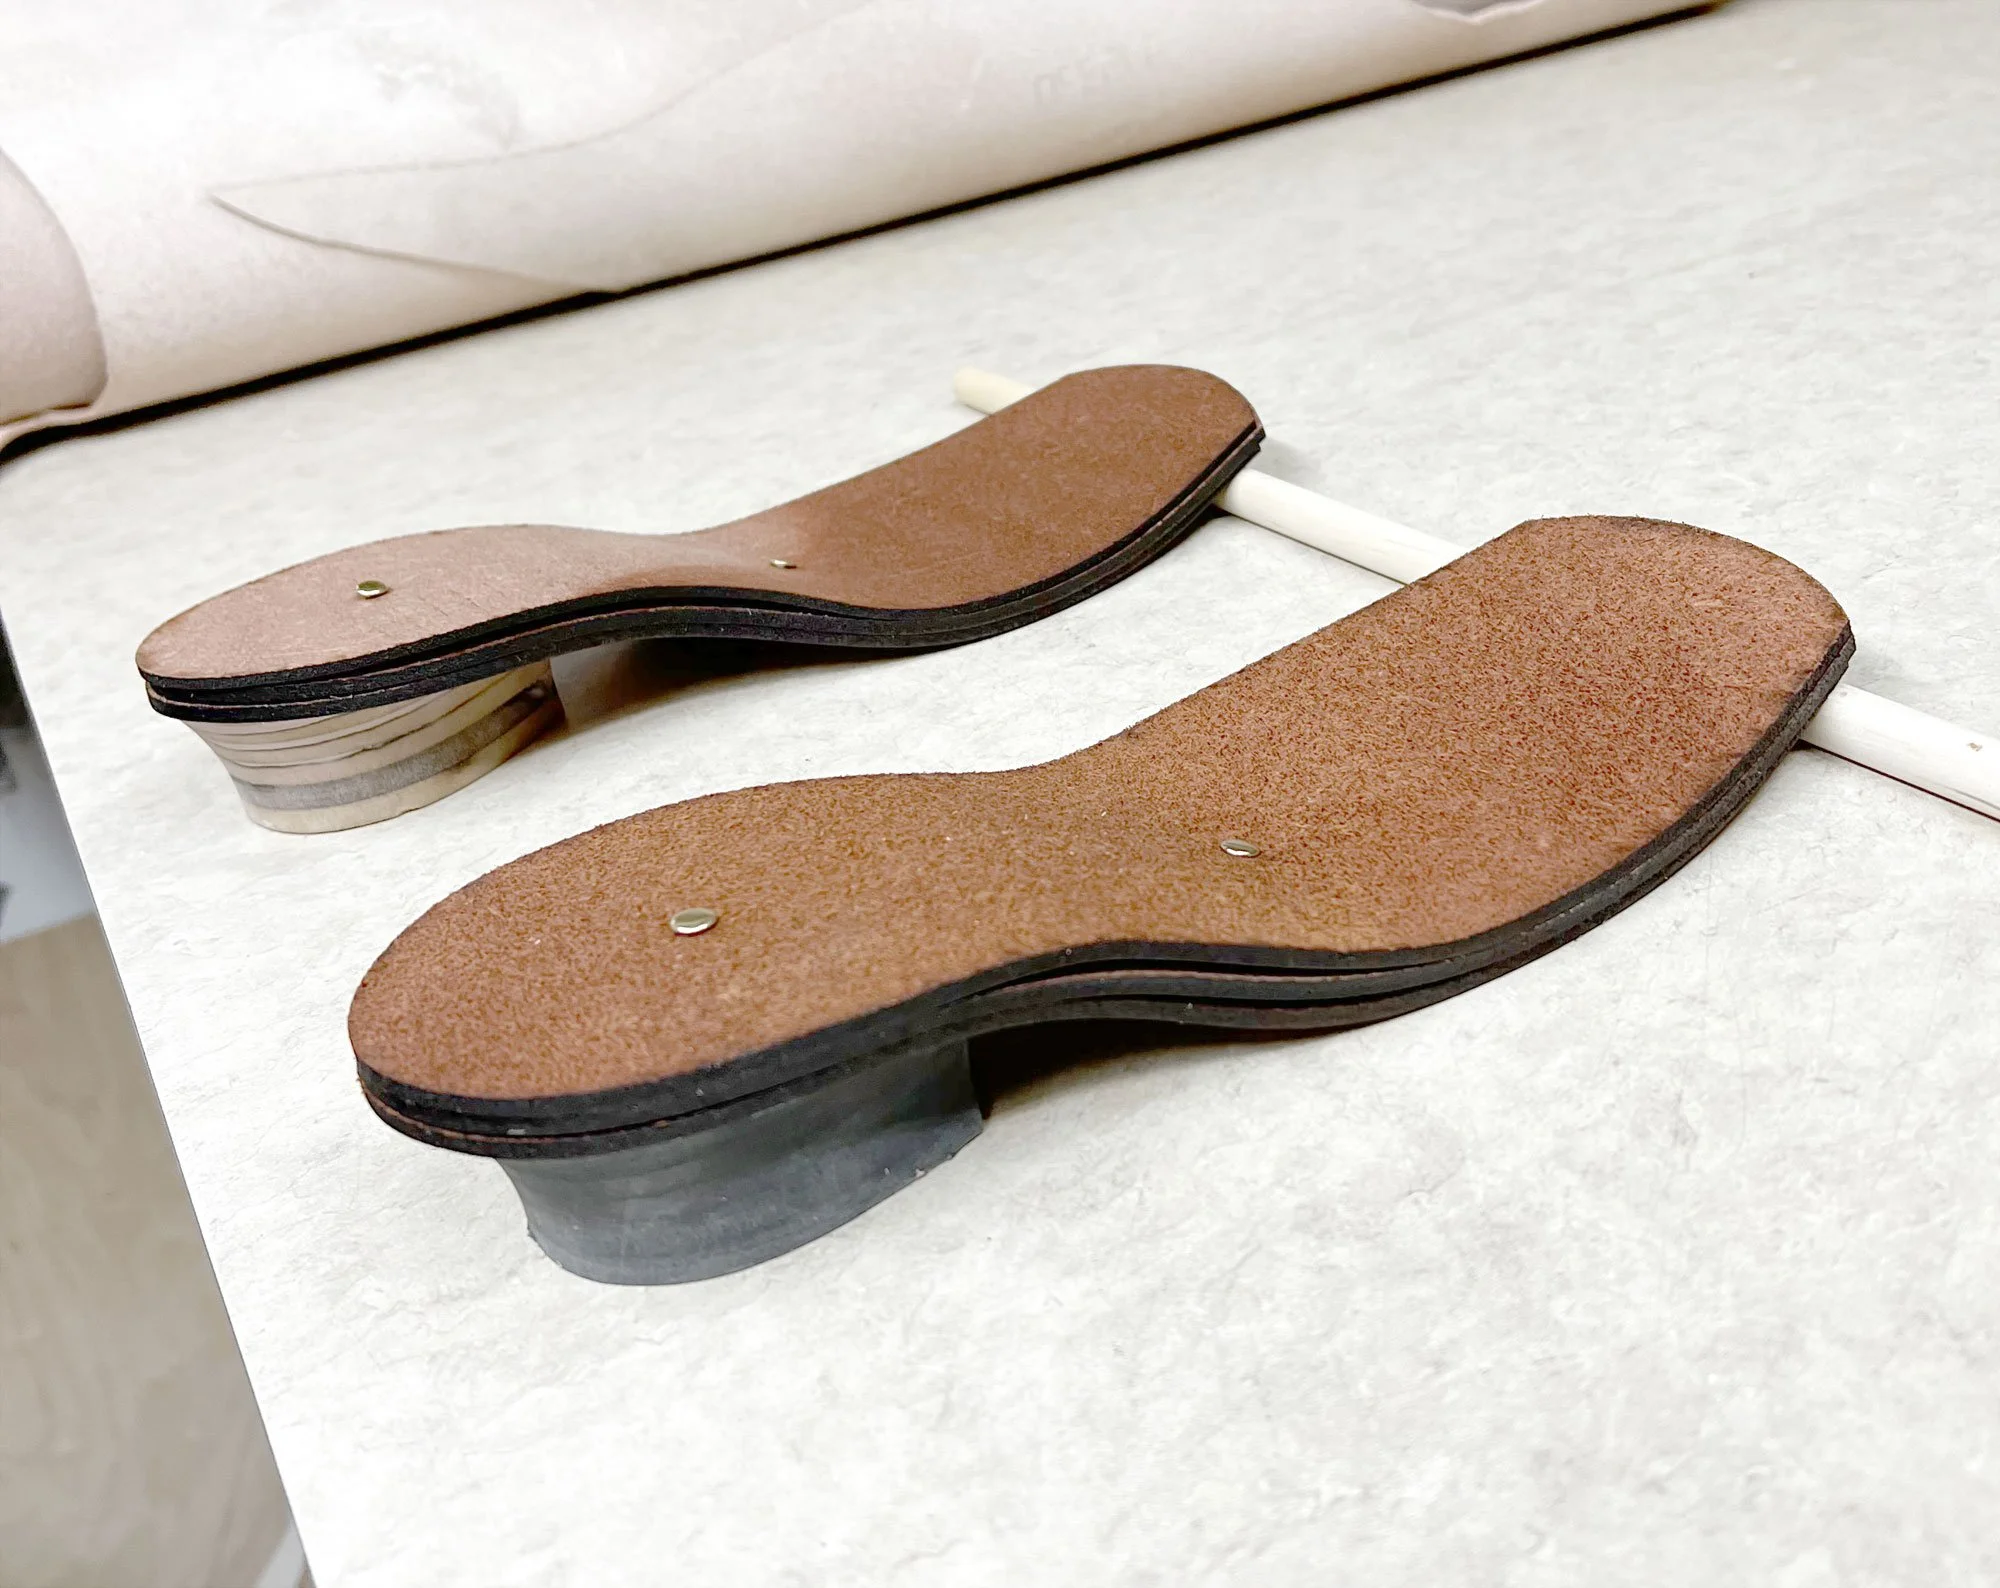
I decided to make my outer sole out of three pieces of 6 oz veg tan, rather than one layer of sole leather as I did on the earlier shoe. This allows me to cut out a channer in the middle layer to hold a steel shank, which is needed to support the sole where it transitions from the heel to the front.
Three layers of leather are wetted and shaped and dried
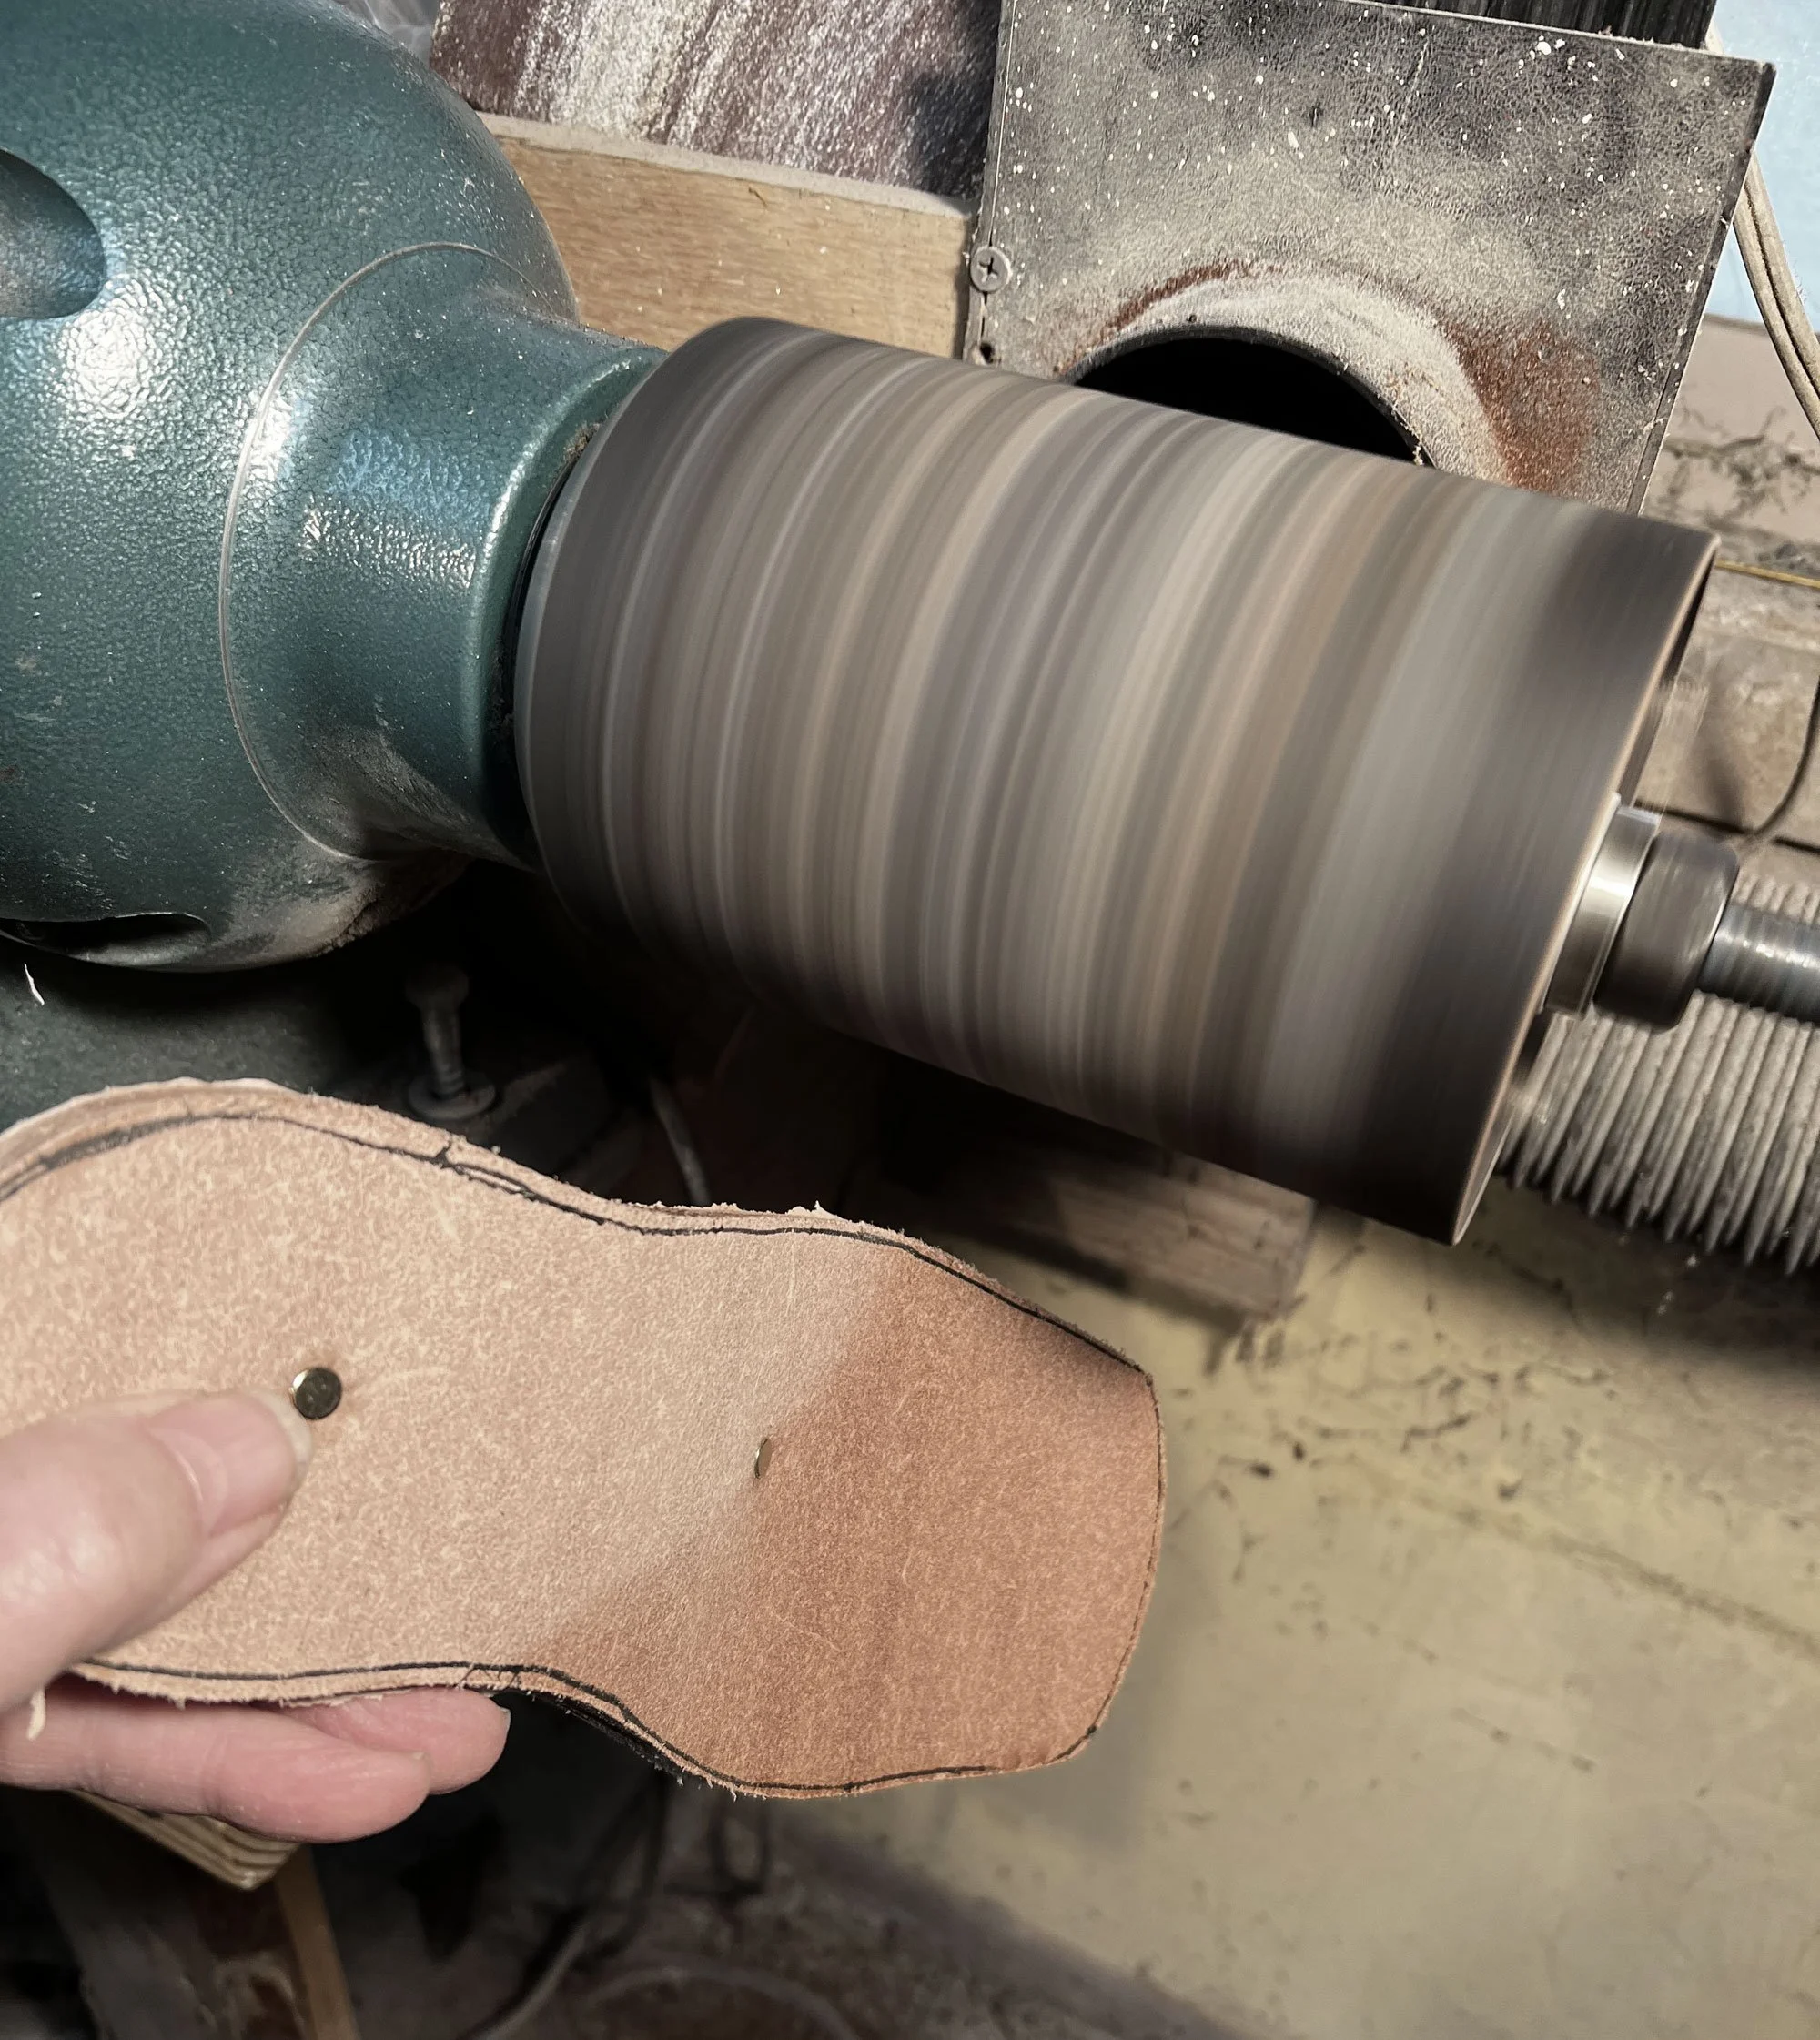
Sanding the edges of the sole on the drum sander
The shoe is next dyed with a weak black stain that gives it an aged look.
The shoes after dying
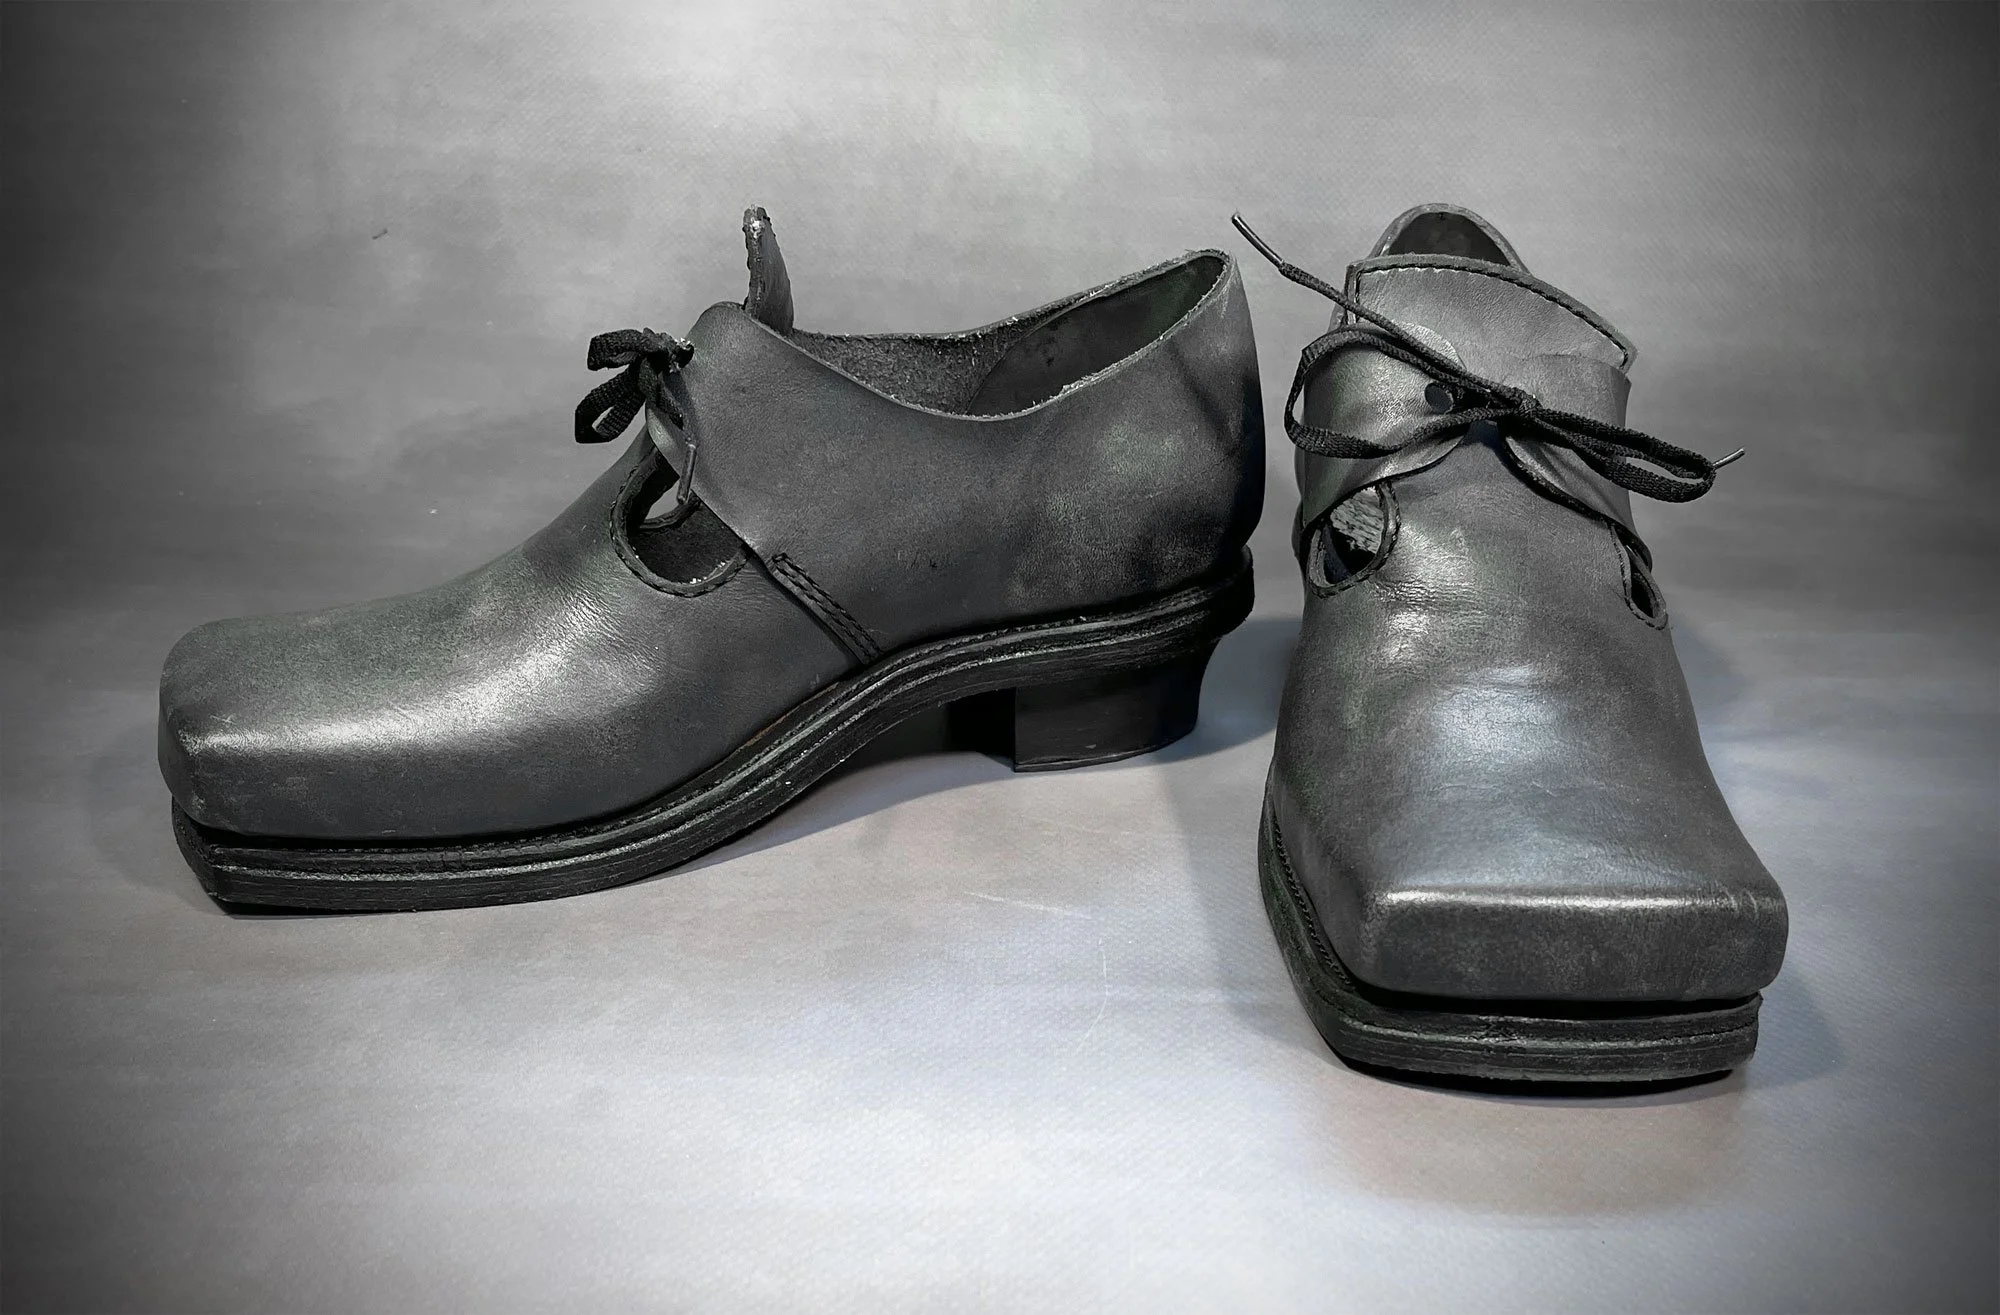
The finished shoes
In my last post I altered wooden shoe lasts, making the toes wider and squarer. This post is about the revised pirate shoes I made from them. This is my fifth attempt at these shoes. I have been attempting to improve on the first shoe I made, written up in “Pirate Shoes….Arrgh!” I have made the vamp (the part that goes over the front of the foot) two layers, with a vamp and a vamp liner. They are stitched together at the top.
Stretching the vamp liner over the last
The vamp tacked down over the vamp liner
The uppers are made of veg tan, and are shaped while damp as they have increased stretchiness and compressibility.
Once the uppers are all dry, I added a strip of leather called a welt that encircles the bottom of the shoe. It has been glued in place, then the entire uppers are removed from the last, a series of holes is punched, and the welt was hand-stitched to the uppers.

The uppers are removed from the last and the welt is sewn on
The midsole ready to attach to the uppers
Another view of the midsole glued and sewn on
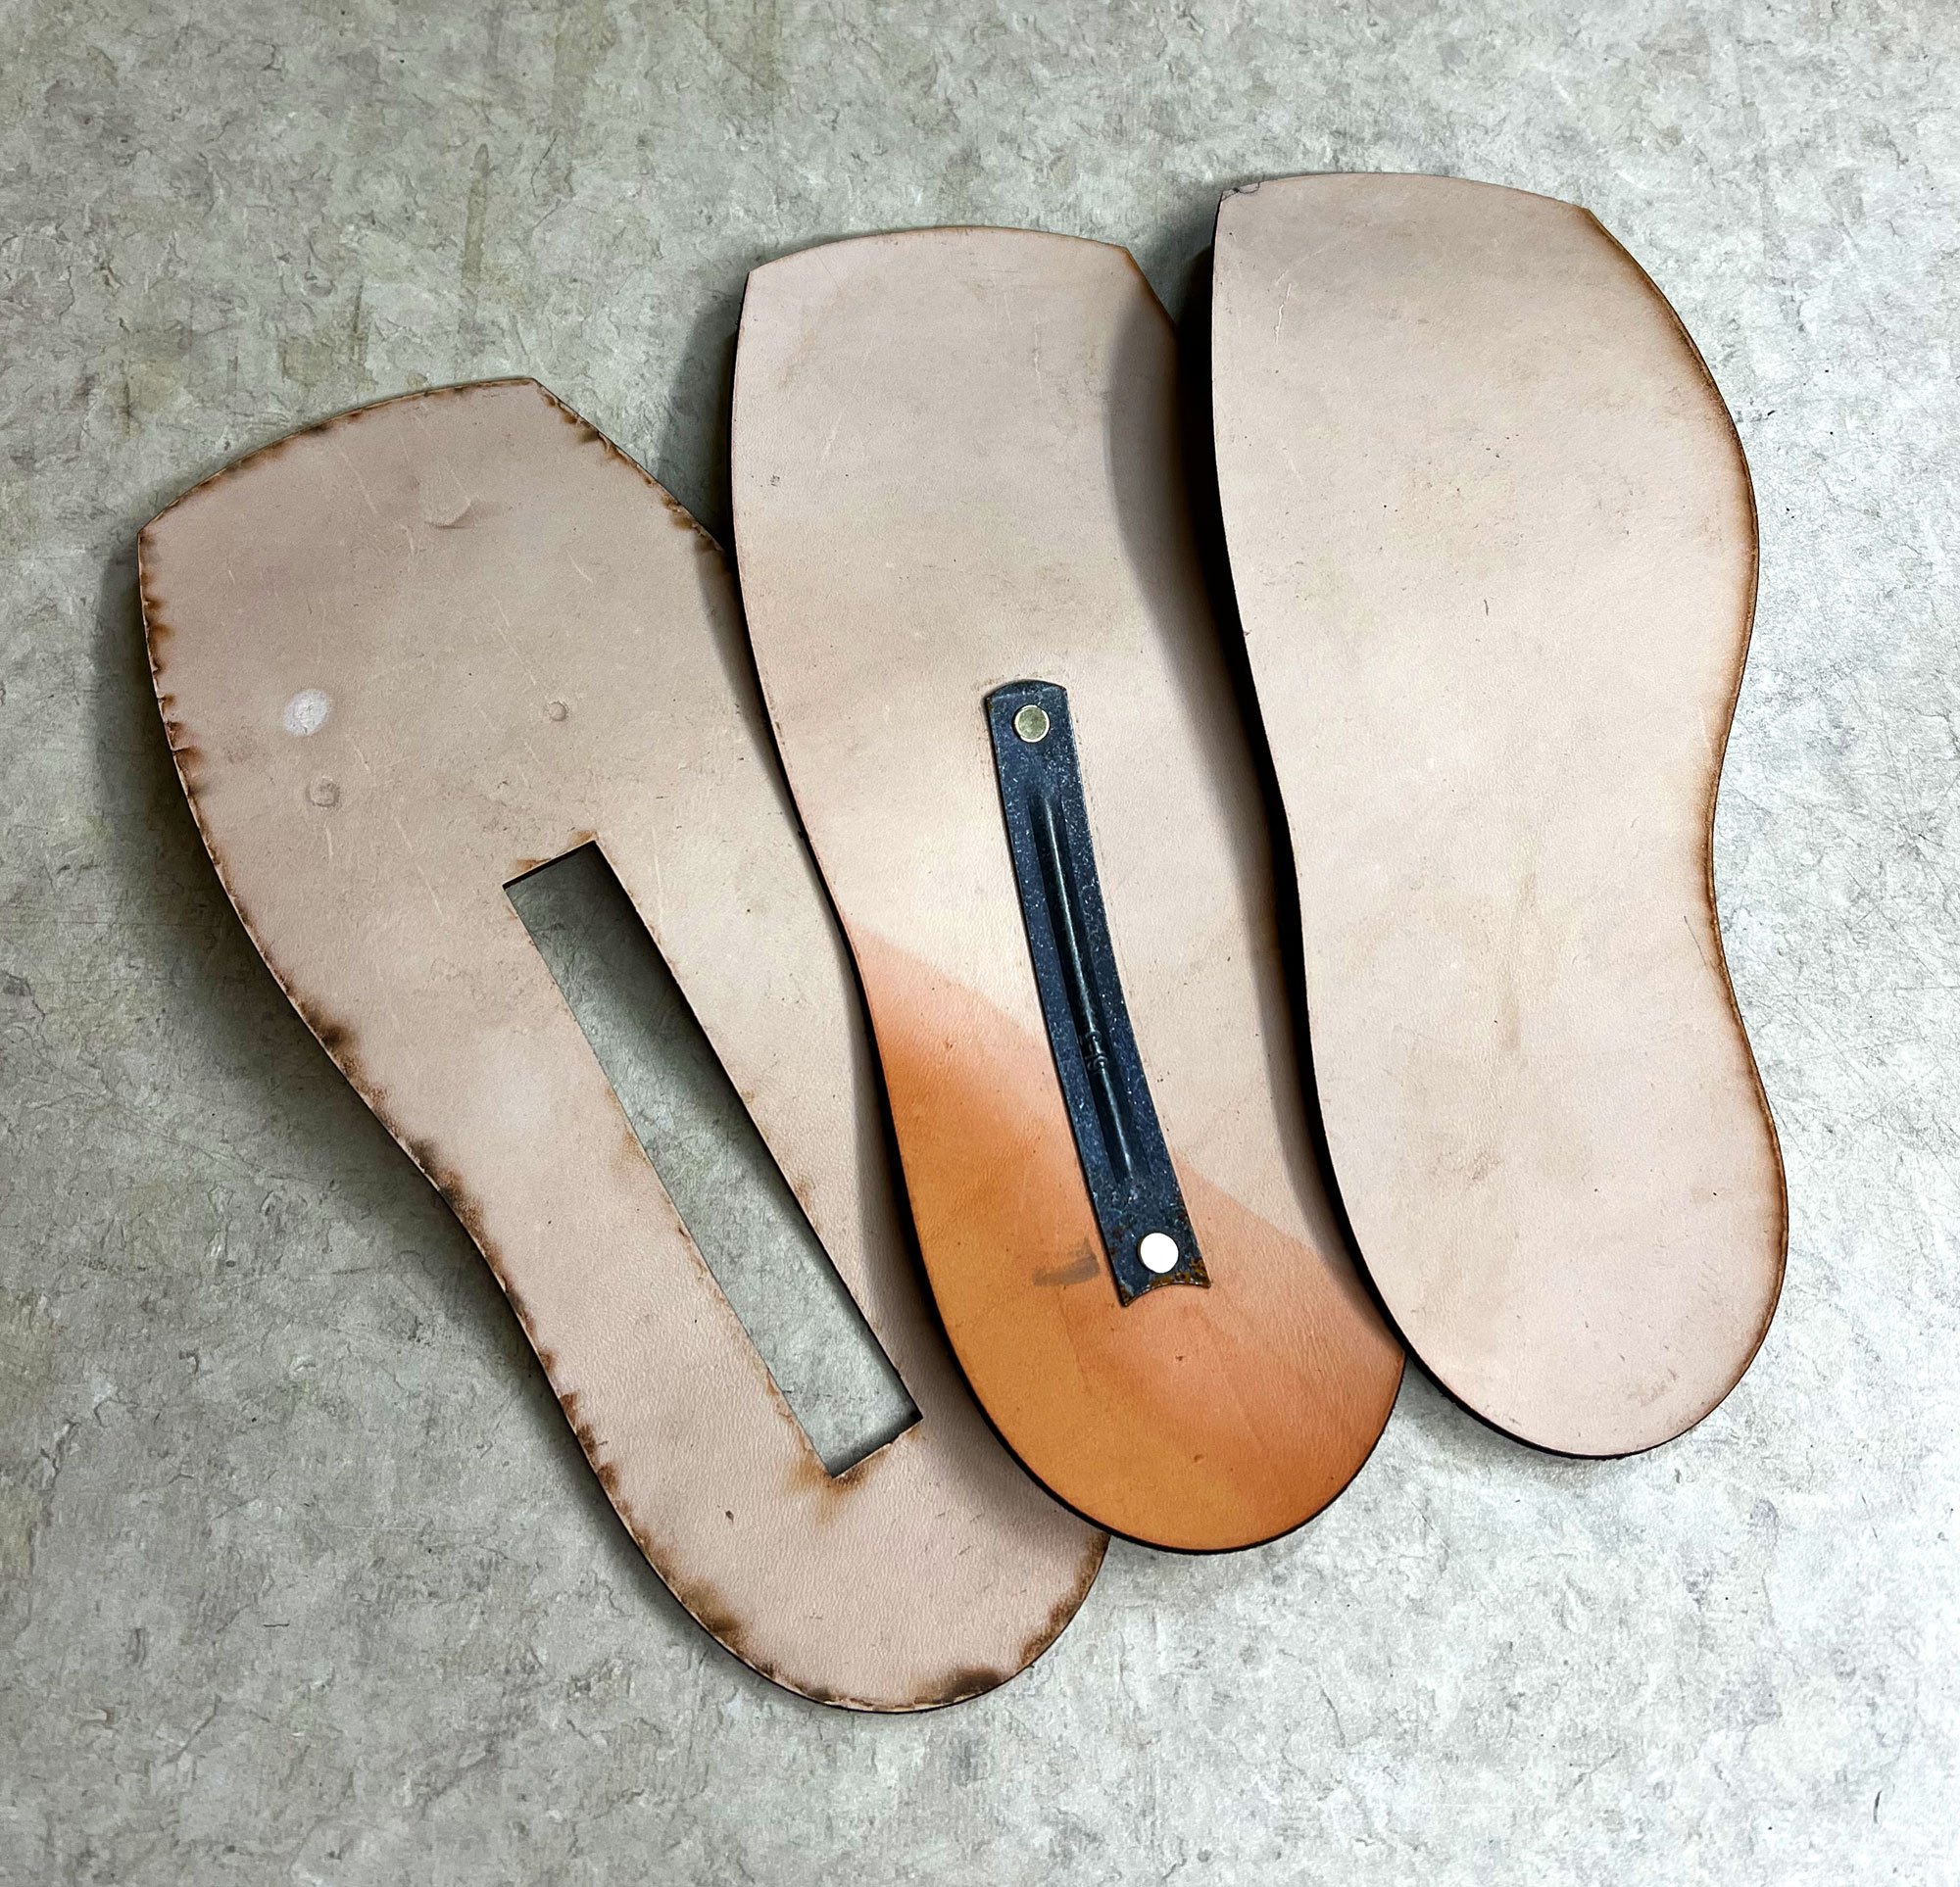
Three layers of leather make up the sole
After sticking the three layers together with contact cement the edges are sanded on the drum sander.
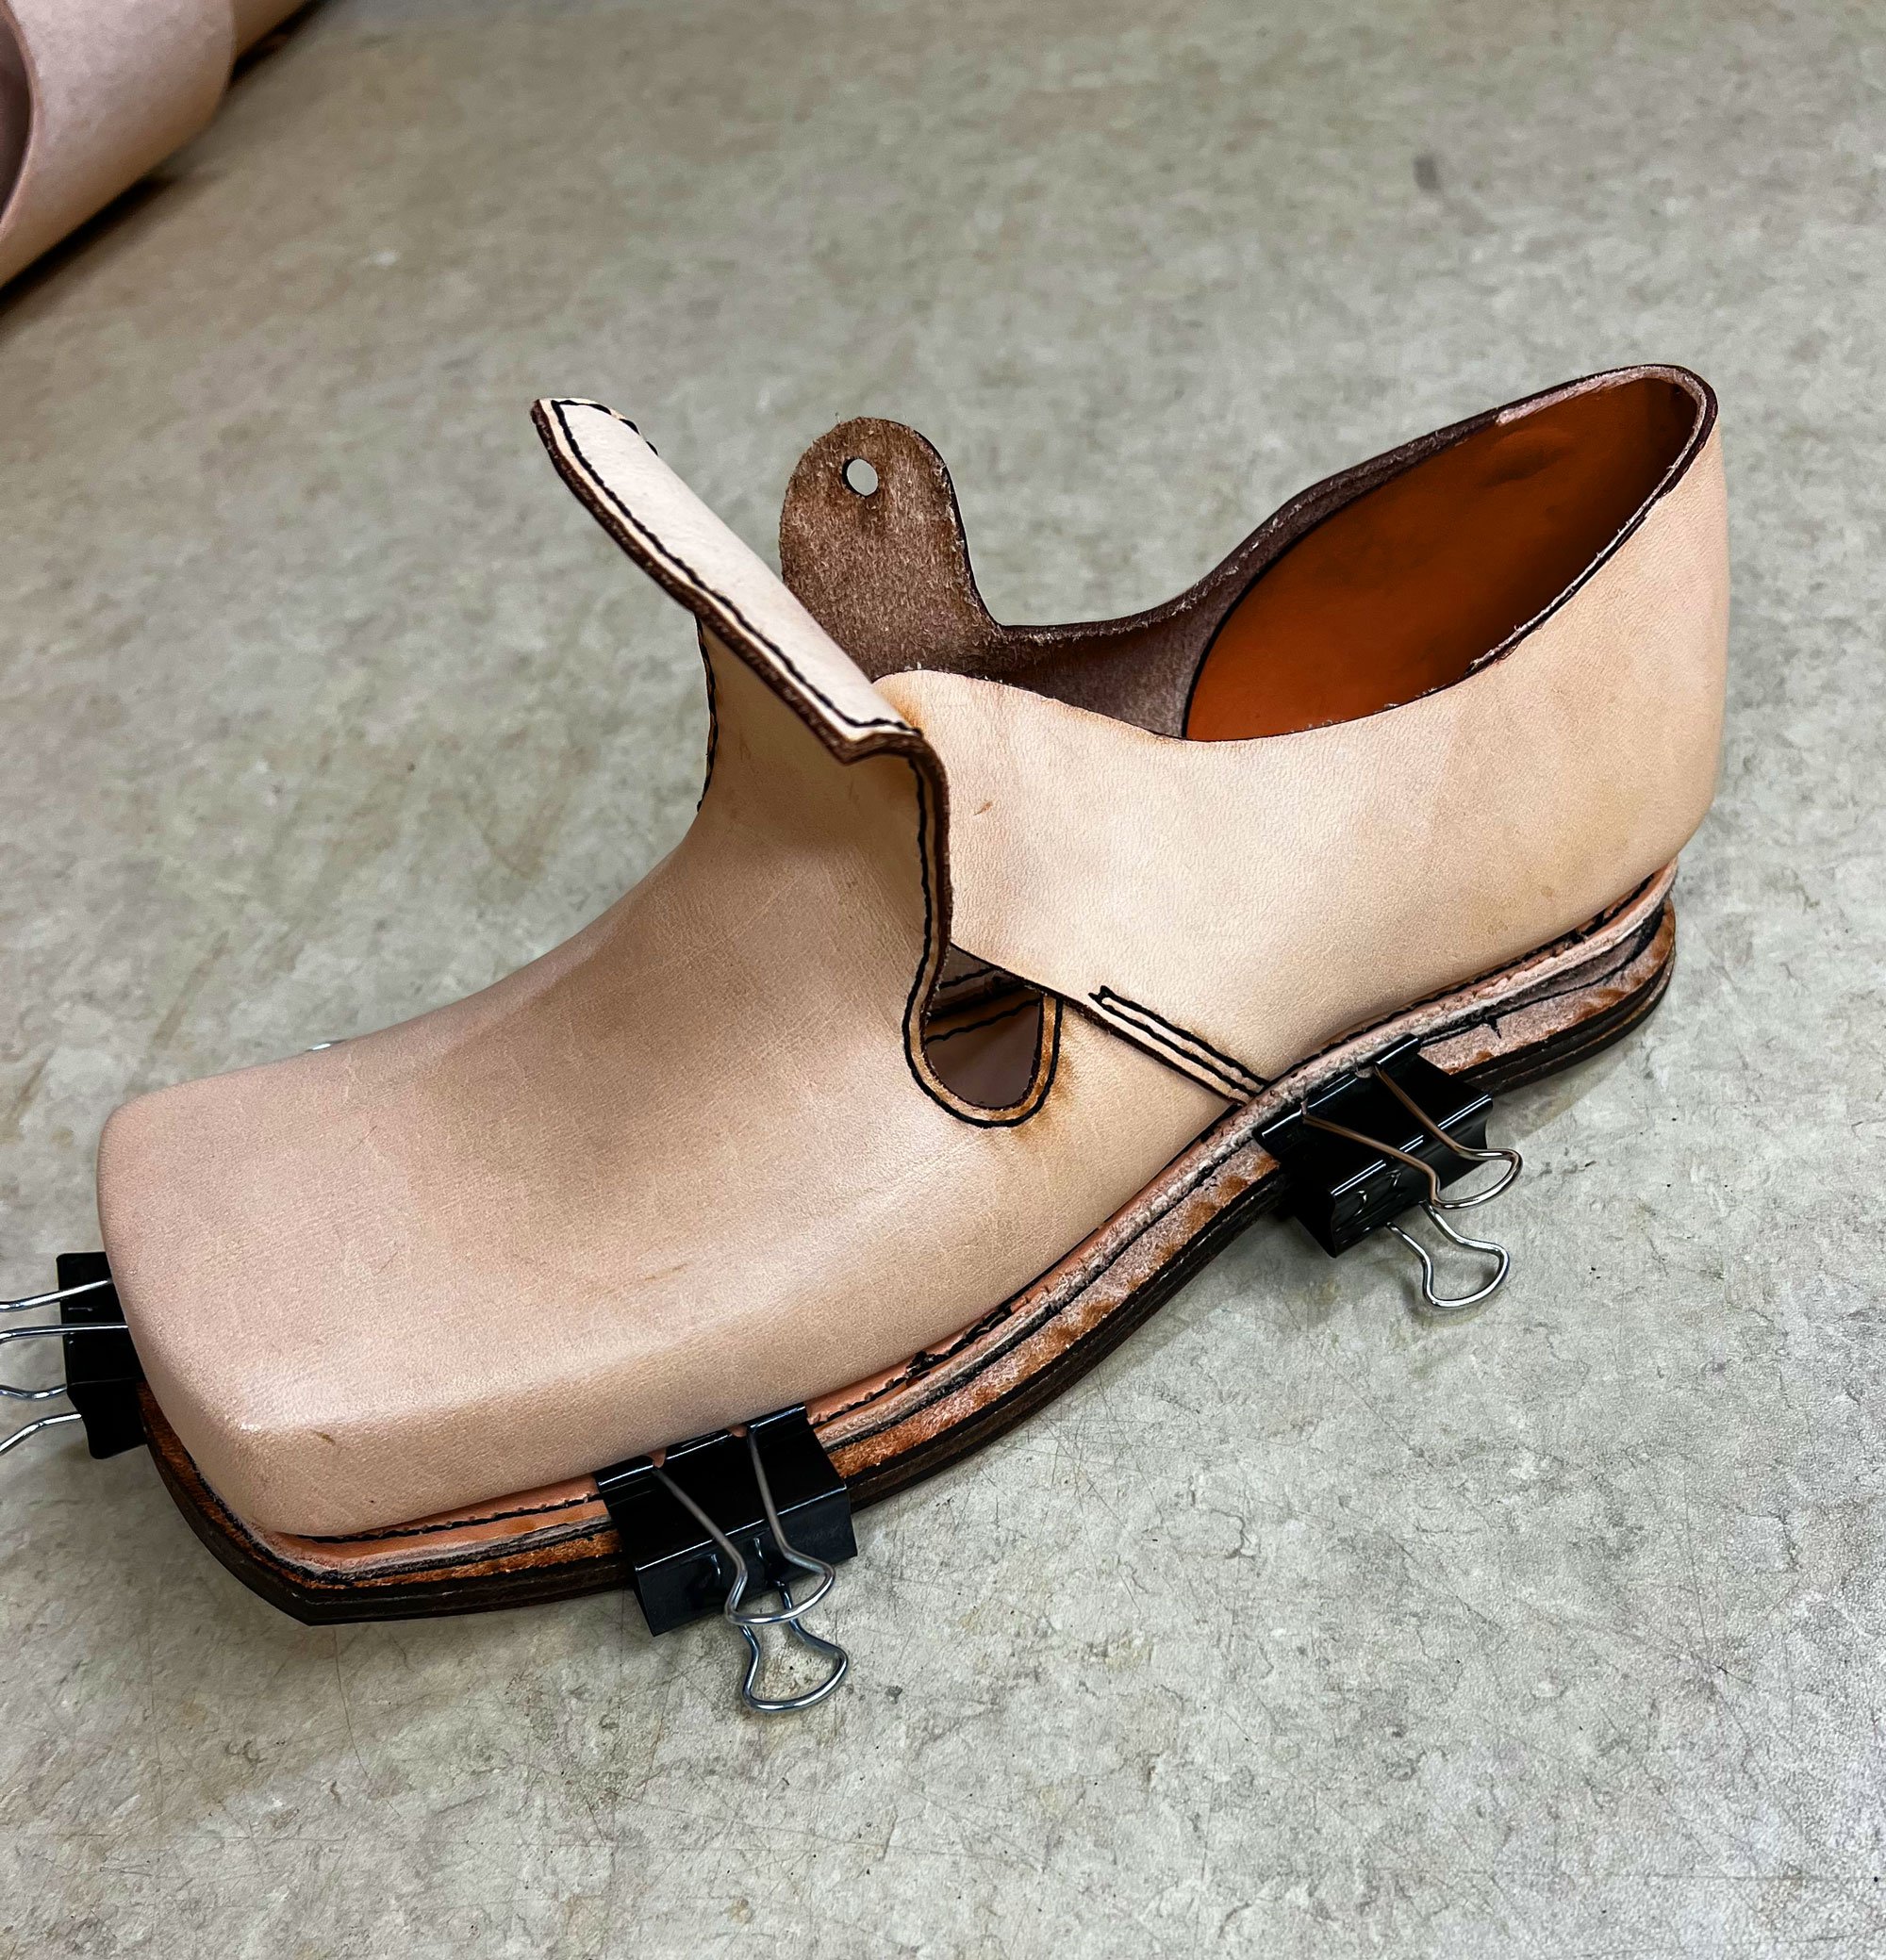
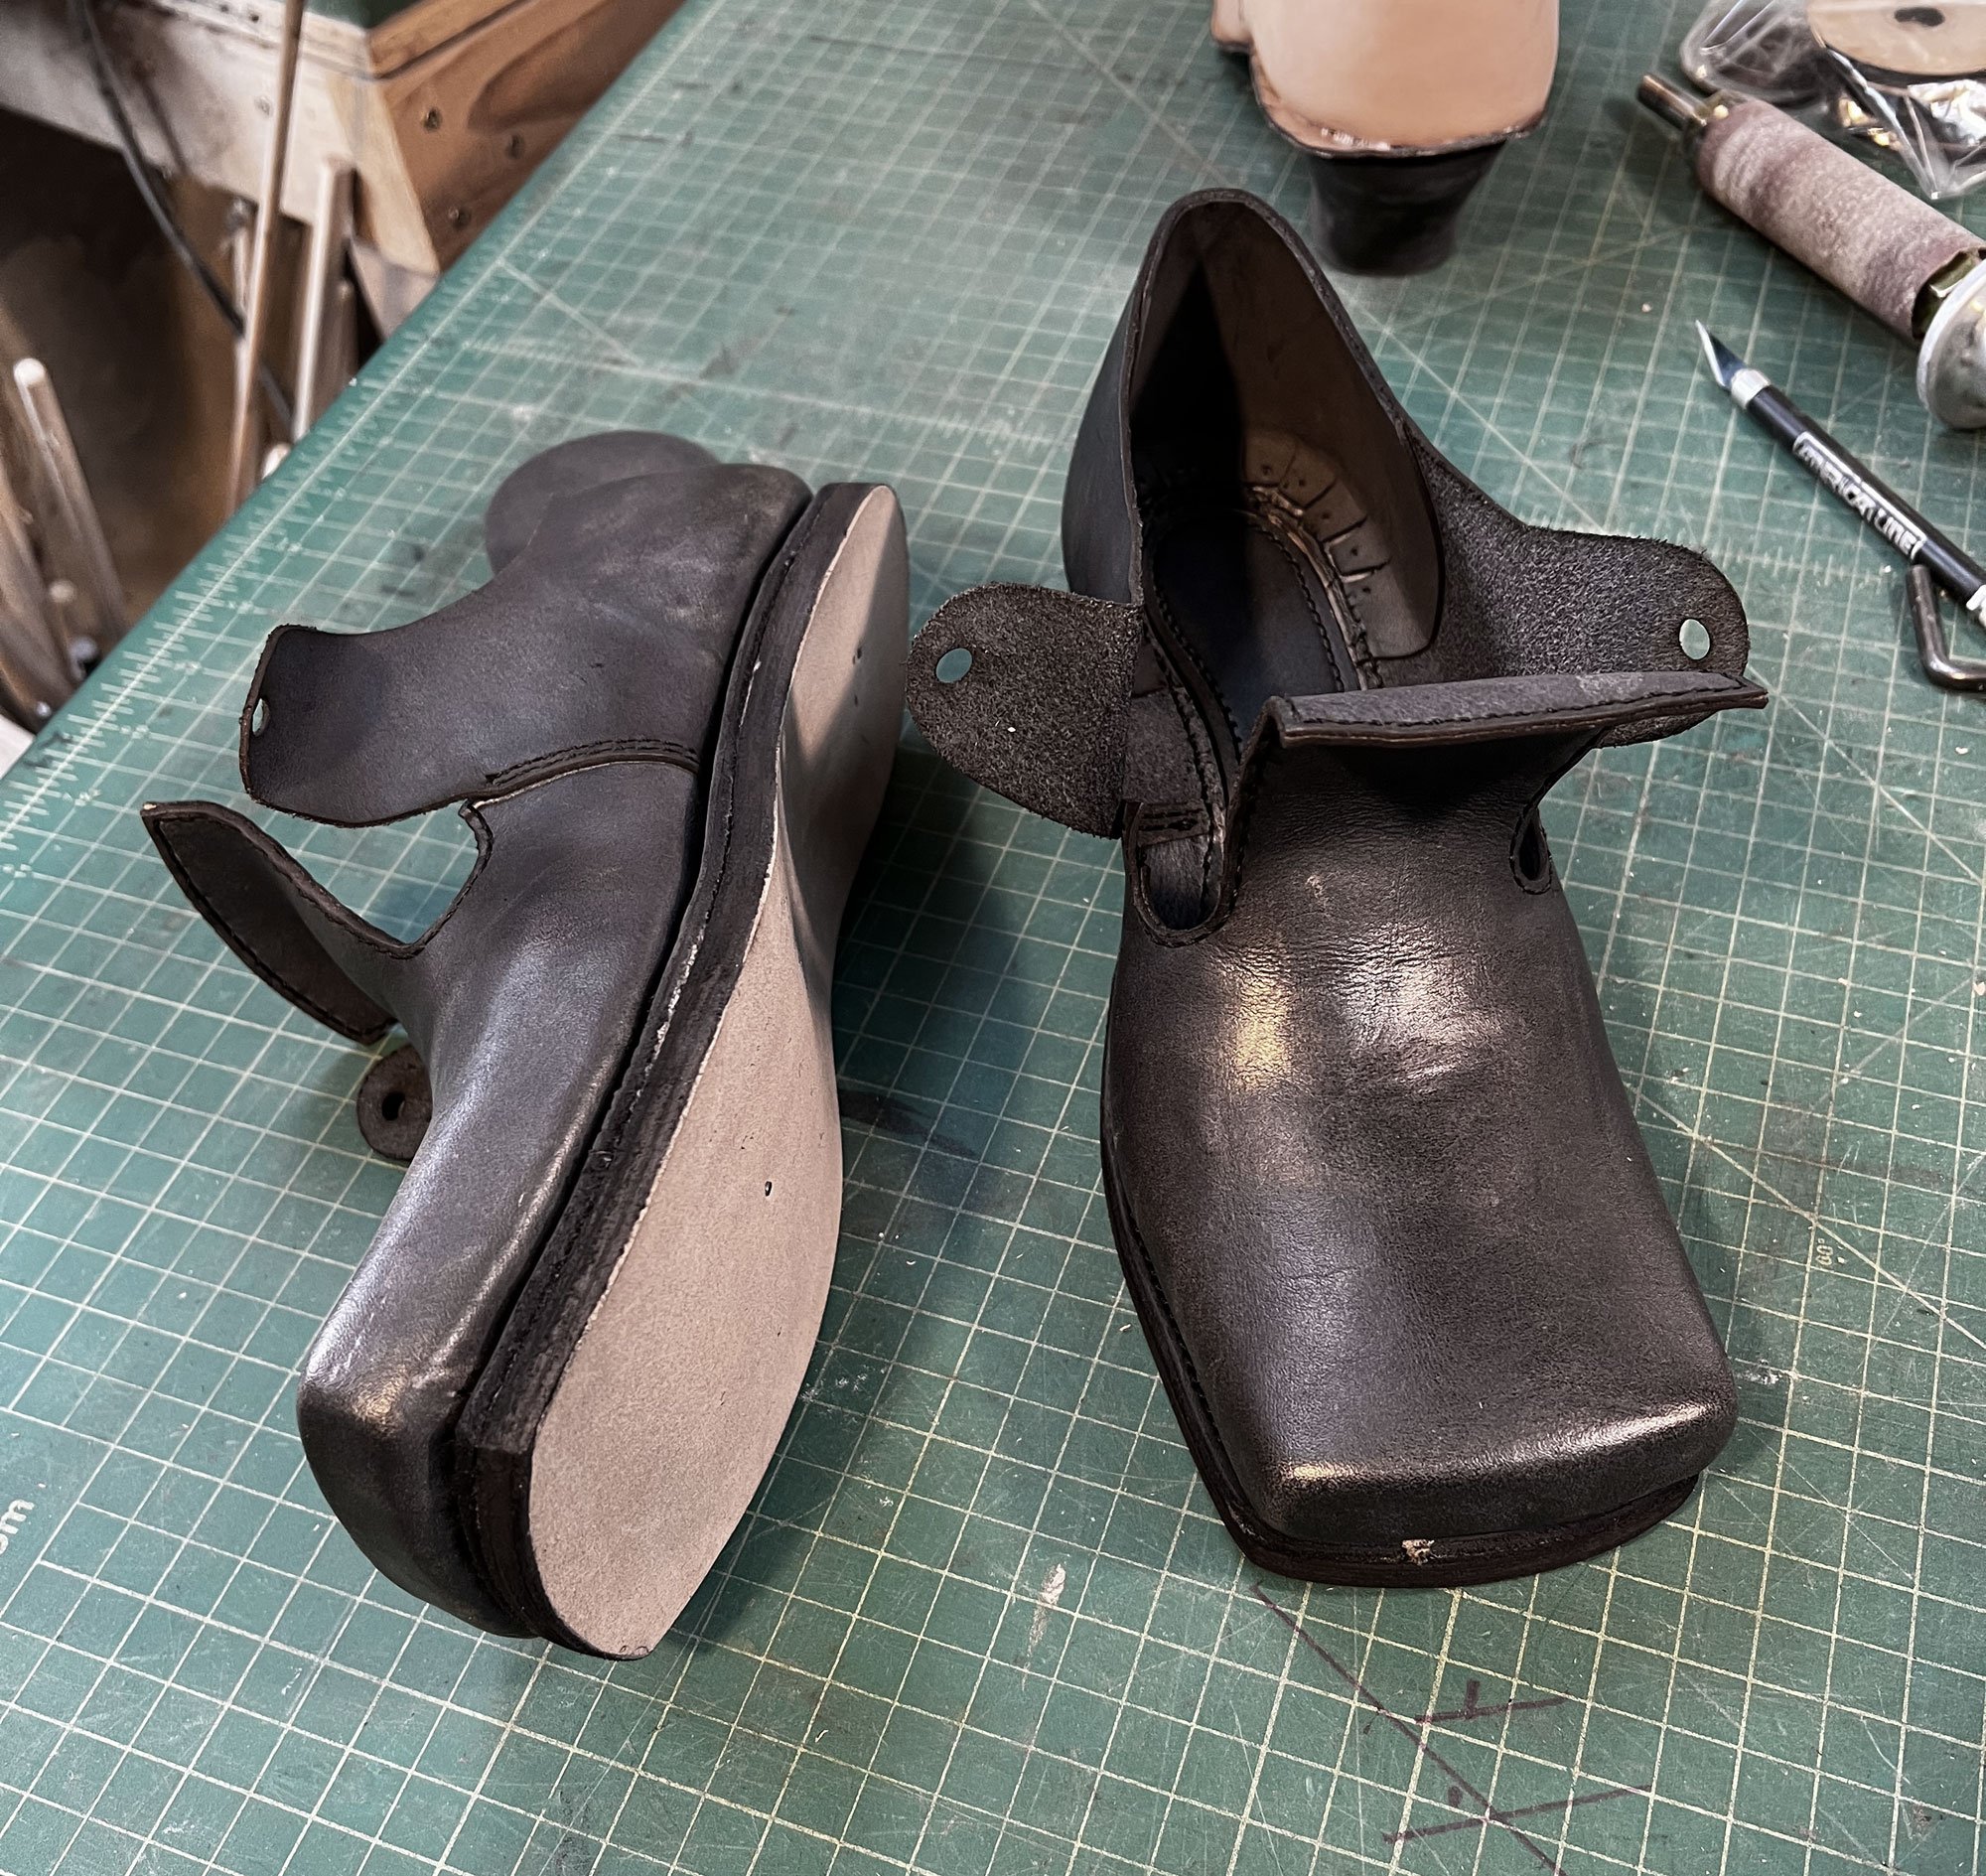
Binder clips hold the sole to the uppers while the glue dries
I built one heel by layering and shaping five layers of MDF (fiberboard). I molded it in pale blue silicone rubber and cast two heels in black urethane resin.

Rubber mold, original MDF model, and cast heel mounted on shoe
Some of my techniques are not traditional, but that is how I like to play. Now I have shoes I can wear to a Ren Faire.