Faux Ivory Buttons
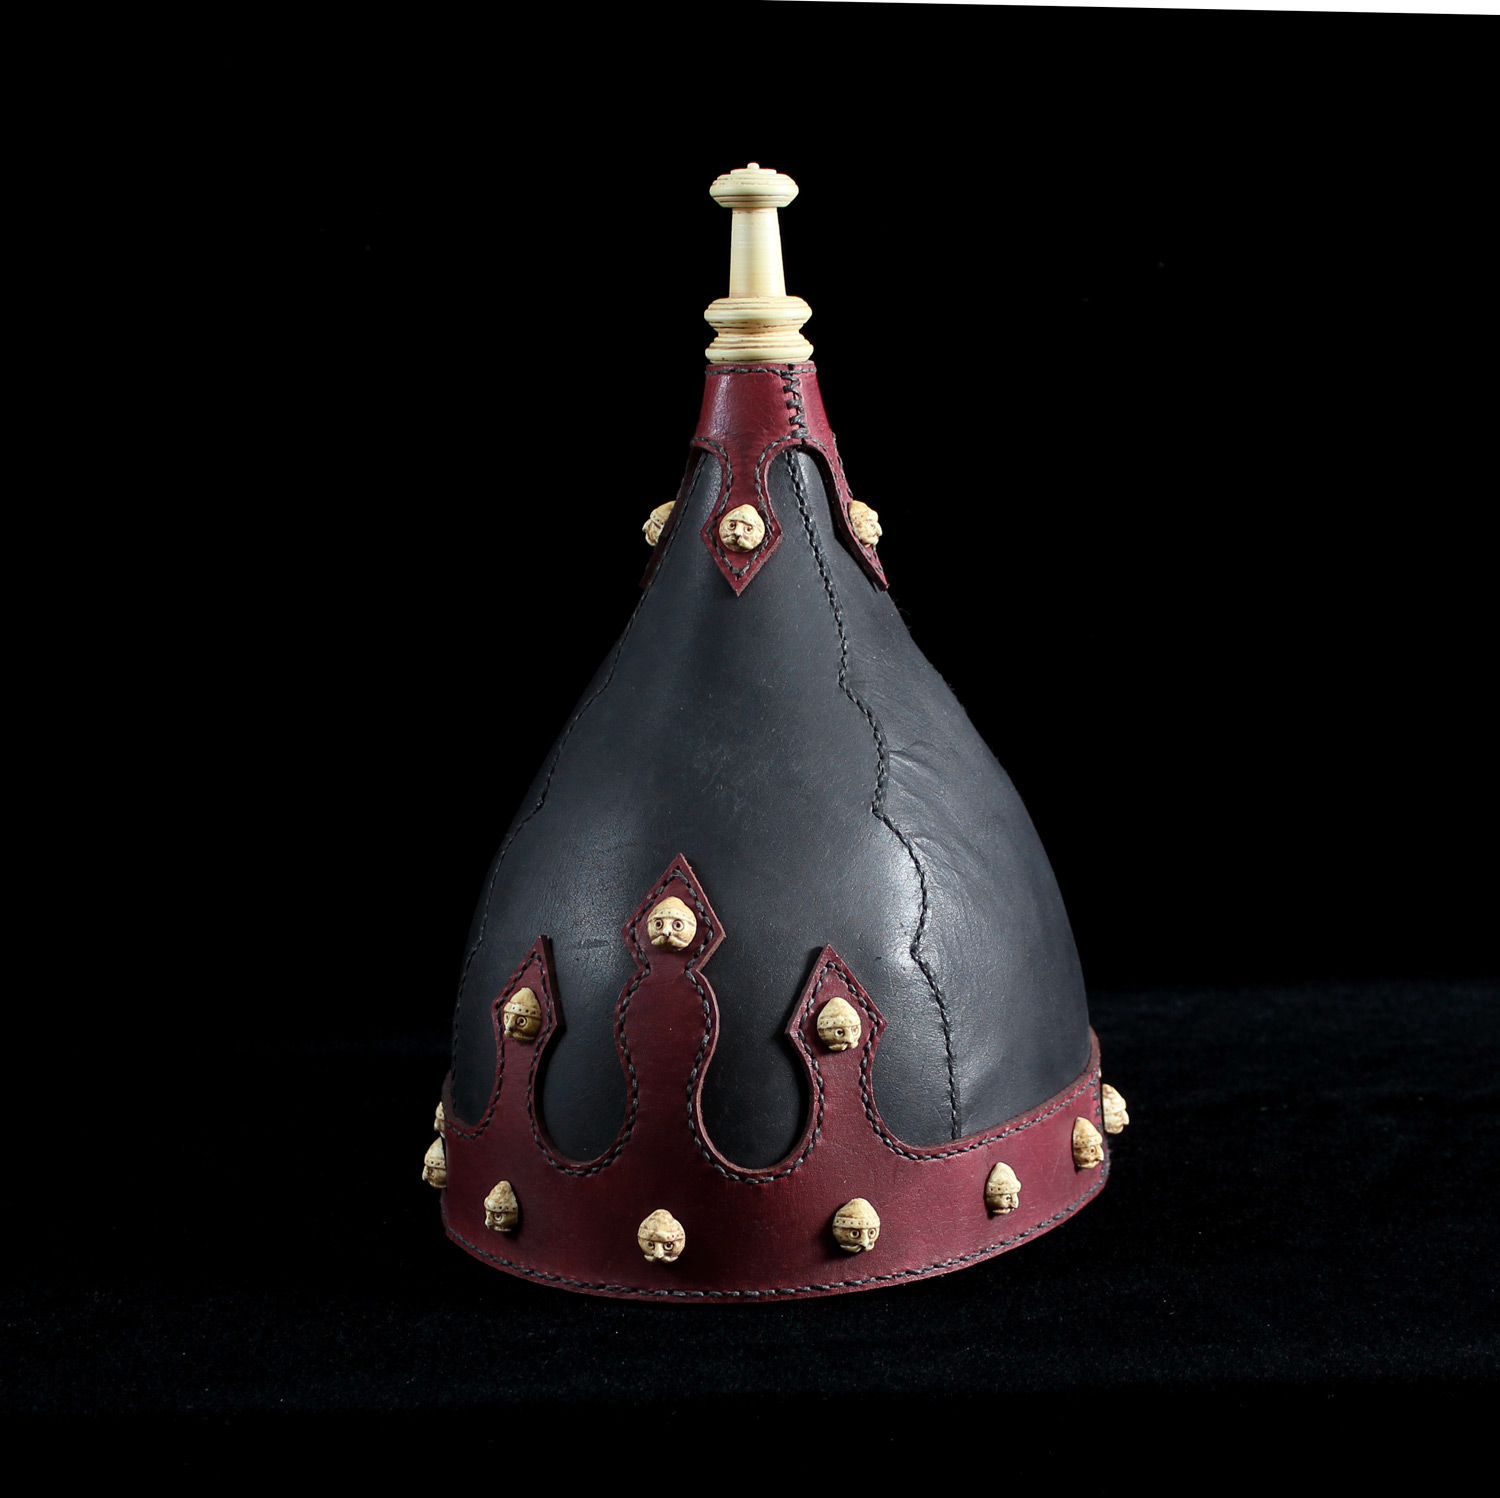
I needed ½” diameter carved “ivory” buttons as decorative elements on a Rus Viking helmet, and this is one way to make very nice ones.
I started with Super Sculpey polymer clay and built a little blob on the end of a short 1” diameter wooden dowel. The dowel gave me something to hold onto while I sculpted, and also started me off with a round base. I knew I was going to shrink the 1” diameter down to half that size, so I didn’t have to make the sculpt very detailed. I sculpted a little Viking face with big eyes, a simple helm and a big moustache.
Next I hot glued the dowel down onto a board, and hot glued a small paper cup around it with the end cut out. Then I mixed up silicone rubber and poured it into the cup to make a mold of the face.
After the rubber had cured, I cast the face button in a shrinking material called Hydroshrink™. It is available through The Compleat Sculptor at www.sculpt.com. Hydroshrink is a urethane compound that you mix with water, and shrinks uniformly to about half size as the water evaporates. I placed the Hydroshrink casting in a warm place, and waited several days for it to shrink to my desired size of ½” diameter. It took three days.
I then molded it again in the silicone rubber. After curing I cast out several parts in a fast cast urethane TC-808 available from BJB Enterprises at www.bjbenterprises.com. These castings I sanded flat on the back to the exact size and shape that I was after. Then I glued on a stem to make it into a button without having the thread show from the front. At this point the button face is .5” diameter by about .3” deep, and the stem is .3” diameter and about .3” in length (it will be shortened as a button).
I molded these pieces yet again to get my final production molds. I then cast as many as I needed (in my case 24) in the TC-808 (which is a white urethane resin) and a very small amount of yellow brown dye to get my ivory color. Alternately I could have added ivory alkyd pigment or paint.
My challenge for these buttons was that the stem could only be .1” long where they set into the leather helmet. To accomplish this I drilled a 1/16” hole through the stem as close to the back of the button as I could. I then sanded down the stem from .3” to .1” on a power sander.
At this point the only thing left to do was to antique the buttons so that they looked aged. For this I used Jel’d brand wood stain by Wood Kote in the Fruitwood color.


