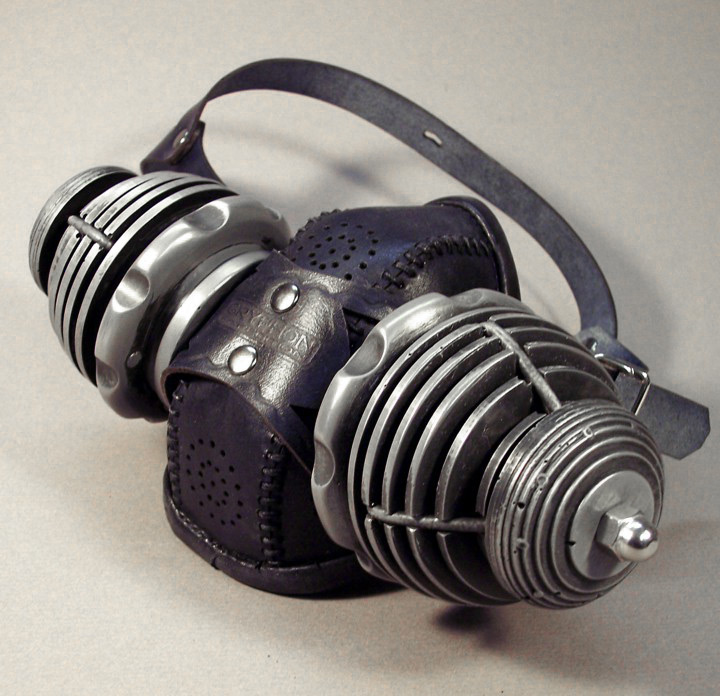
One of my first steampunk designs was the Bad Air Transmutator, shown at right. It had two large canisters which I rotocast in resin. They were slow to make, and rather heavy due to both their size and because they were made of cold cast metal, even though they were hollow.
On the cover of the most recent issue of MicroMark's catalog is a photo of their new mini vacuum forming machine. It intrigued me as an affordable way to get into vacuum forming, a process I have always been drawn to. I found the identical tool on eBay for less money and purchased one. I figured I could build a two-part canister that would be faster to make and considerably lighter in weight.
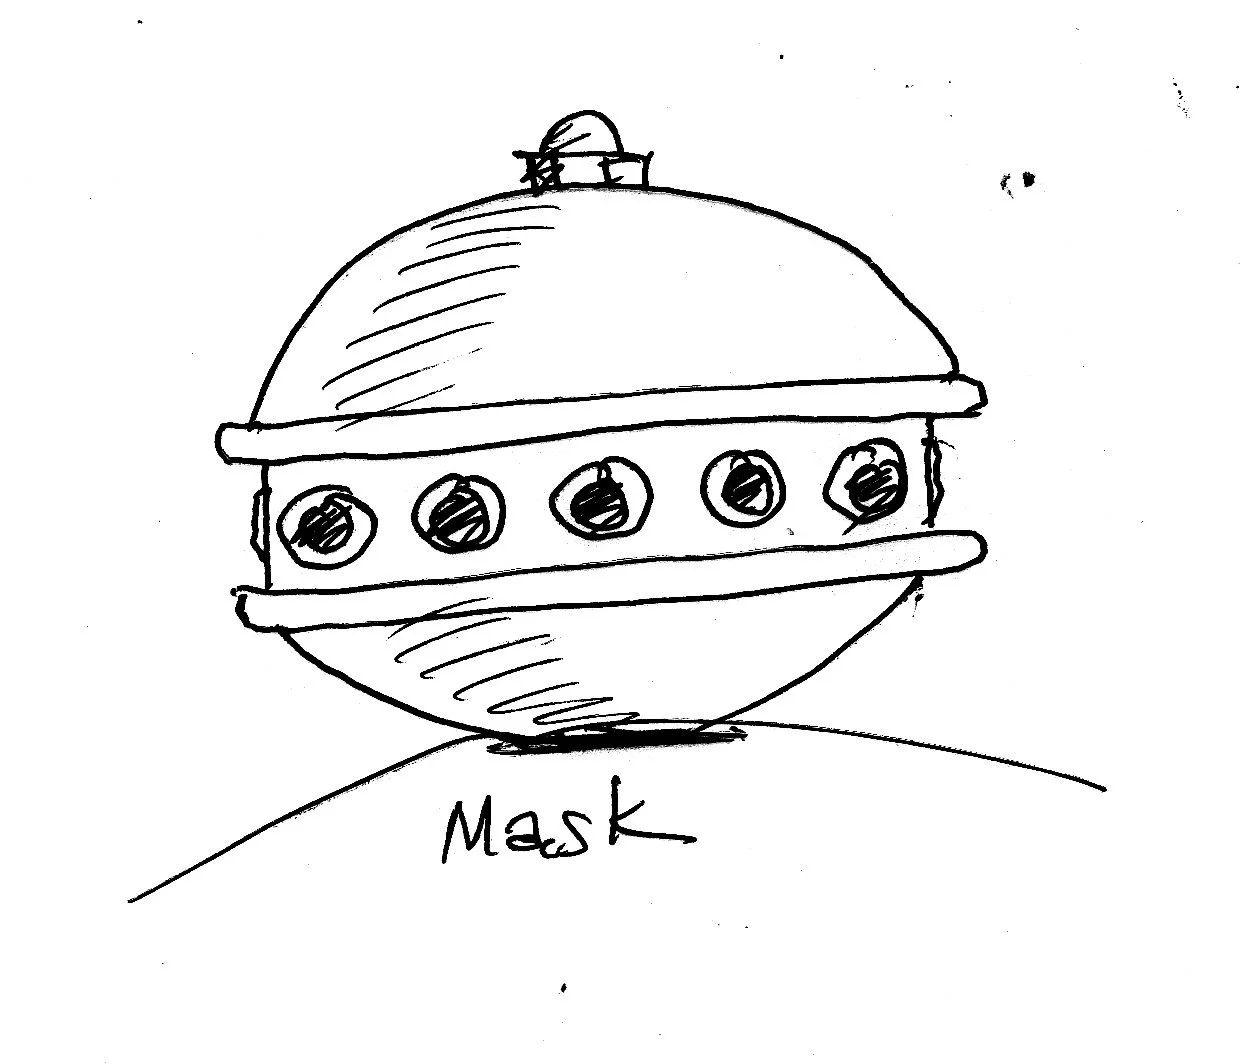
After experimenting with the vacuum forming, I decided I would need a cast resin ring in the middle. My sketch shows the concept, and looks like a cross between a hamburger and a UFO. The portals around the middle serve as the air intake.
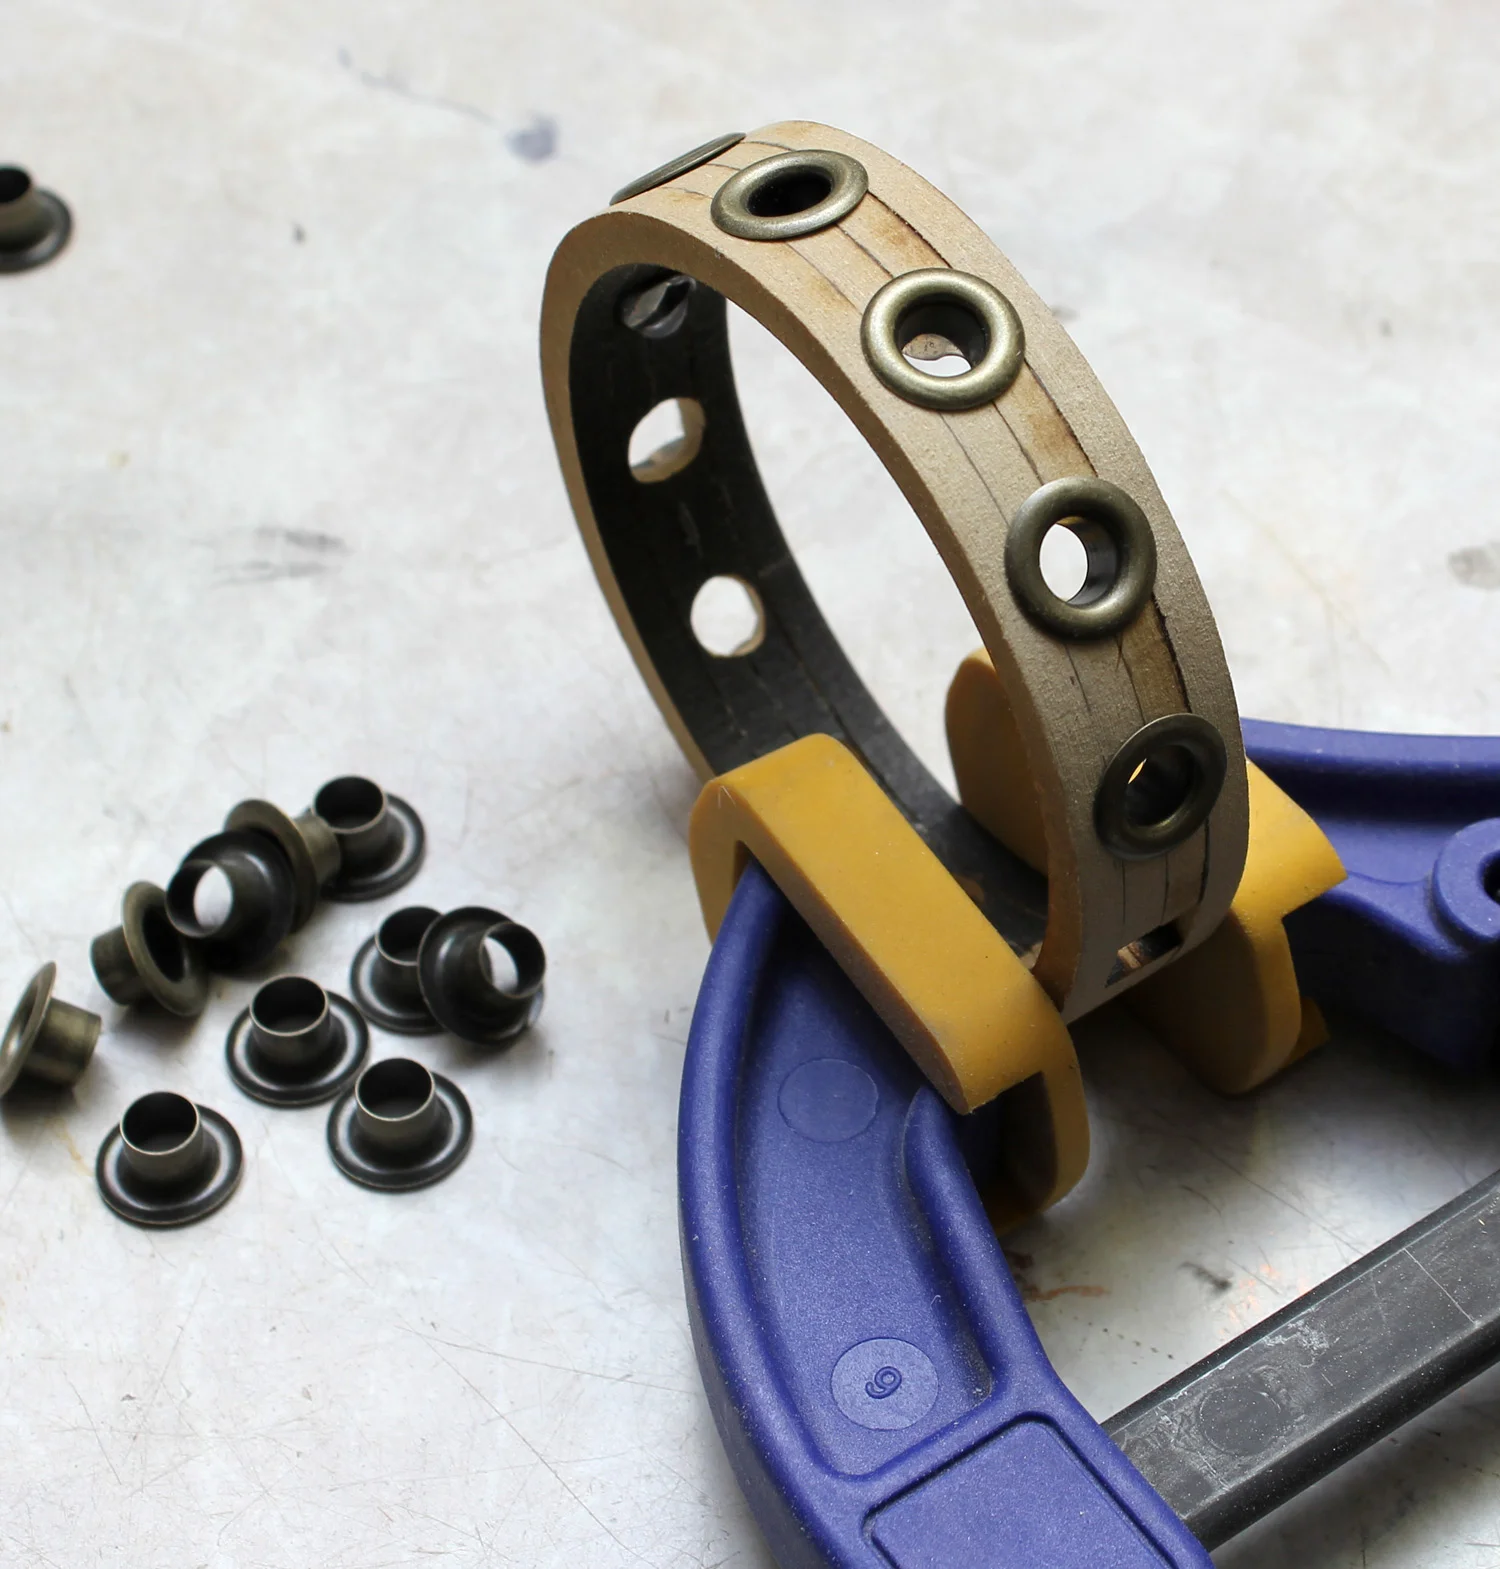
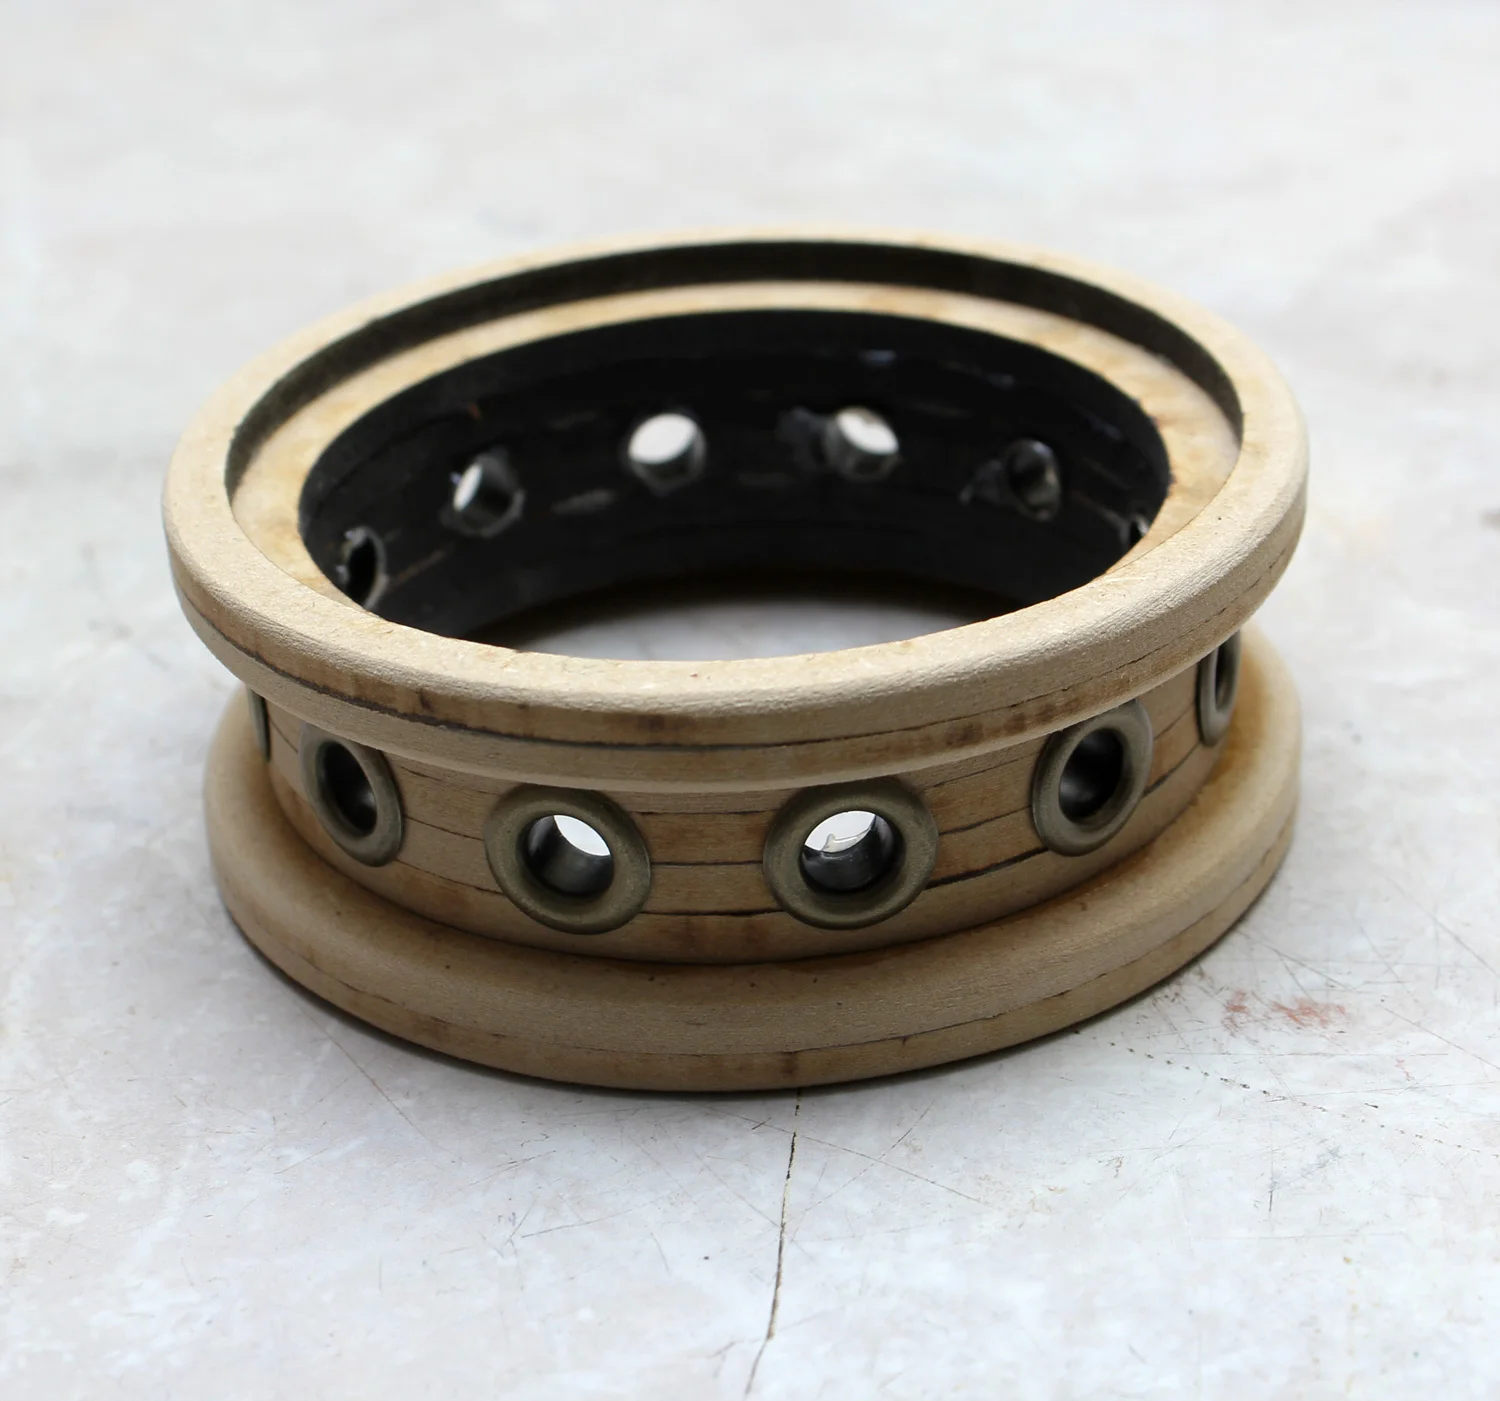
I drilled out the blackened squares to accept brass grommets, which would form the intake portals of the respirator. I epoxied the grommets in place, six at a time so that they would stay in place.
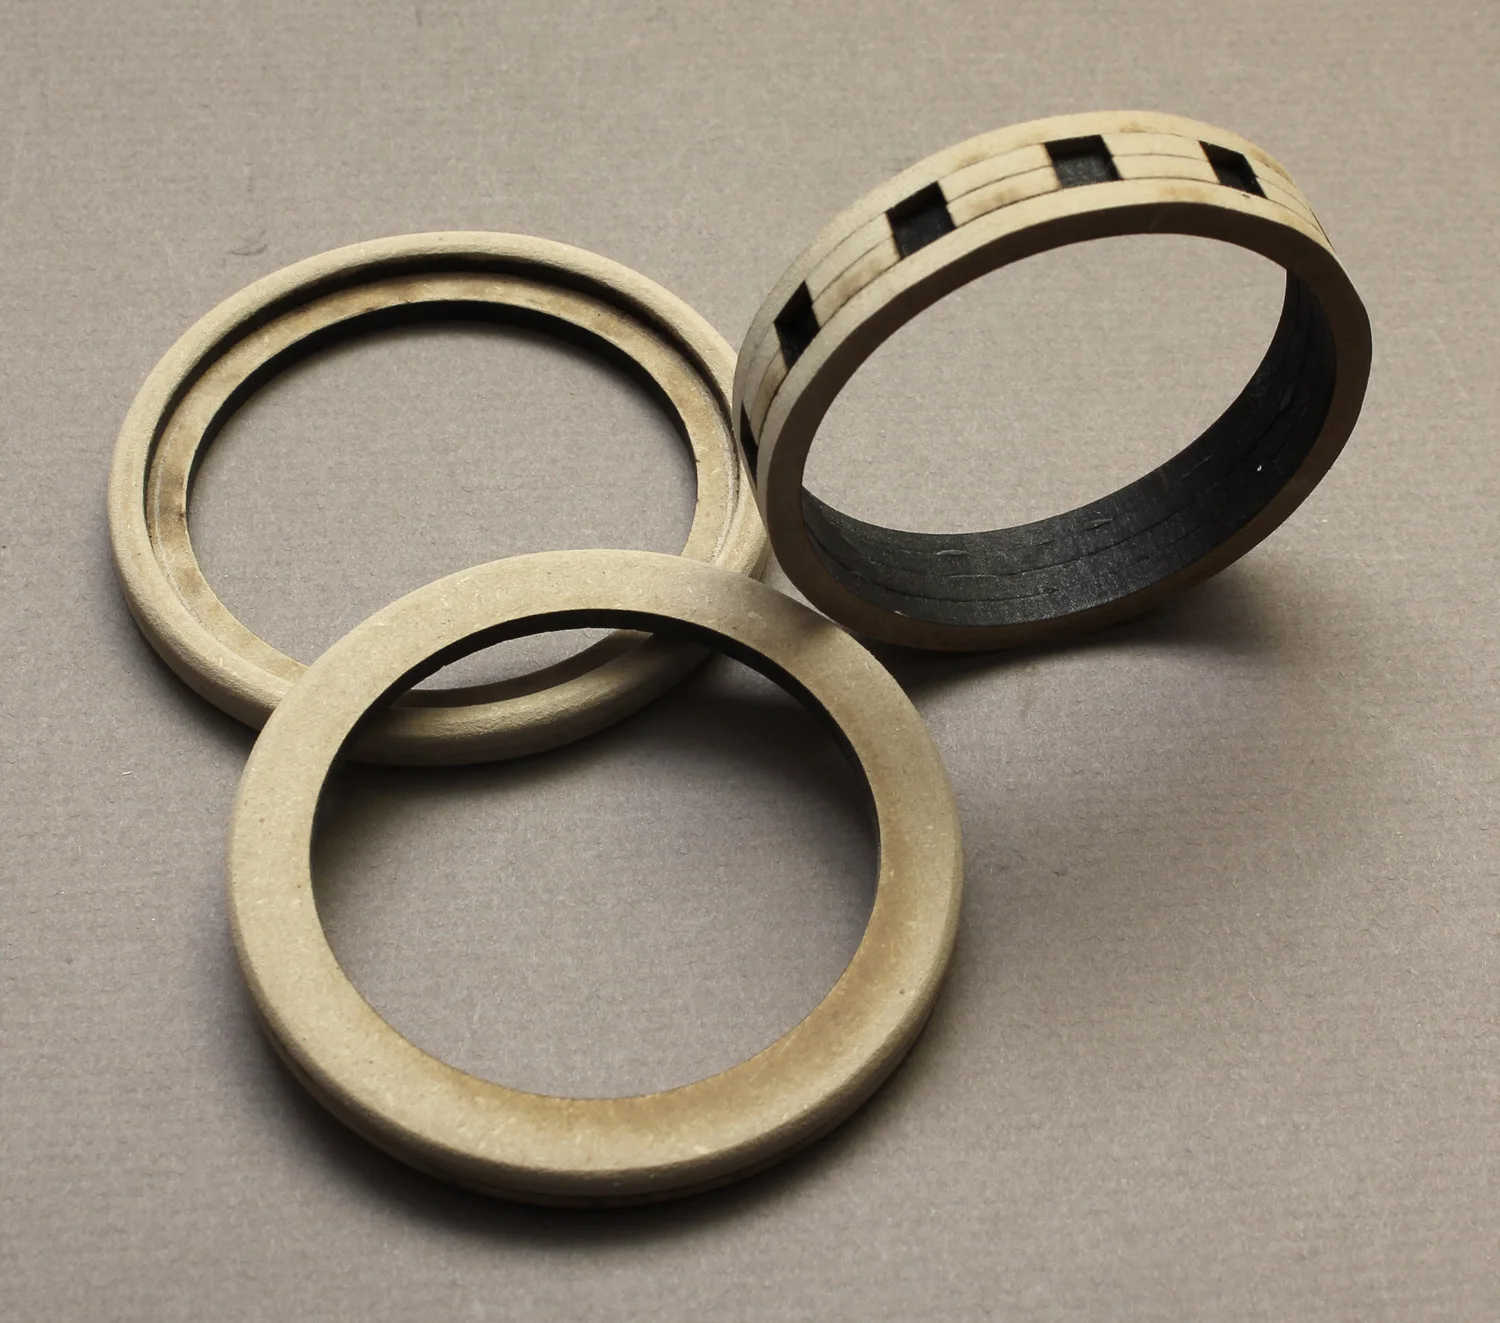
I began the construction by lasering several rings in fiberboard. The top and bottom are identical, and include a recessed area to receive the vacuum formed parts.
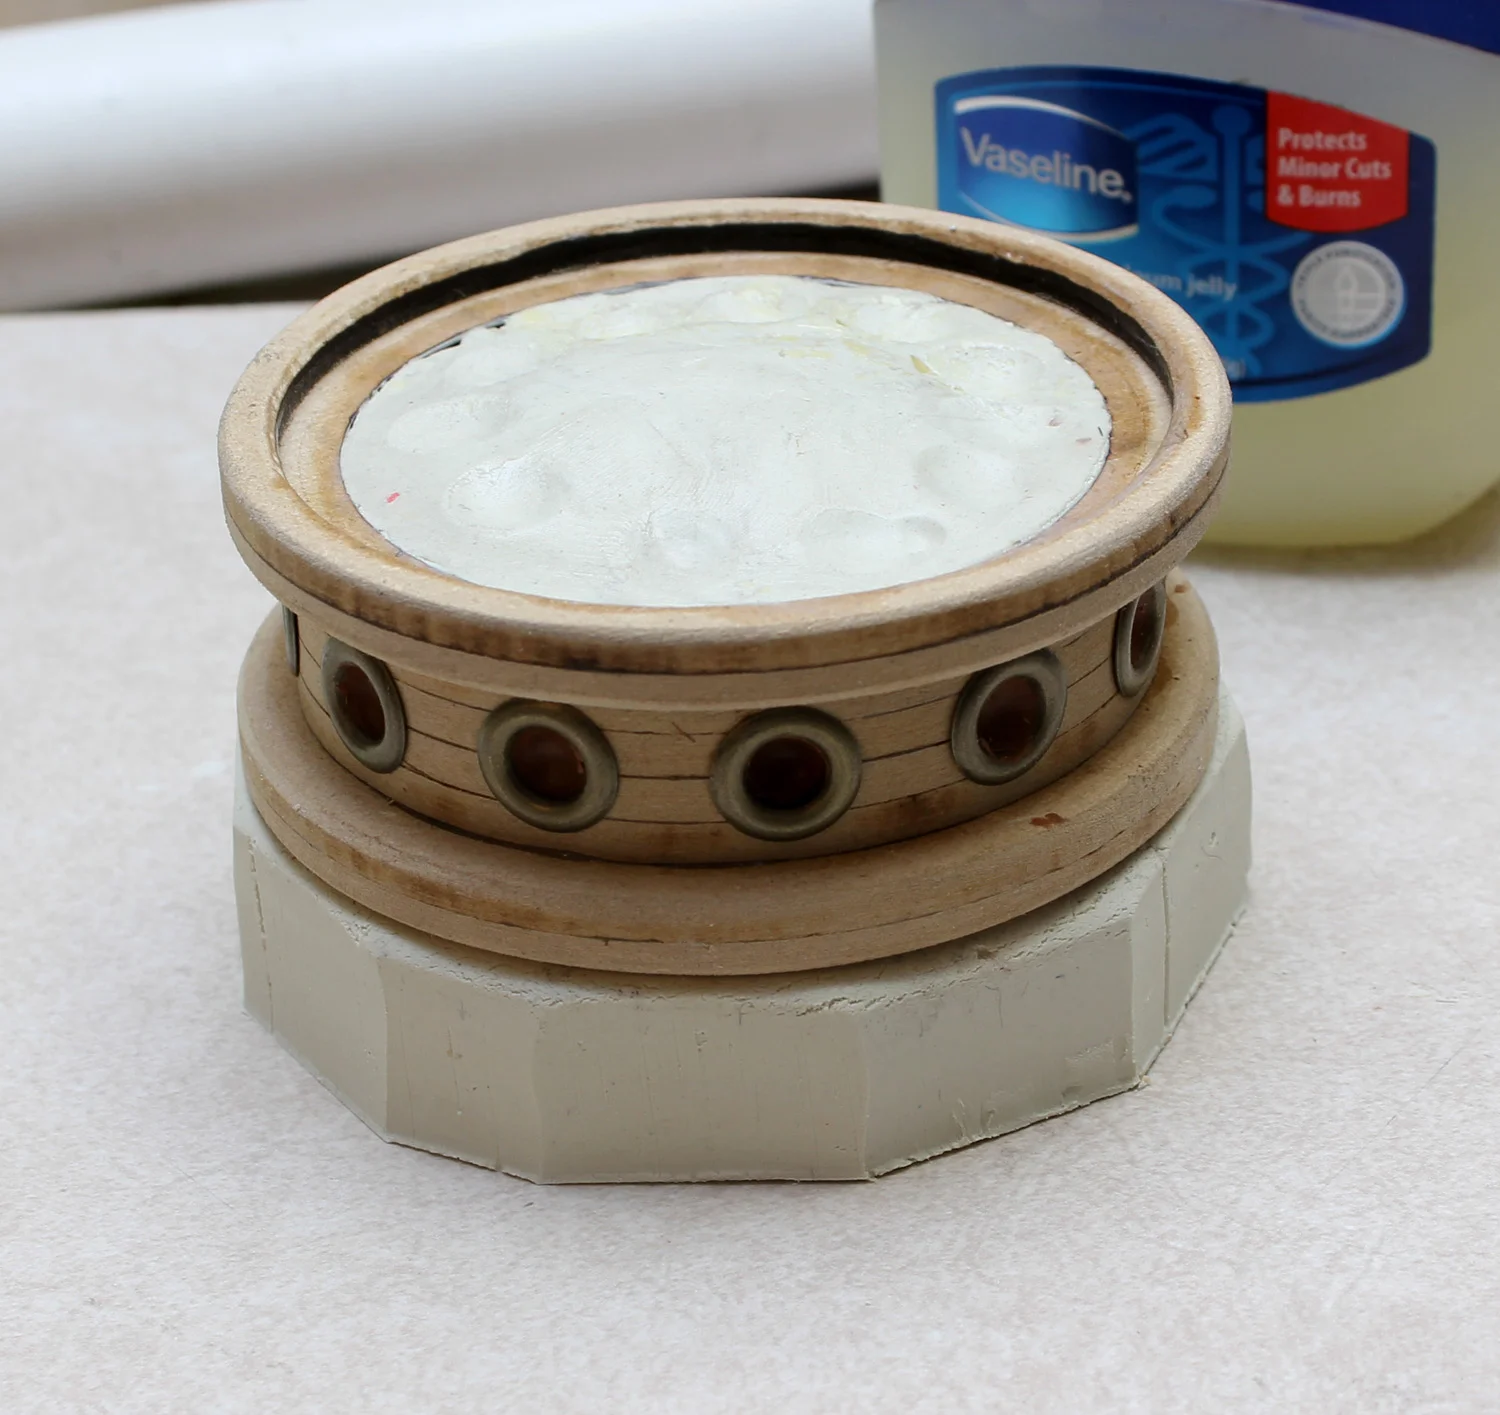
Next I epoxied the top and bottom rings onto the center ring. This completed the model.
In order to cast it in resin I needed to make a two-part silicone rubber mold of the model. The first thing I did was to warm up some Plasticine modeling clay with the microwave oven so that it could easily be shaped.
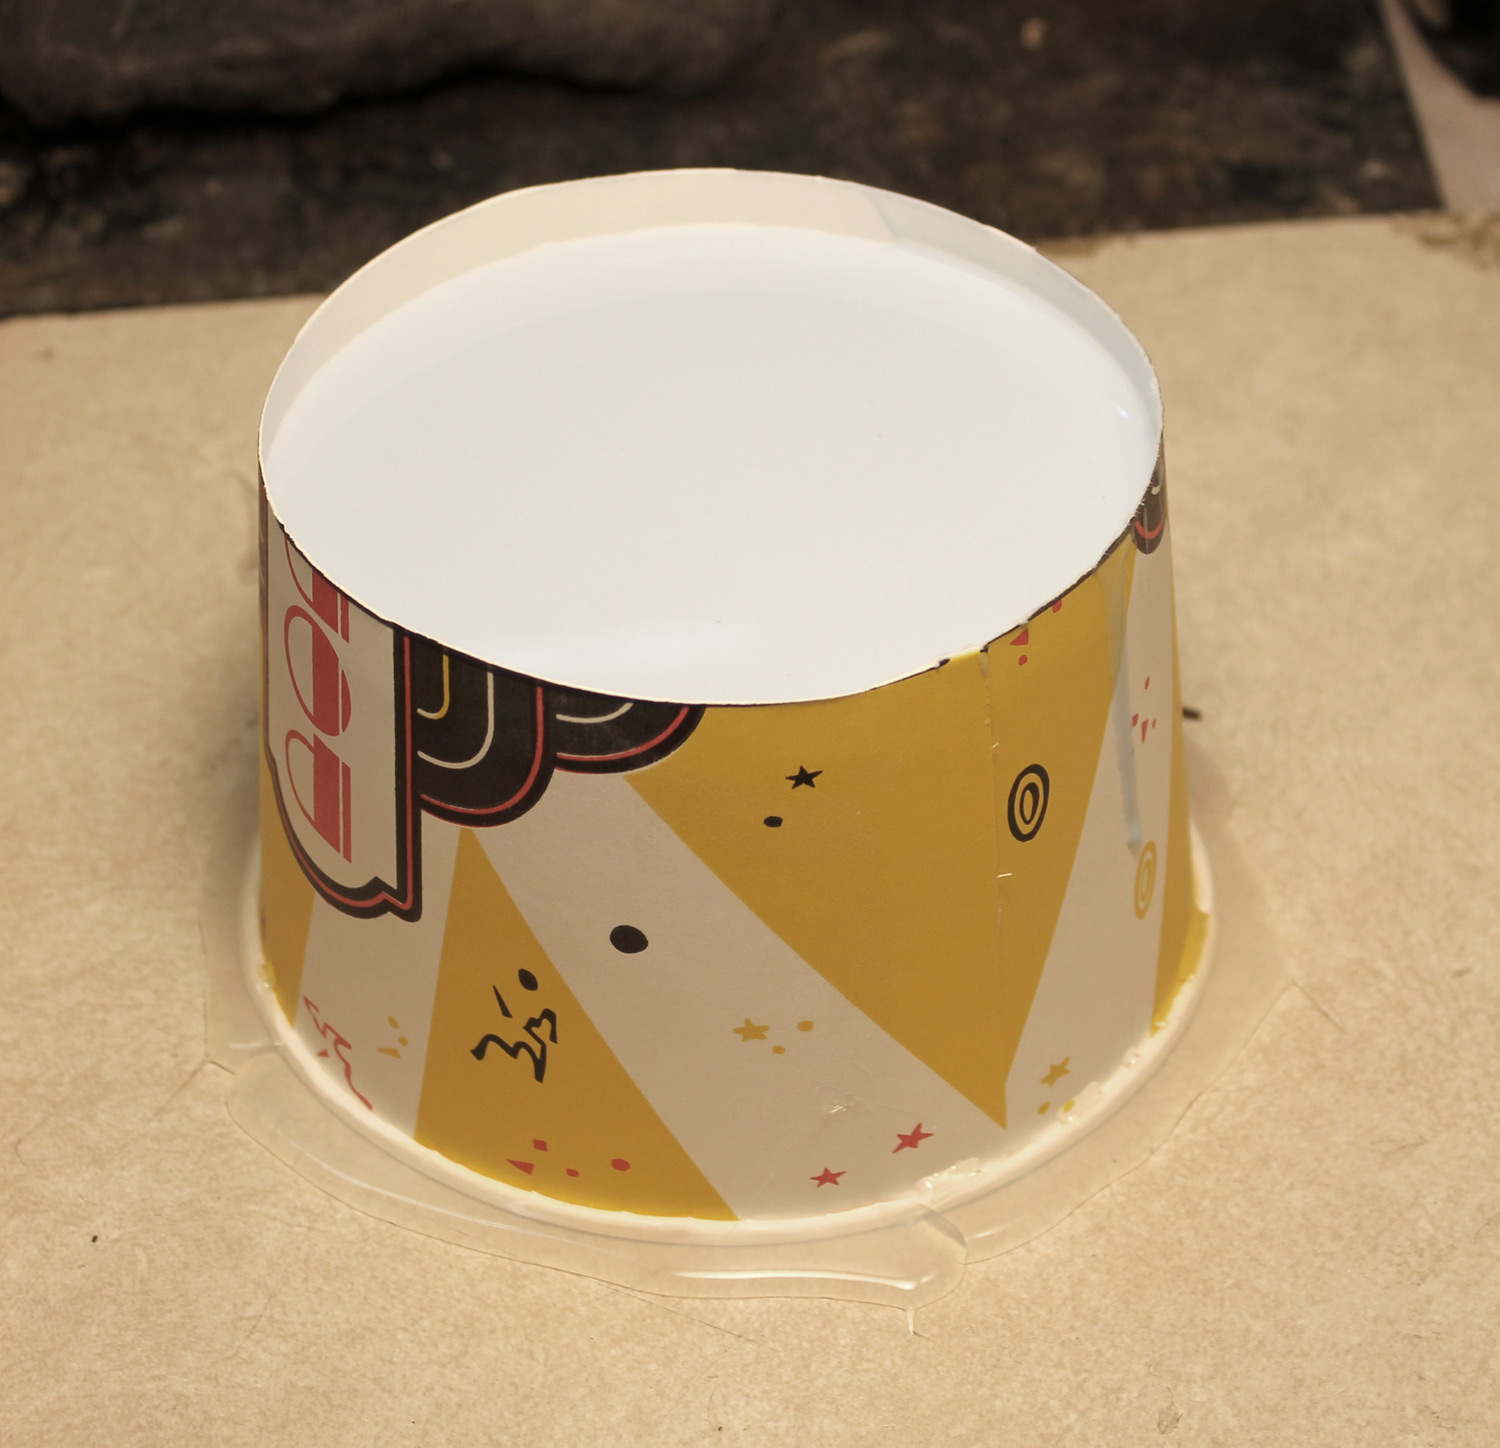
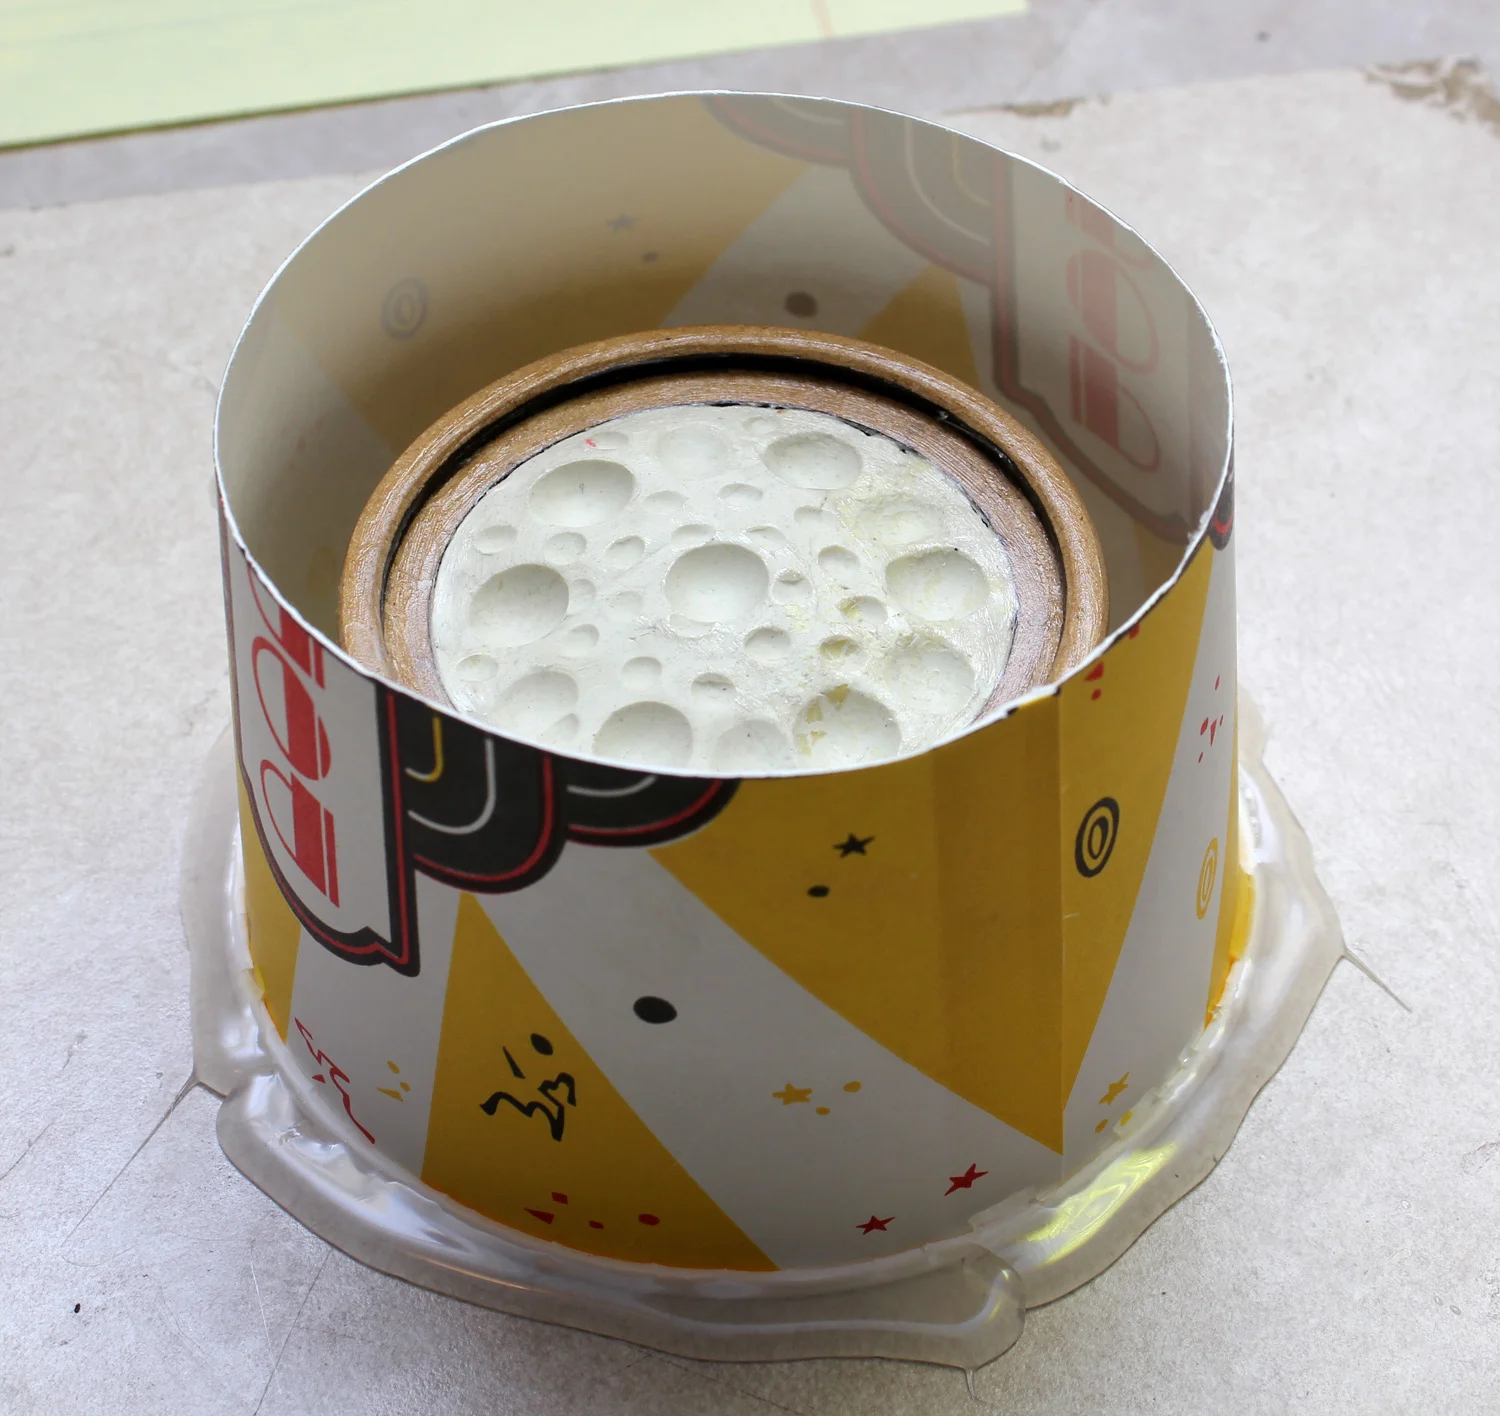
Next I took a paper popcorn cup and cut off the bottom half. I placed the top half upside down around my clayed up model, and used a hot glue gun to fasten the cup to the mounting board, ensuring that it was water-tight, as the liquid silicone rubber can escape through the tiniest of holes.
After a couple of minutes it was ready to go, so I poured the liquid rubber into the popcorn cup and placed it on a flat surface with a lamp over it to keep it warm.
Tomorrow I will be able to demold it, pull out the clay and pour the second half of the mold.
Then I place the fiberboard model on top of a bed of the clay, and trimmed away the excess with a large knife. While the clay was still warm I packed it into the interior of the model right up to the inner top side. Using a steel modeling tool I made several impressions into the top surface of the clay. This surface will align the two parts of the rubber mold.
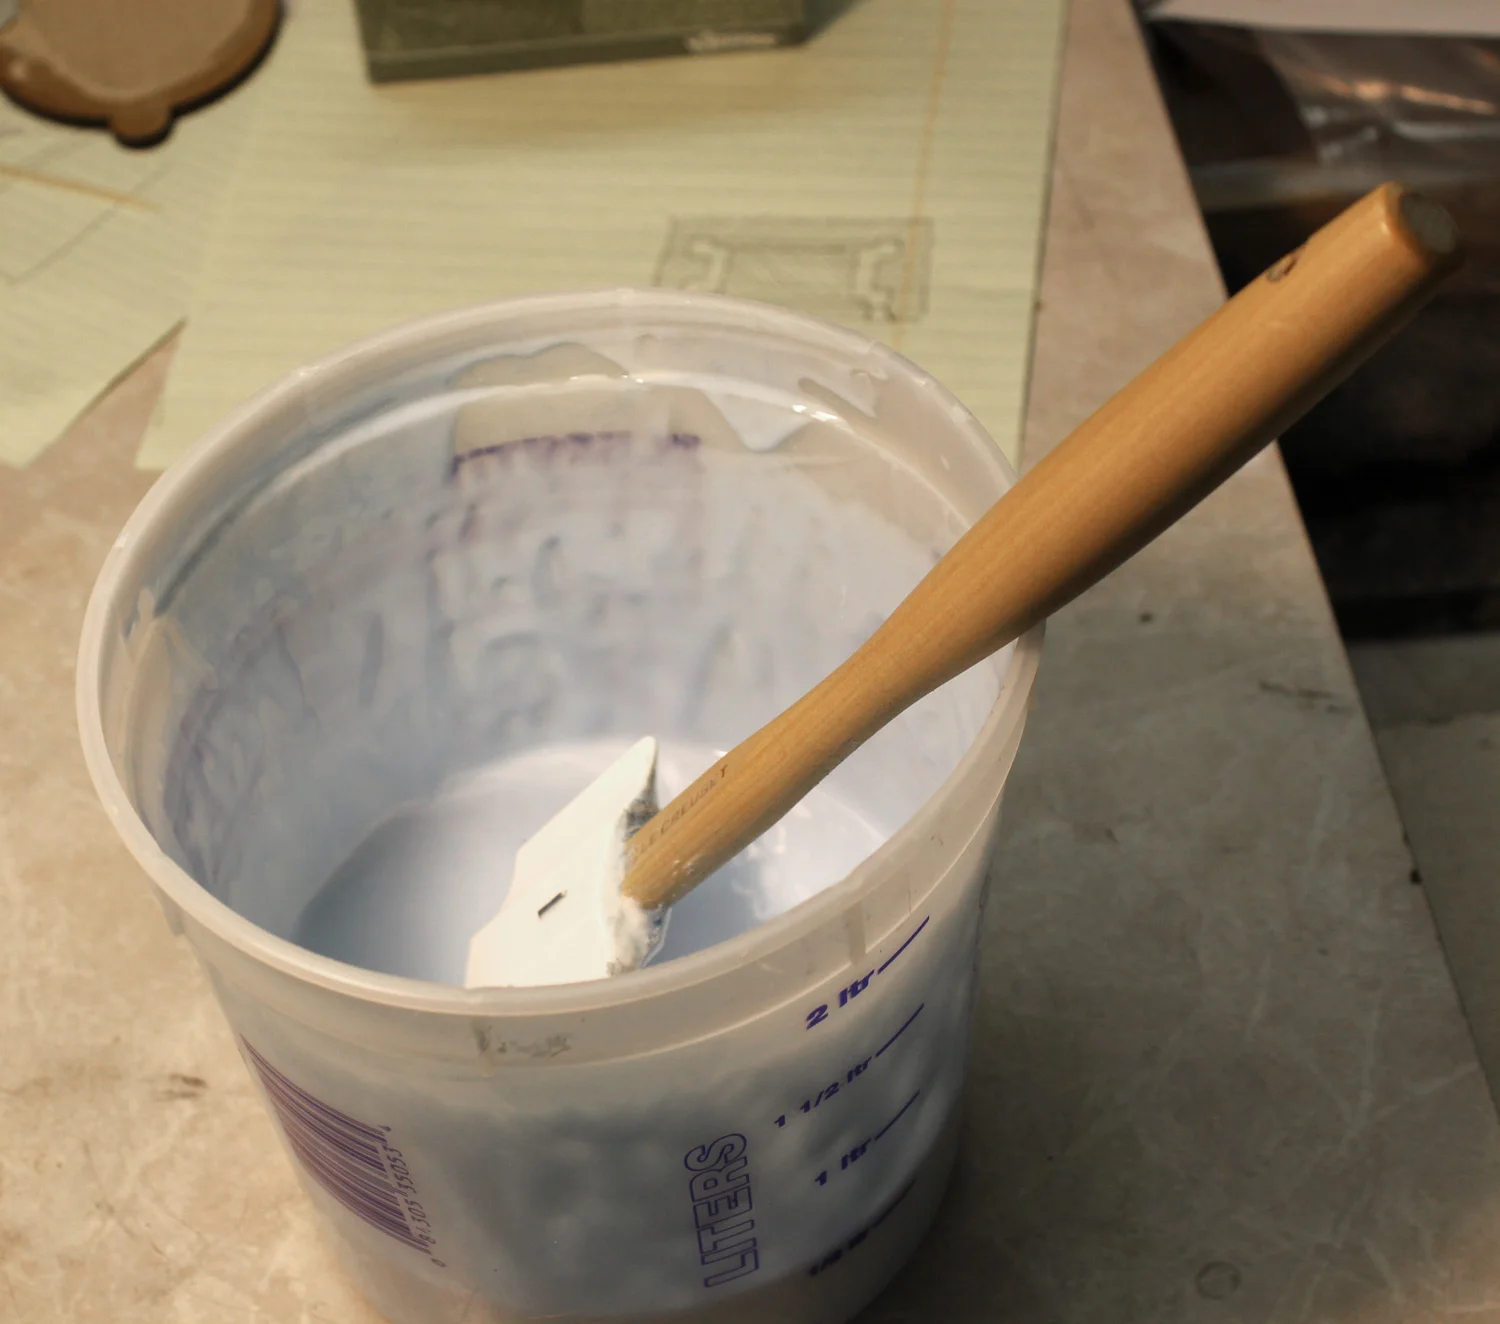
I mixed up the silicone rubber in a polyethylene bucket, one part A to ten parts of B by weight. The A side is dark blue, and the B side is white. Mixed together they formed a pale blue, quite viscous liquid. I placed the bucket in my vacuum chamber and turned on the pump, in order to draw the air bubbles out of it.